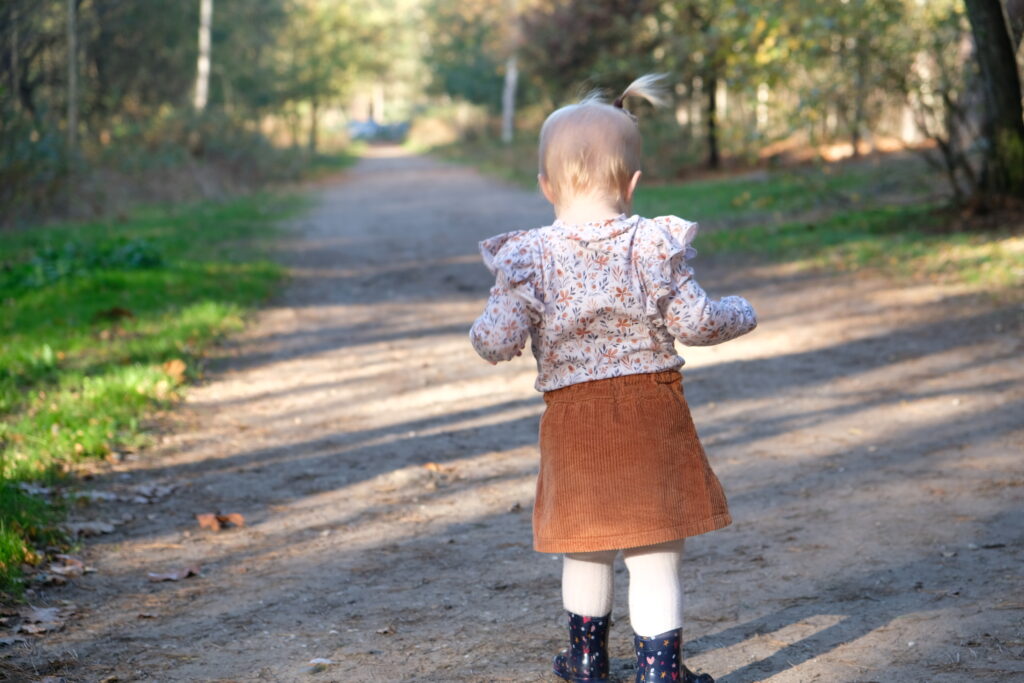
Sarah Schuurmans tested the Papilio pdf pattern for us and decided to get creative. She changed the dress option into a top and skirt (follow to get the tutorial). We asked her to share her tutorial with you. It’s way more easy than you think. You can absolutely do this.
Thank you Sarah!
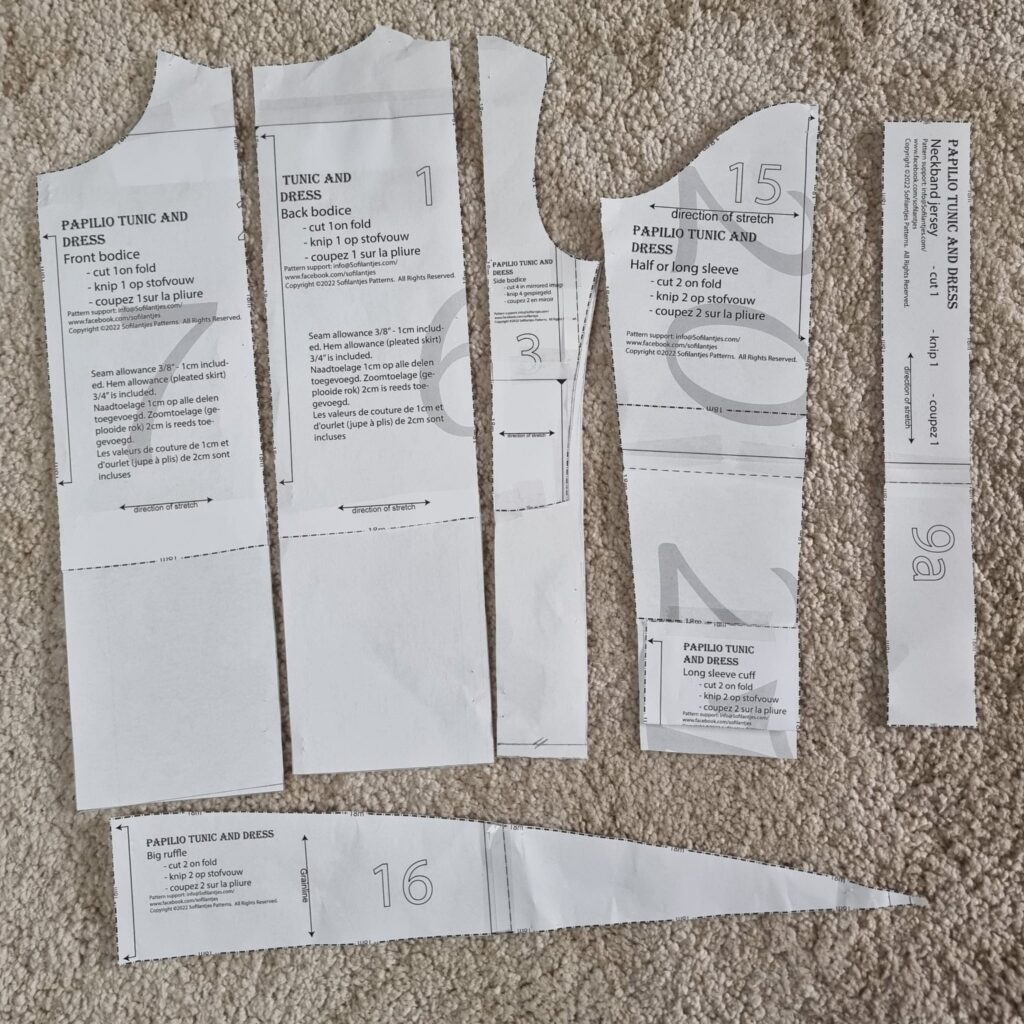
Adjust pattern pieces.
The front, back, and side panels need to be lengthened. To determine how much to lengthen, use a well-fitting shirt or shirt pattern. Line up the shoulder panels of the pattern and see how much you need to lengthen. Add the length you need at the bottom of all 3 pattern pieces.
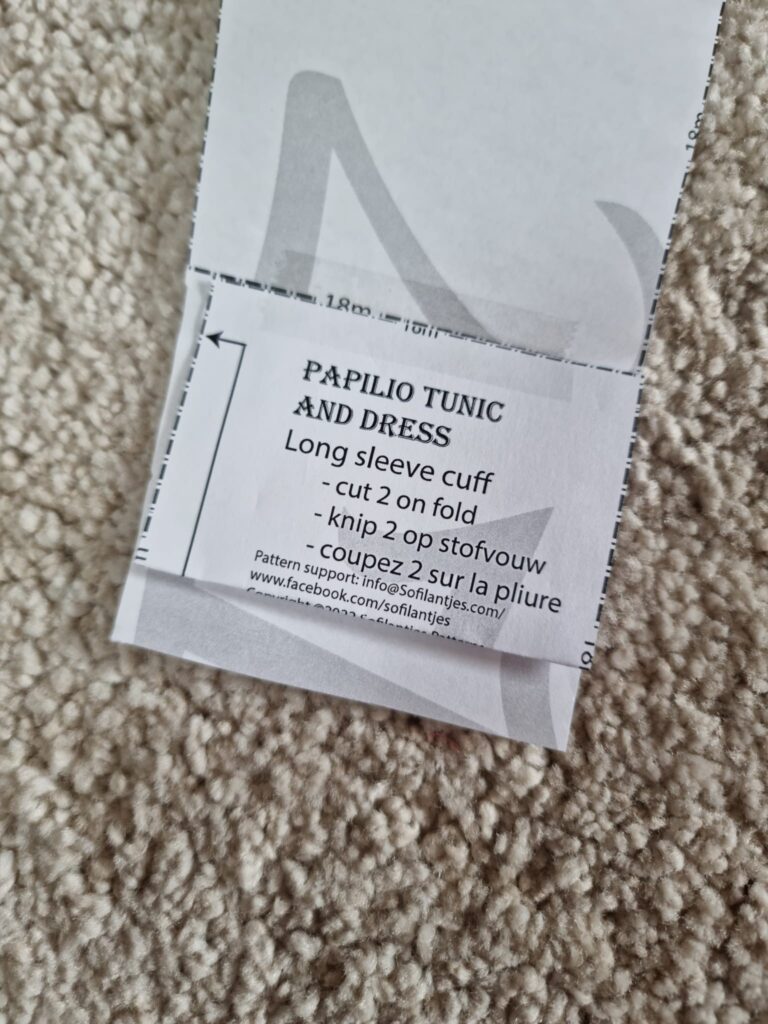
You also need to lengthen the sleeve. I used the cuff for this as the length of the sleeves, with cuff the length was perfect for my daughter. I folded the cuff in half and glued it to the sleeve pattern piece. I added an extra 1 cm because I wanted the sleeves to be a bit longer, so she can wear the shirt longer.
Optional: I widened the side a little bit because my daughter still has a baby belly.
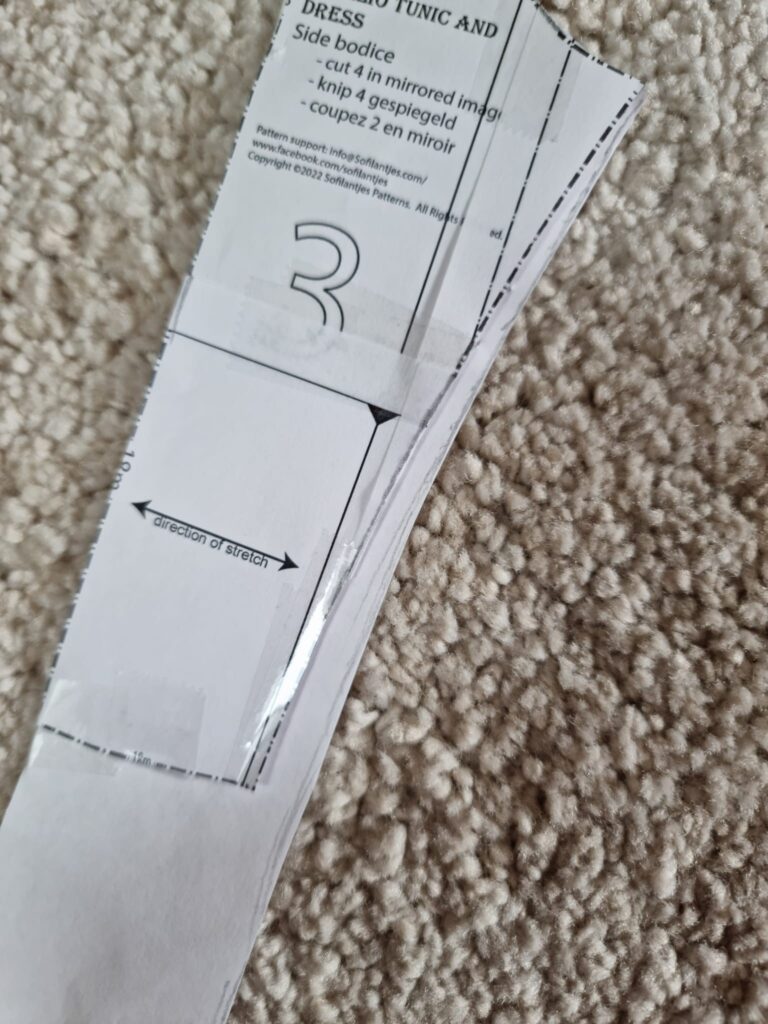
On the dress, it falls under the first tier, but of course not with the shirt. To make sure her belly fits well, I widened the side panel a little more.
Cut out all the pattern pieces from the fabric.
Assemble:
- Sew the shoulders of the front and back panel together and those of the side panels.
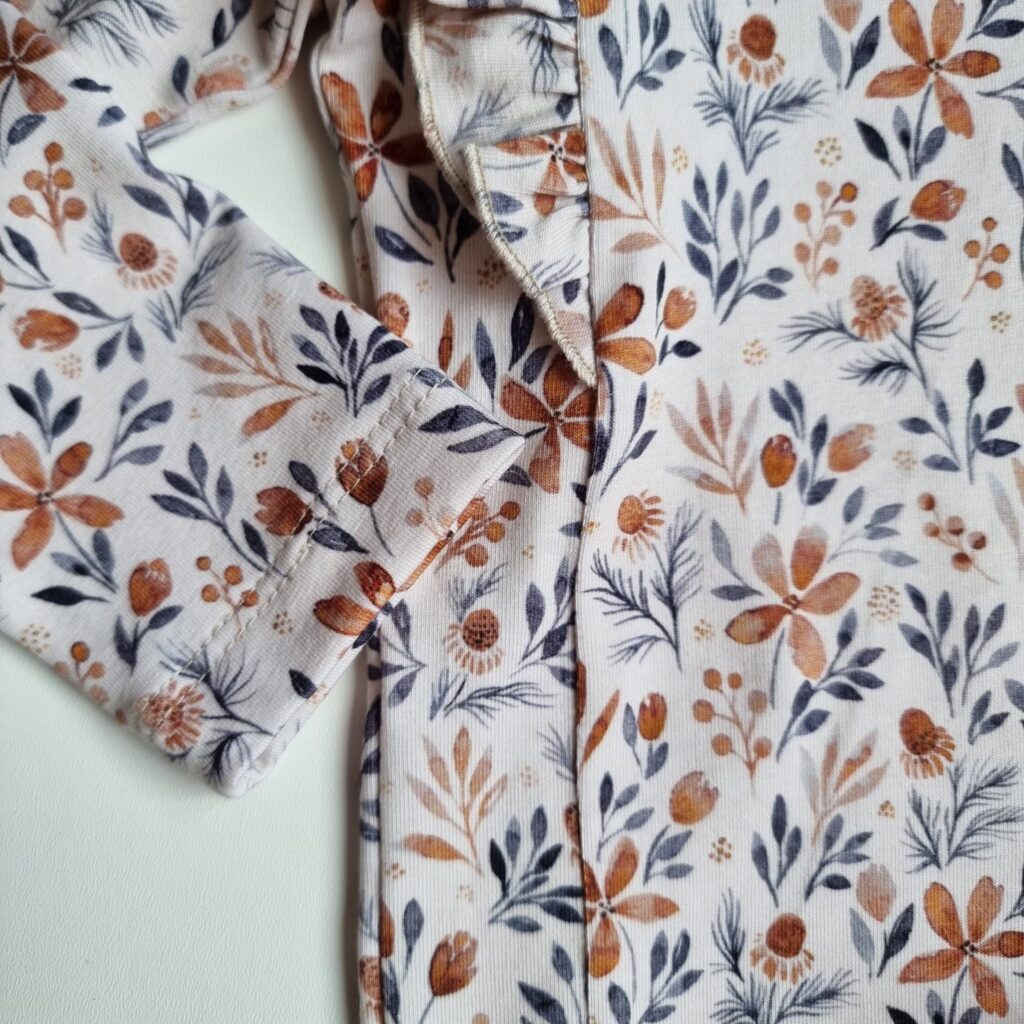
- Finish the convex side of the ruffle with a rolled hem
- Gather the ruffle as described in the pattern.
- Mark on the front and back panel where your ruffle should end. For size 86, I marked 18 cm from the bottom of the shirt on both sides of the front and back. You do this so you know exactly where your ruffle should end and so it stops at the same point everywhere. See for yourself what looks best for the size you are making.
- Attach the ruffle to the front and back panel, and then attach the side panels. (How to do this is described in the pattern.) Also, attach the sleeves and sew the sides together.
- Next, sew on the neckline and hem both the bottom and the end of the sleeves by 2 cm. Your shirt is now ready.

-
 Papilio Tunique et Robe- Français€8.68 excl. tax
 -
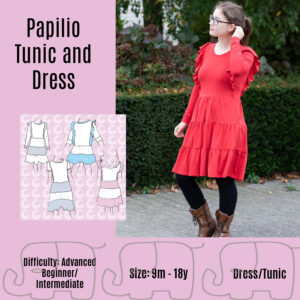 Papilio Tunic and Dress- English€8.68 excl. tax
 -
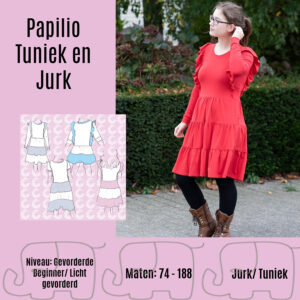 Papilio Tuniek en Jurk – Nederlands€8.68 excl. tax
Buy more save more
(PDF patterns only)
- Spend €25* or more and save 10%.
Use code: SAVE10 - Spend €45* or more and save 20%.
Use code: SAVE20 - Spend €65* or more and save 30%.
Use code: SAVE30
(Sale items excluded)
* Excl. Taxes
Recent comments
Archives

Thank you for visiting
Thank you for visiting our website. This website and all its content are copyright protected. Please ask permission before sharing any pictures or articles, especially when a child is shown in the image.


Leave a Reply