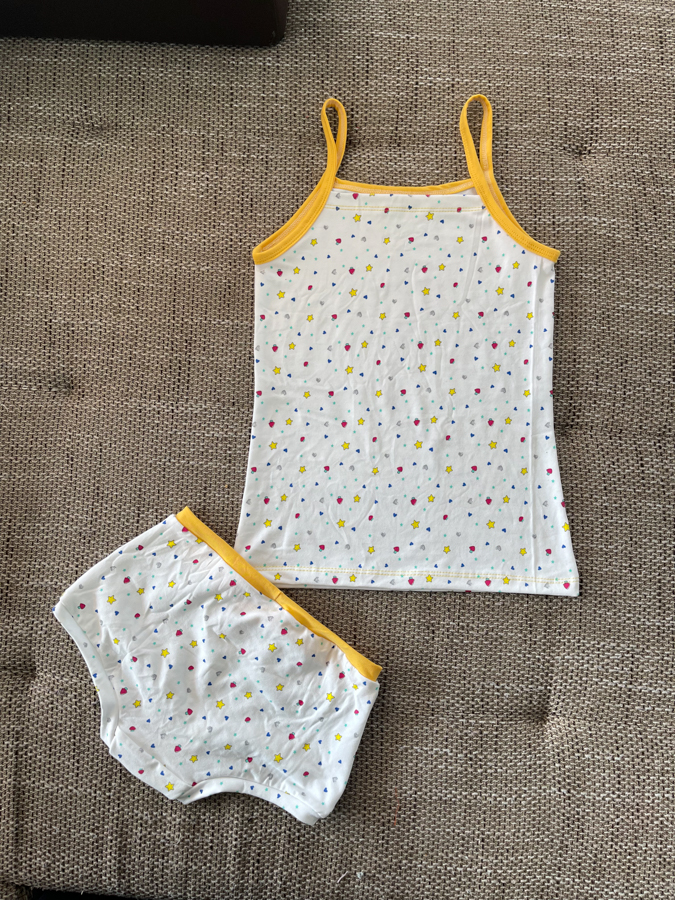
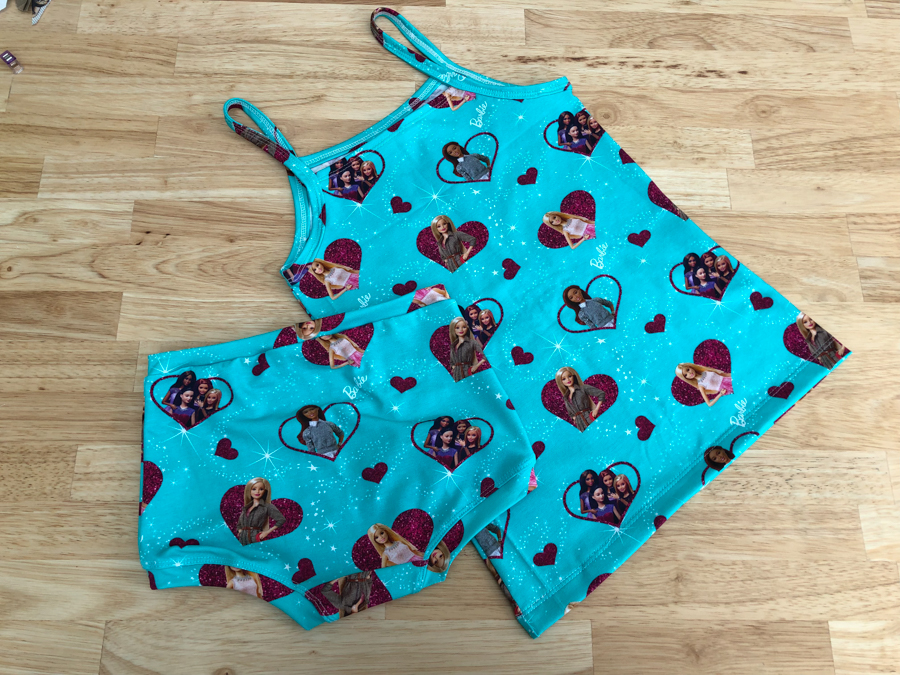
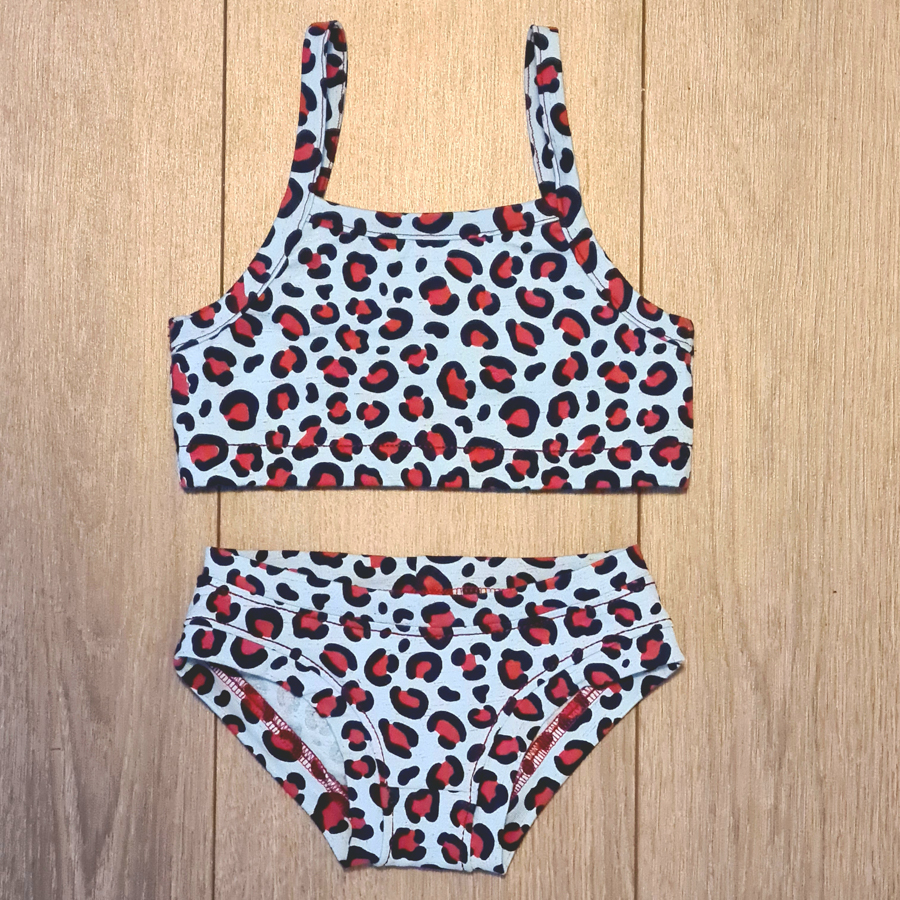
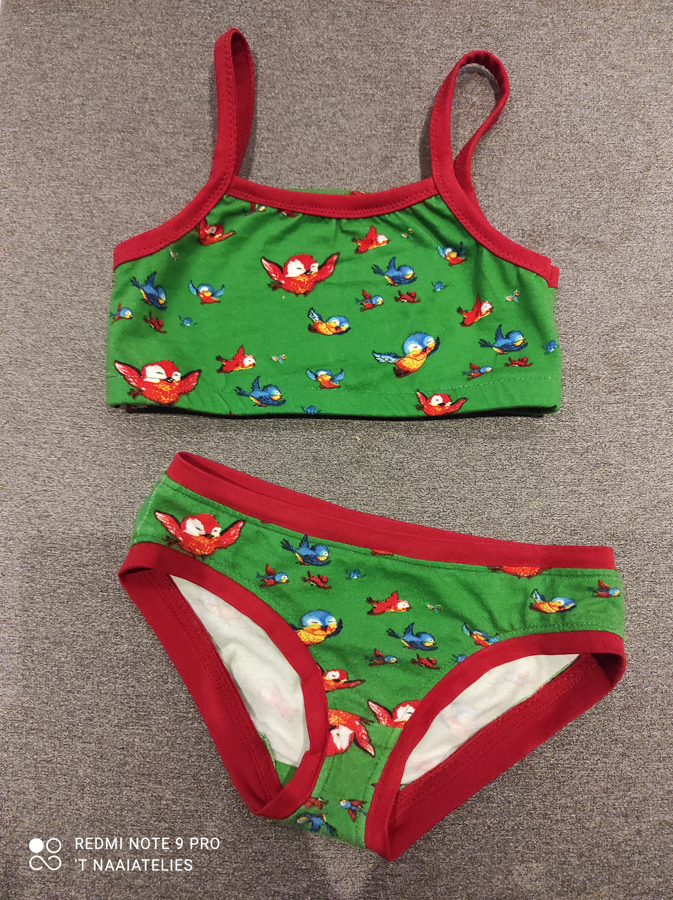
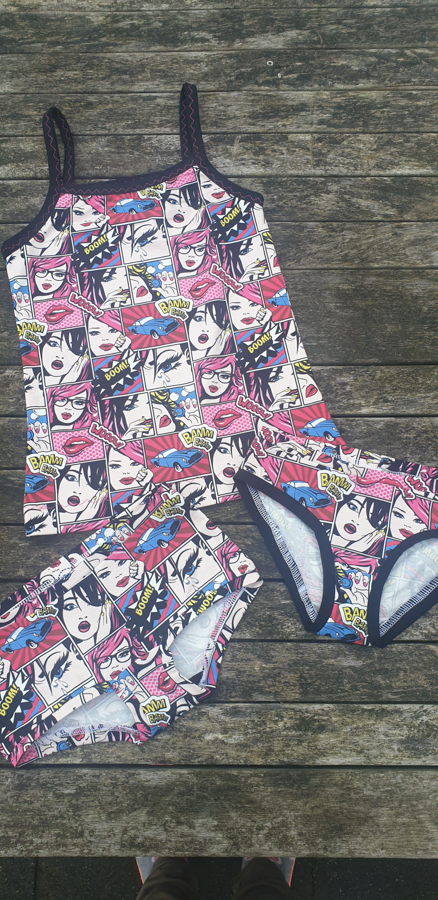
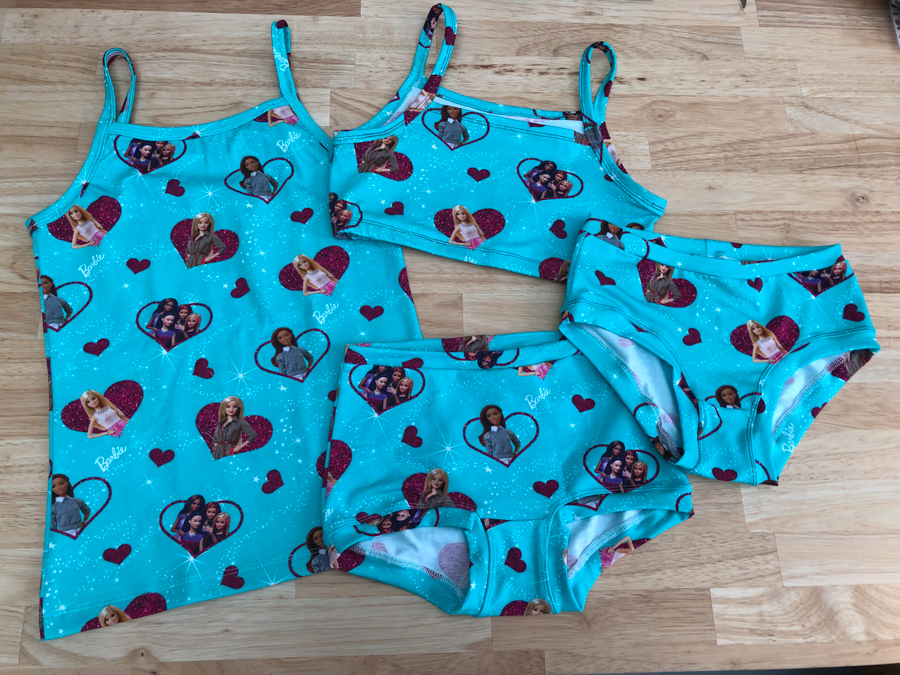
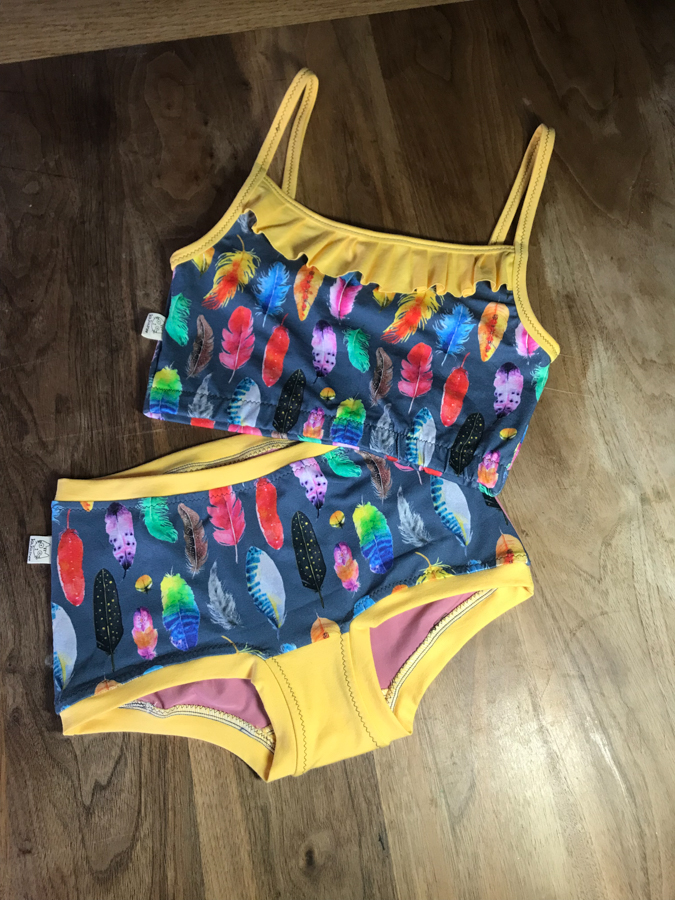
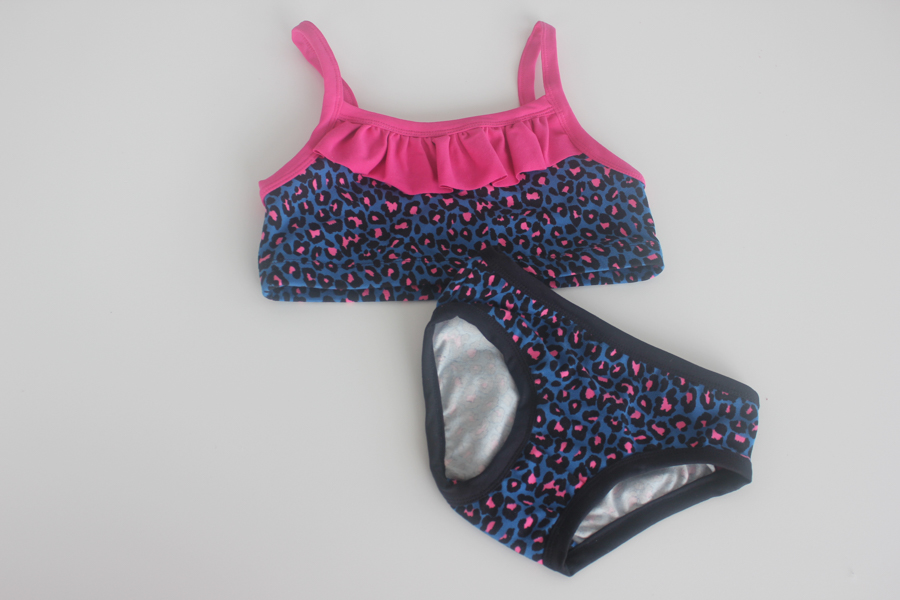
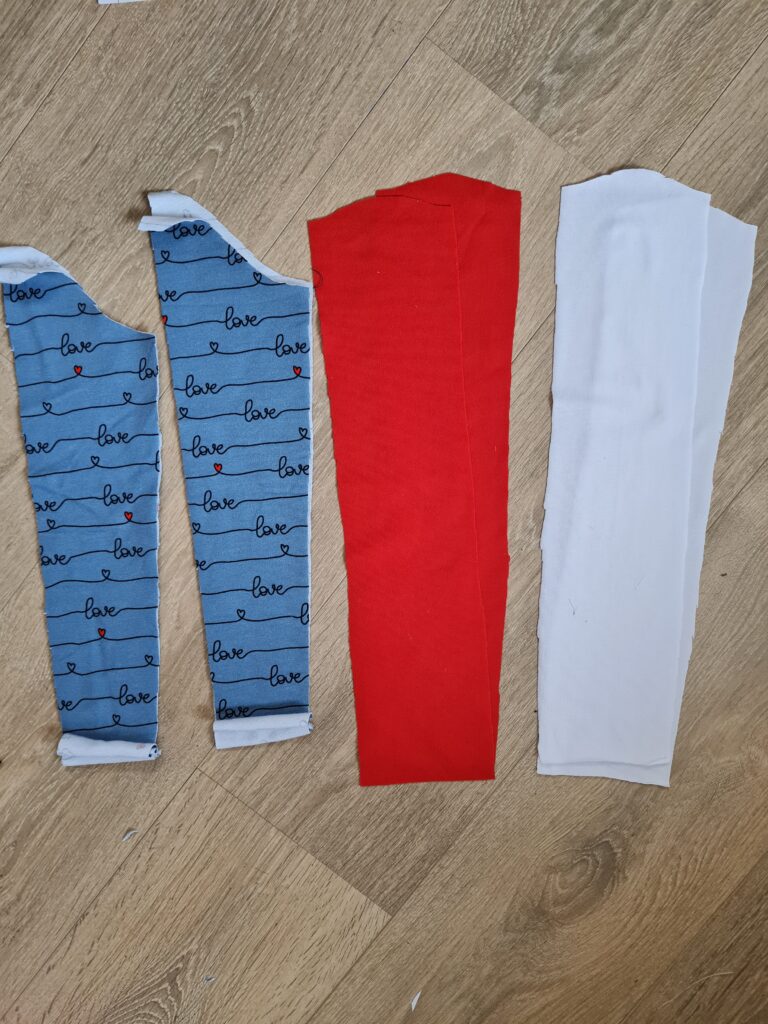
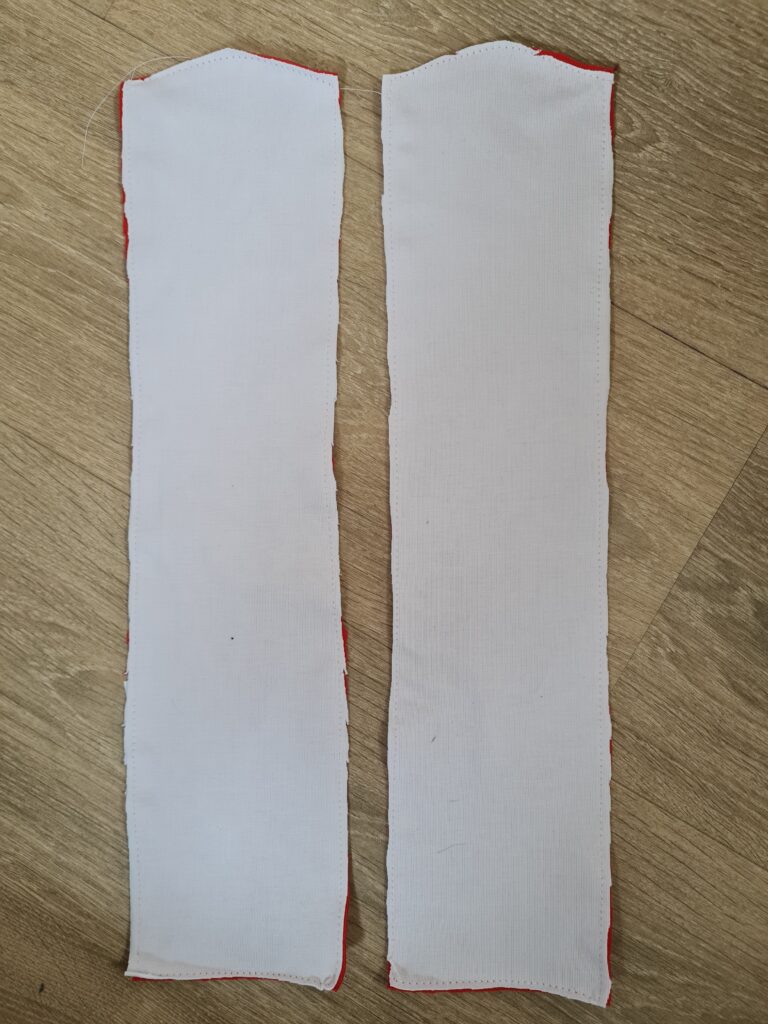
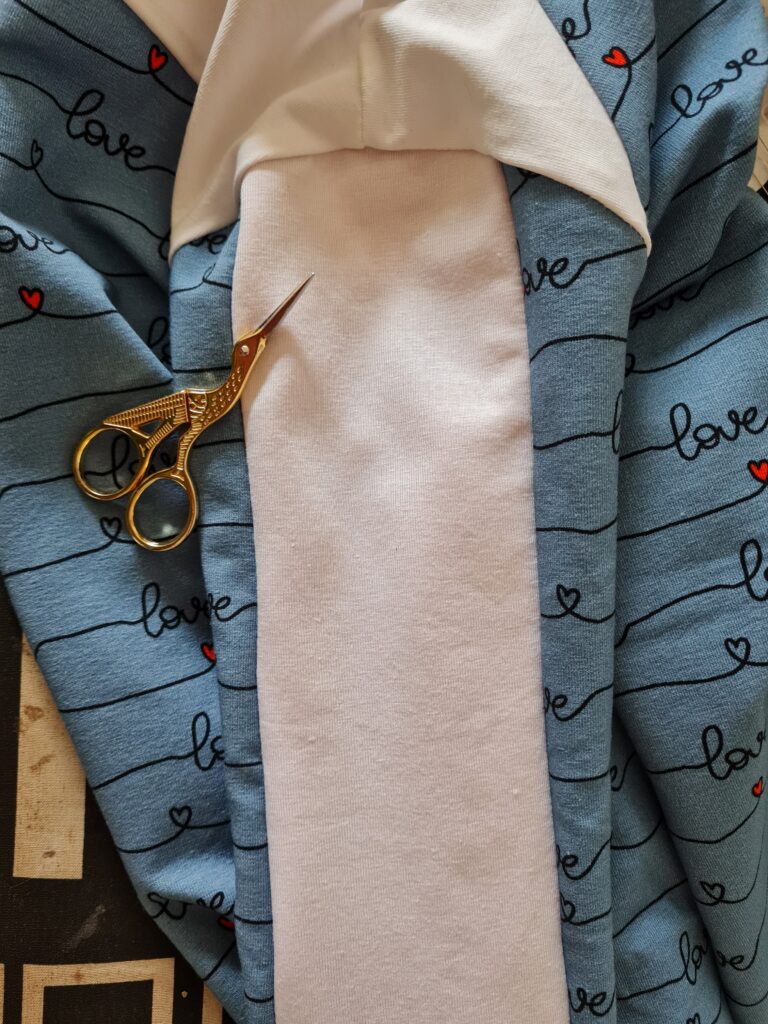
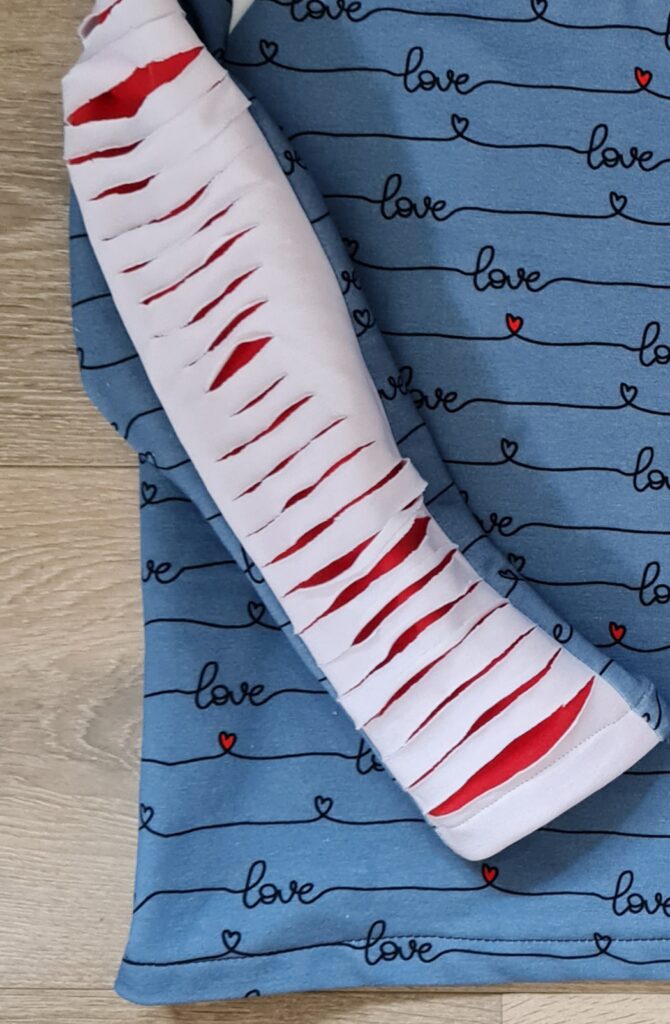
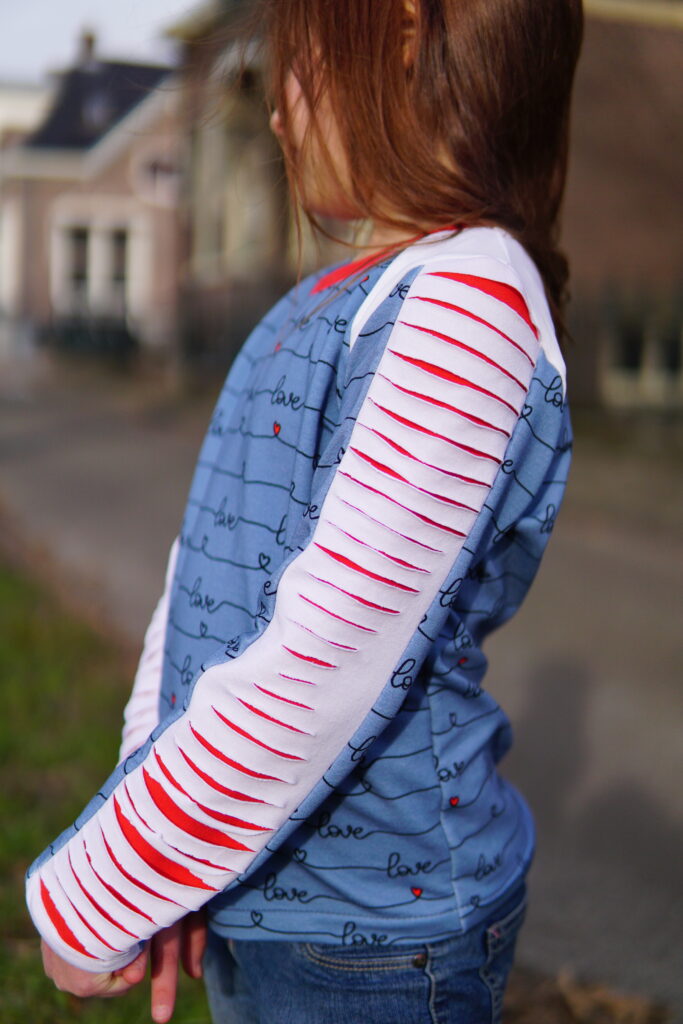
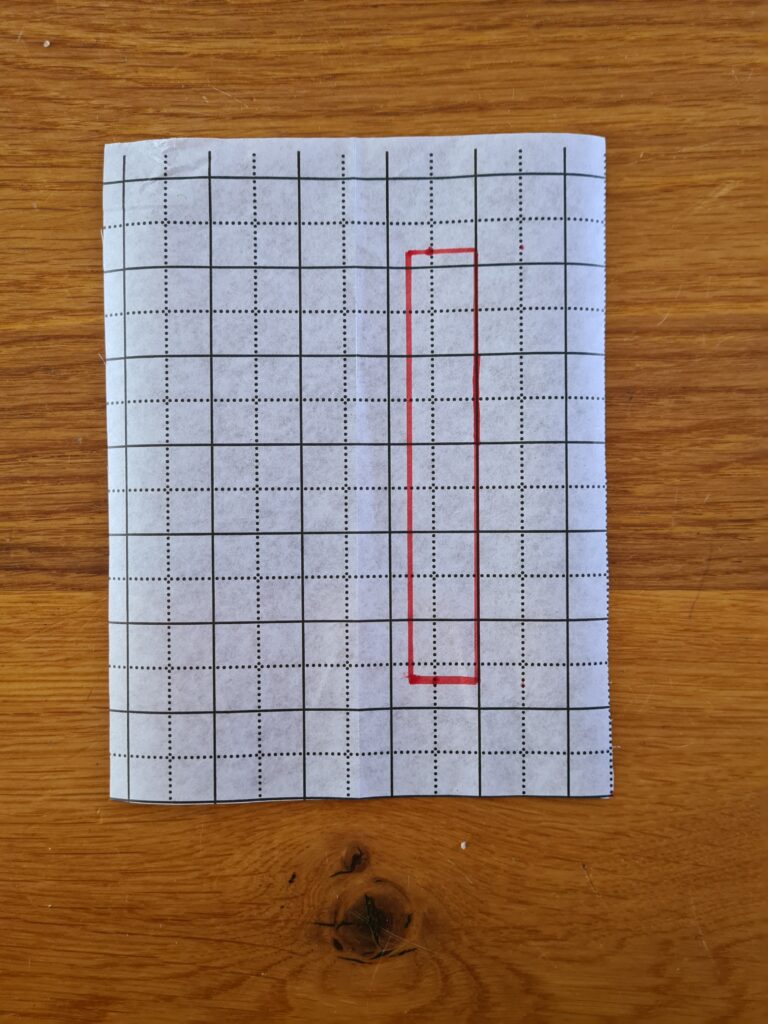
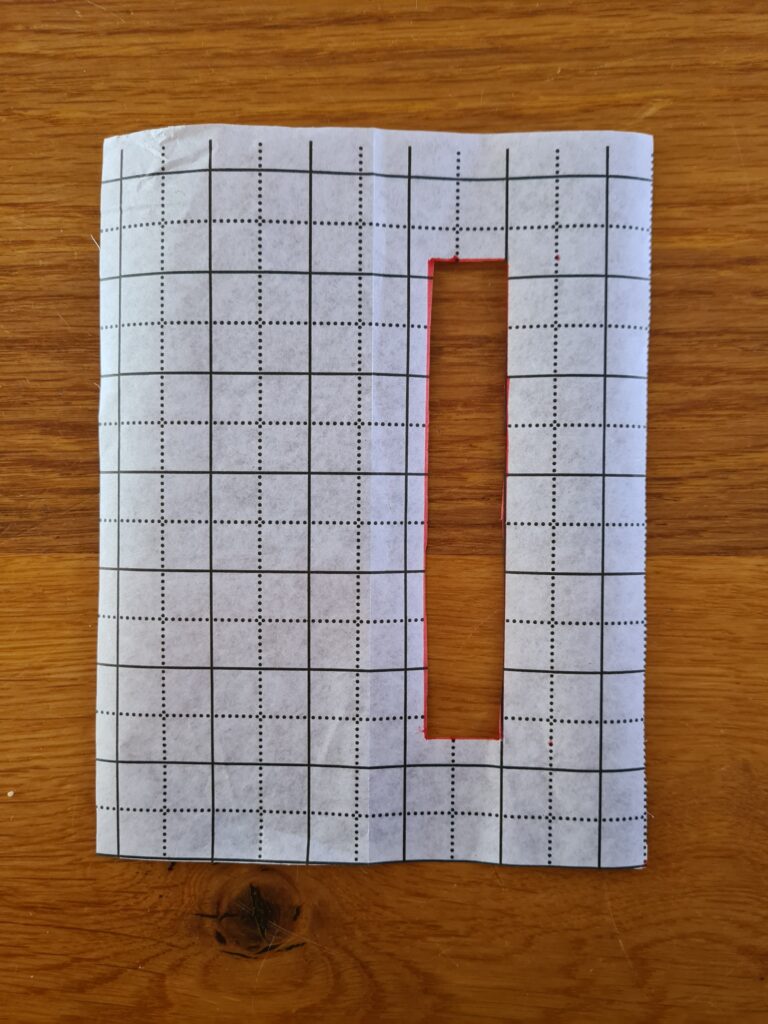
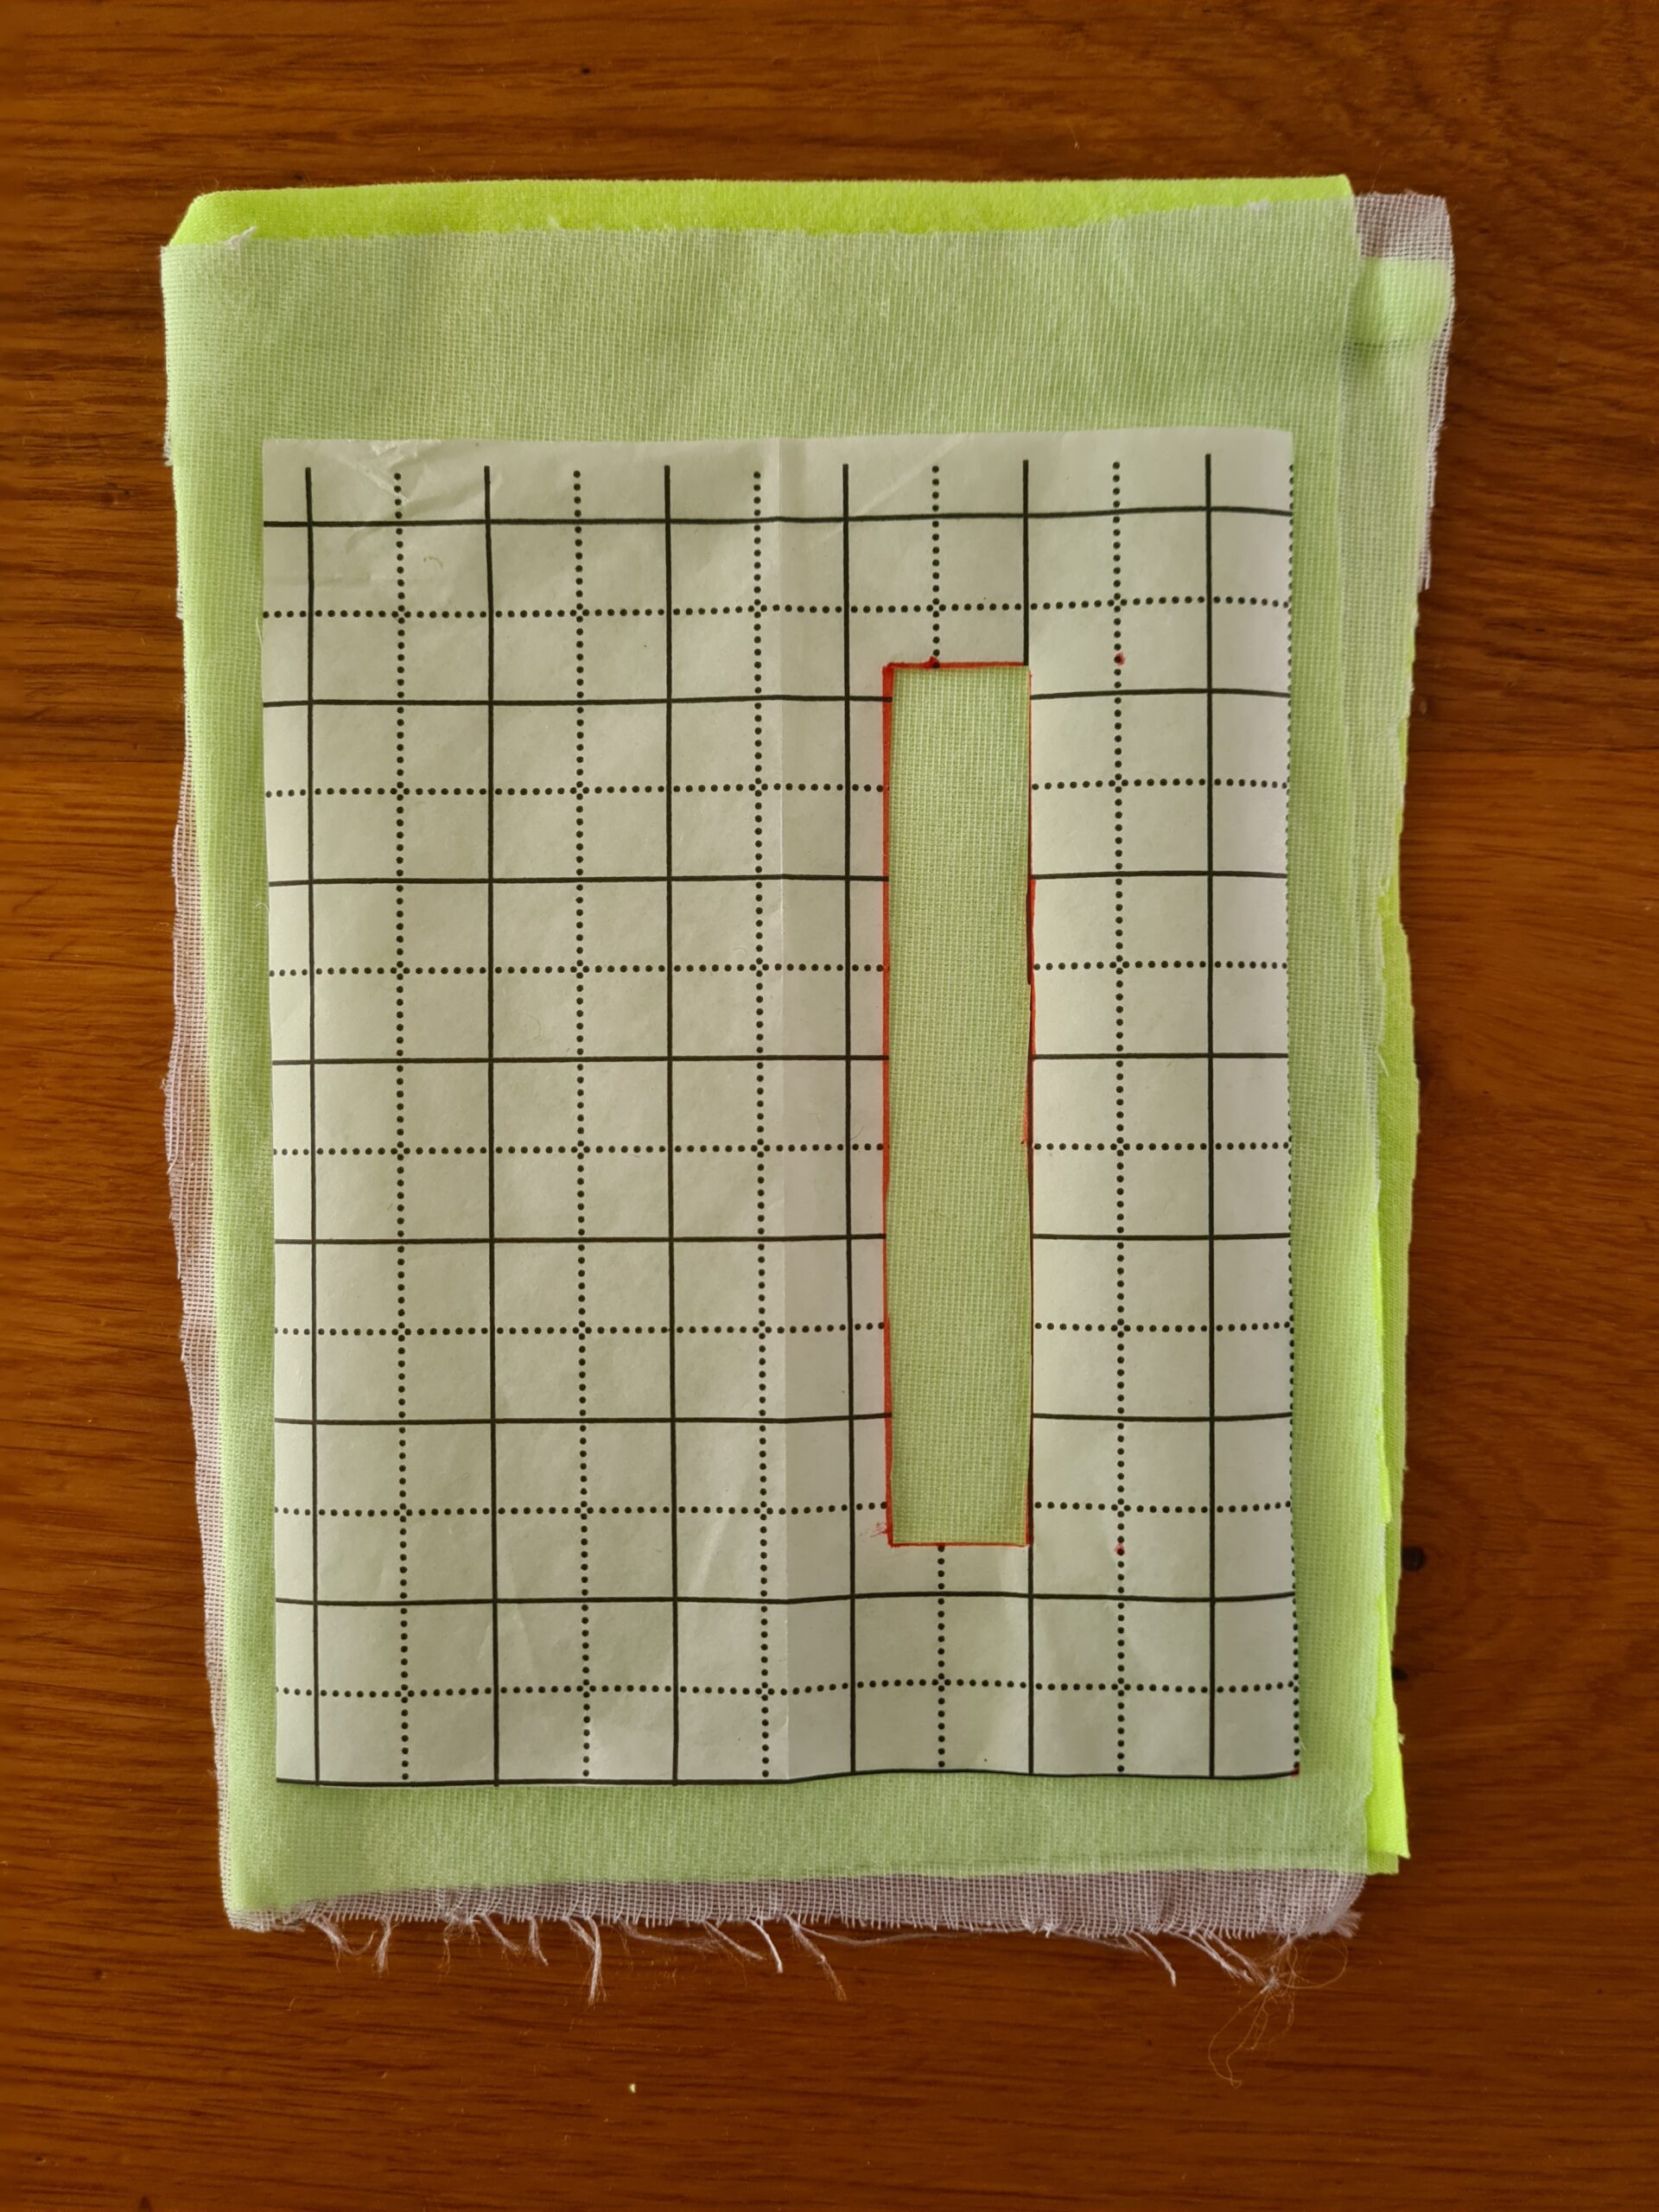
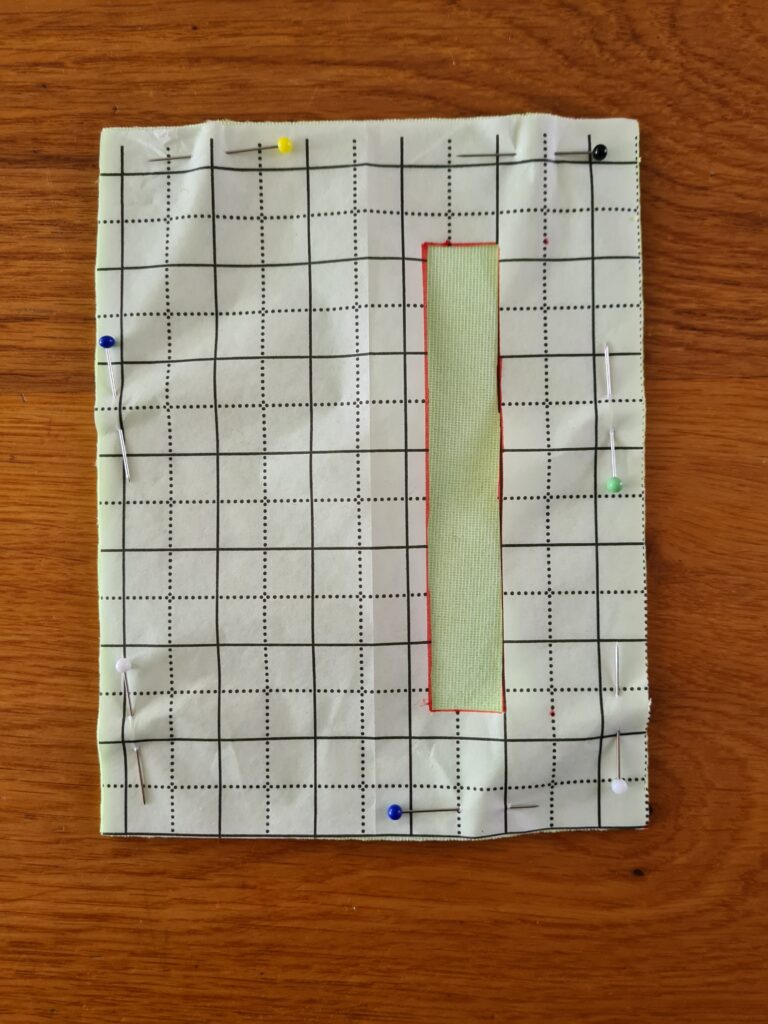
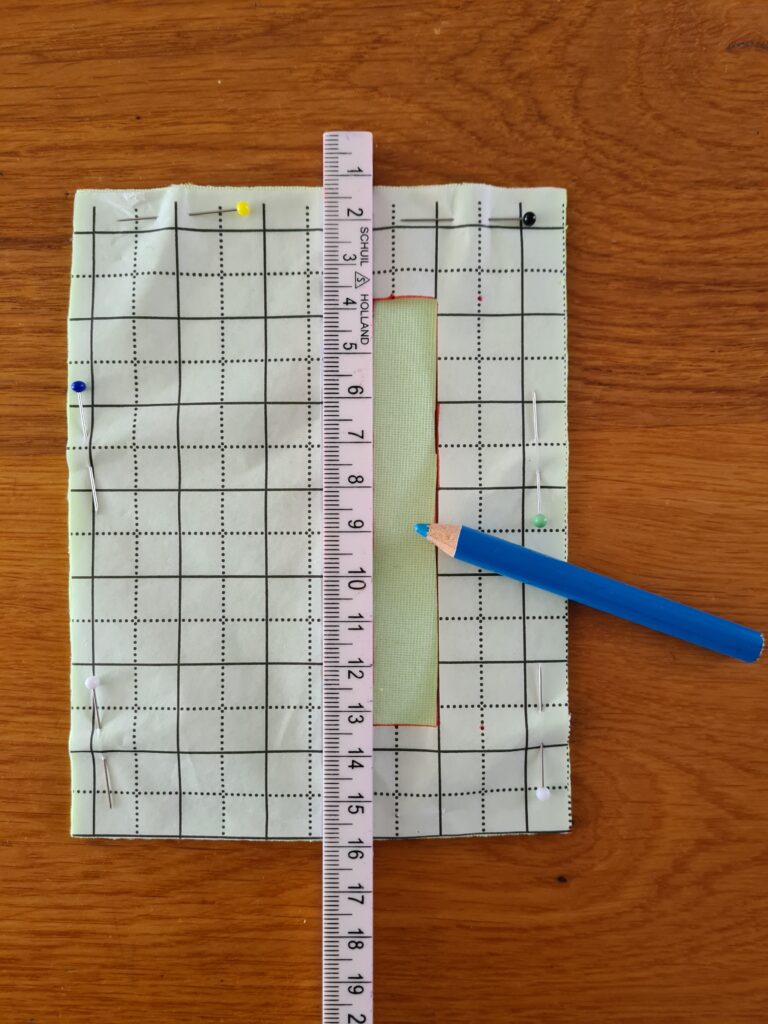
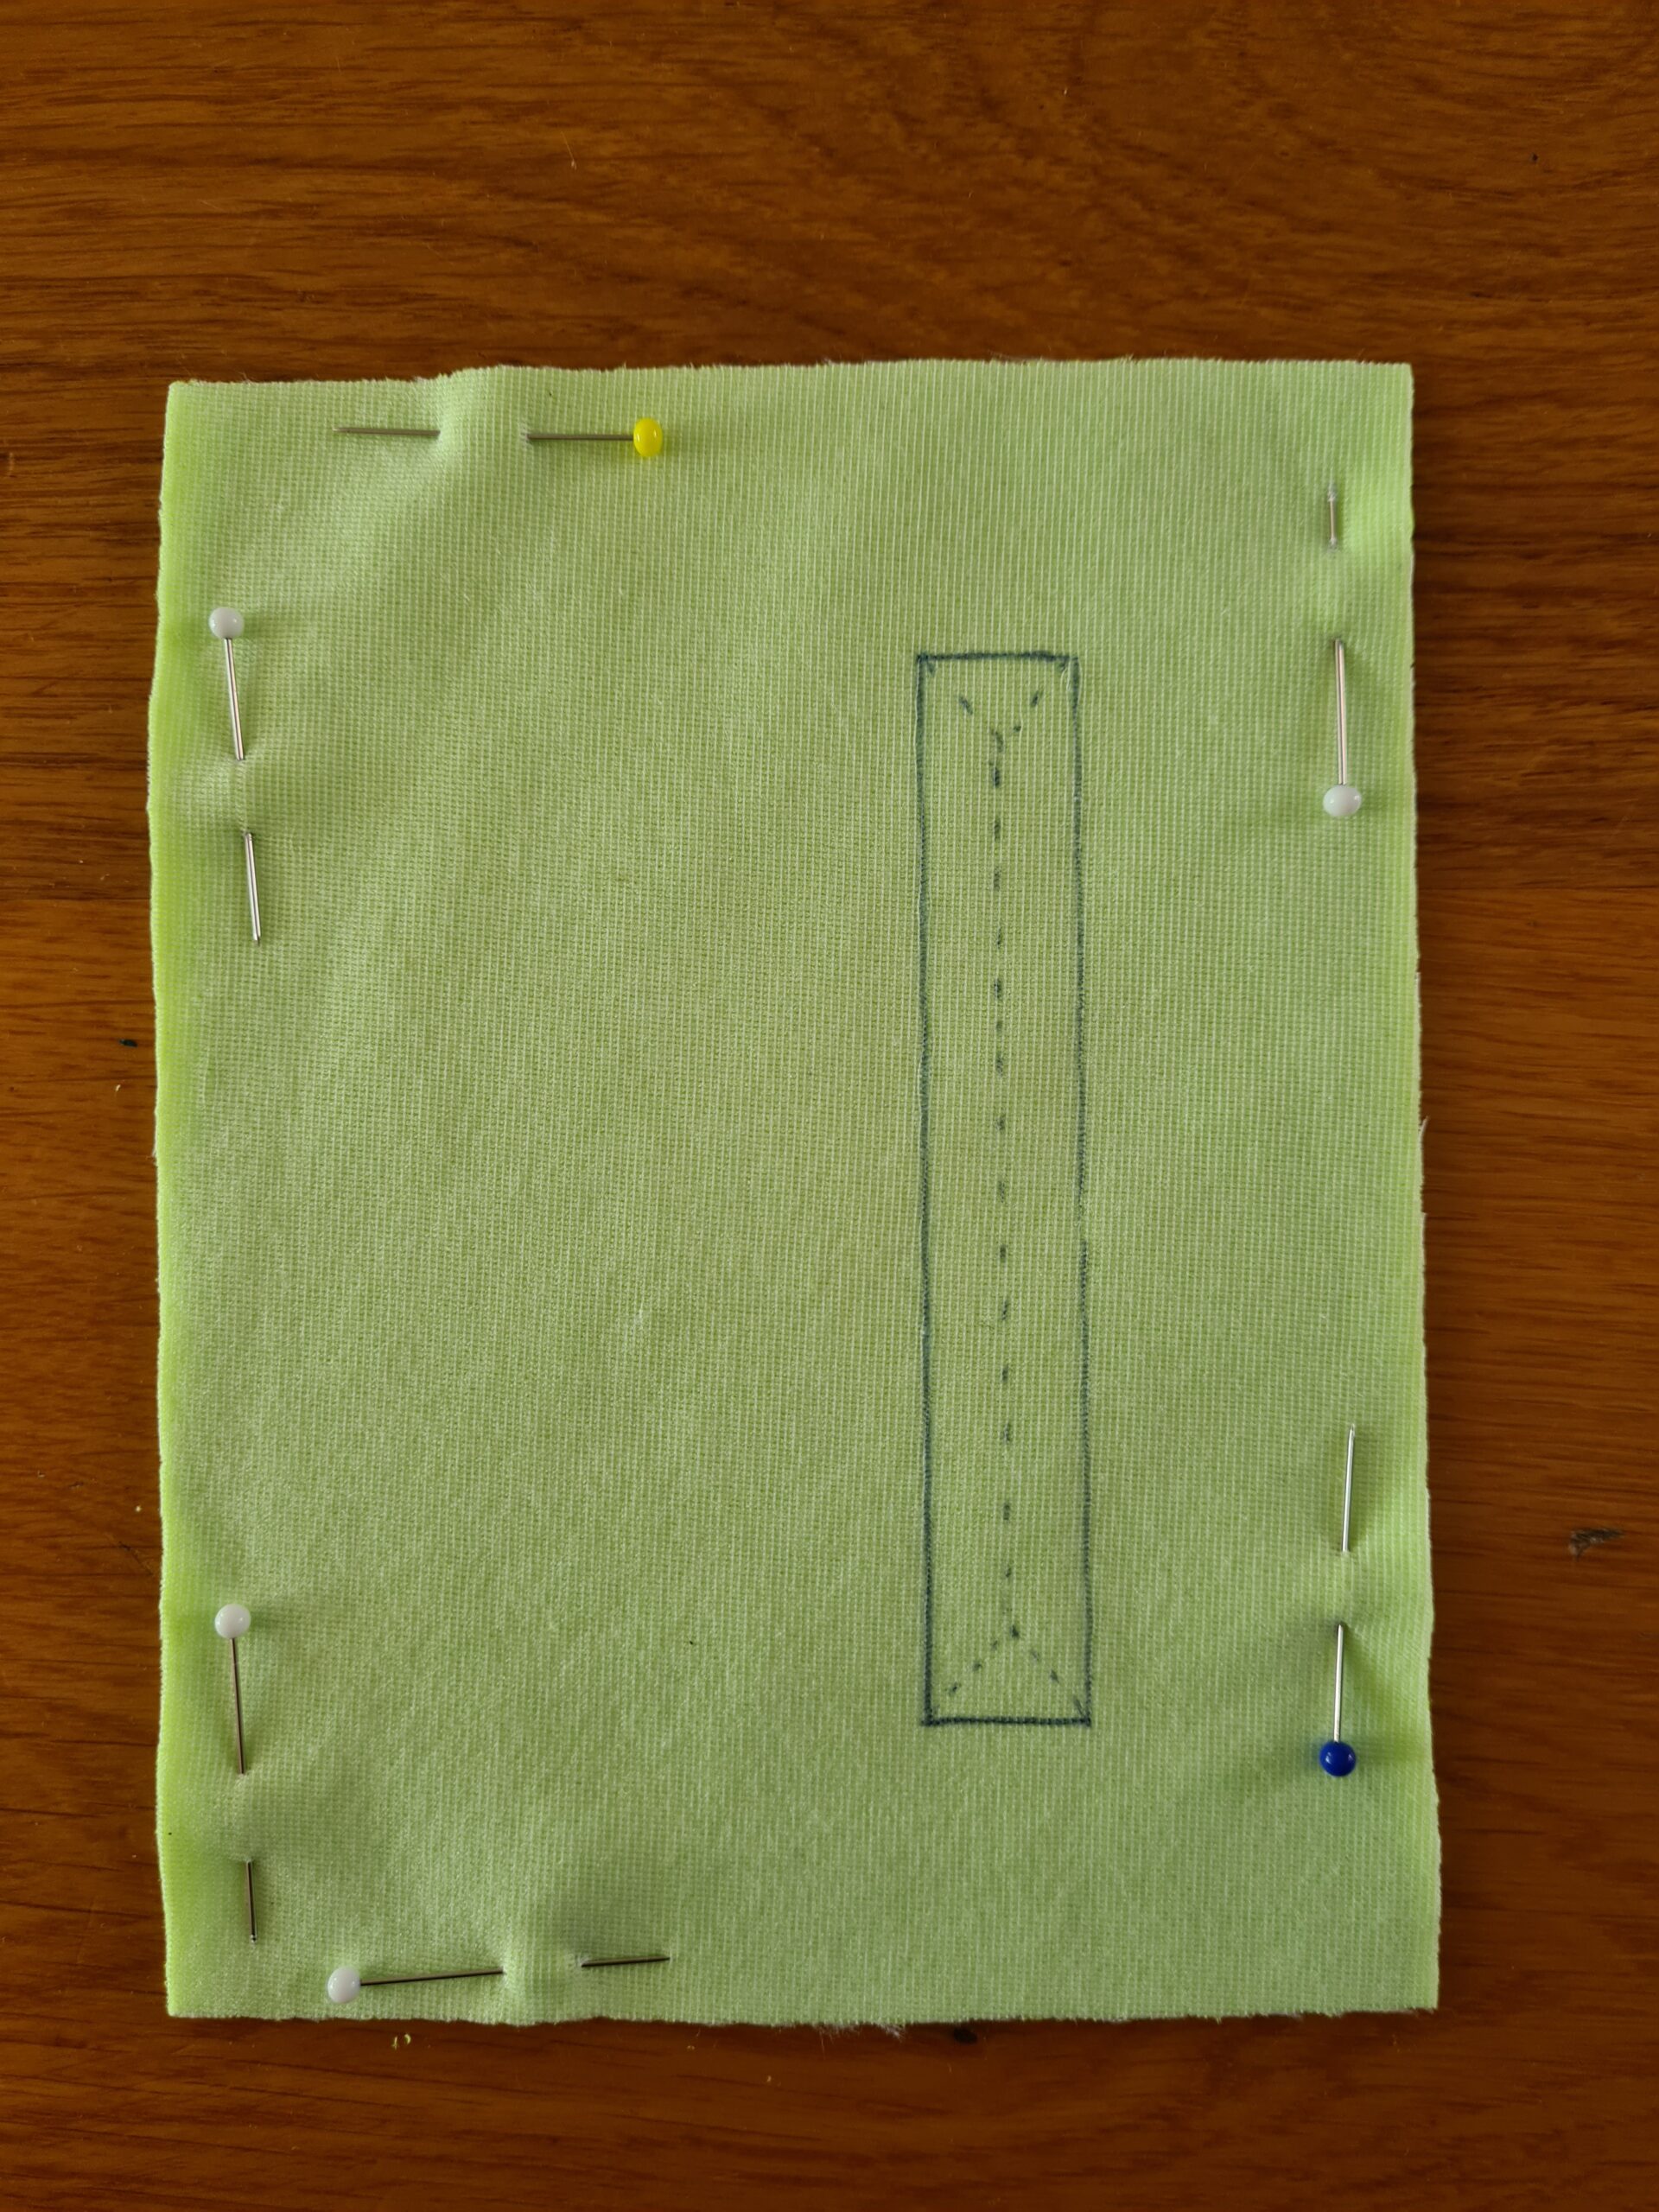
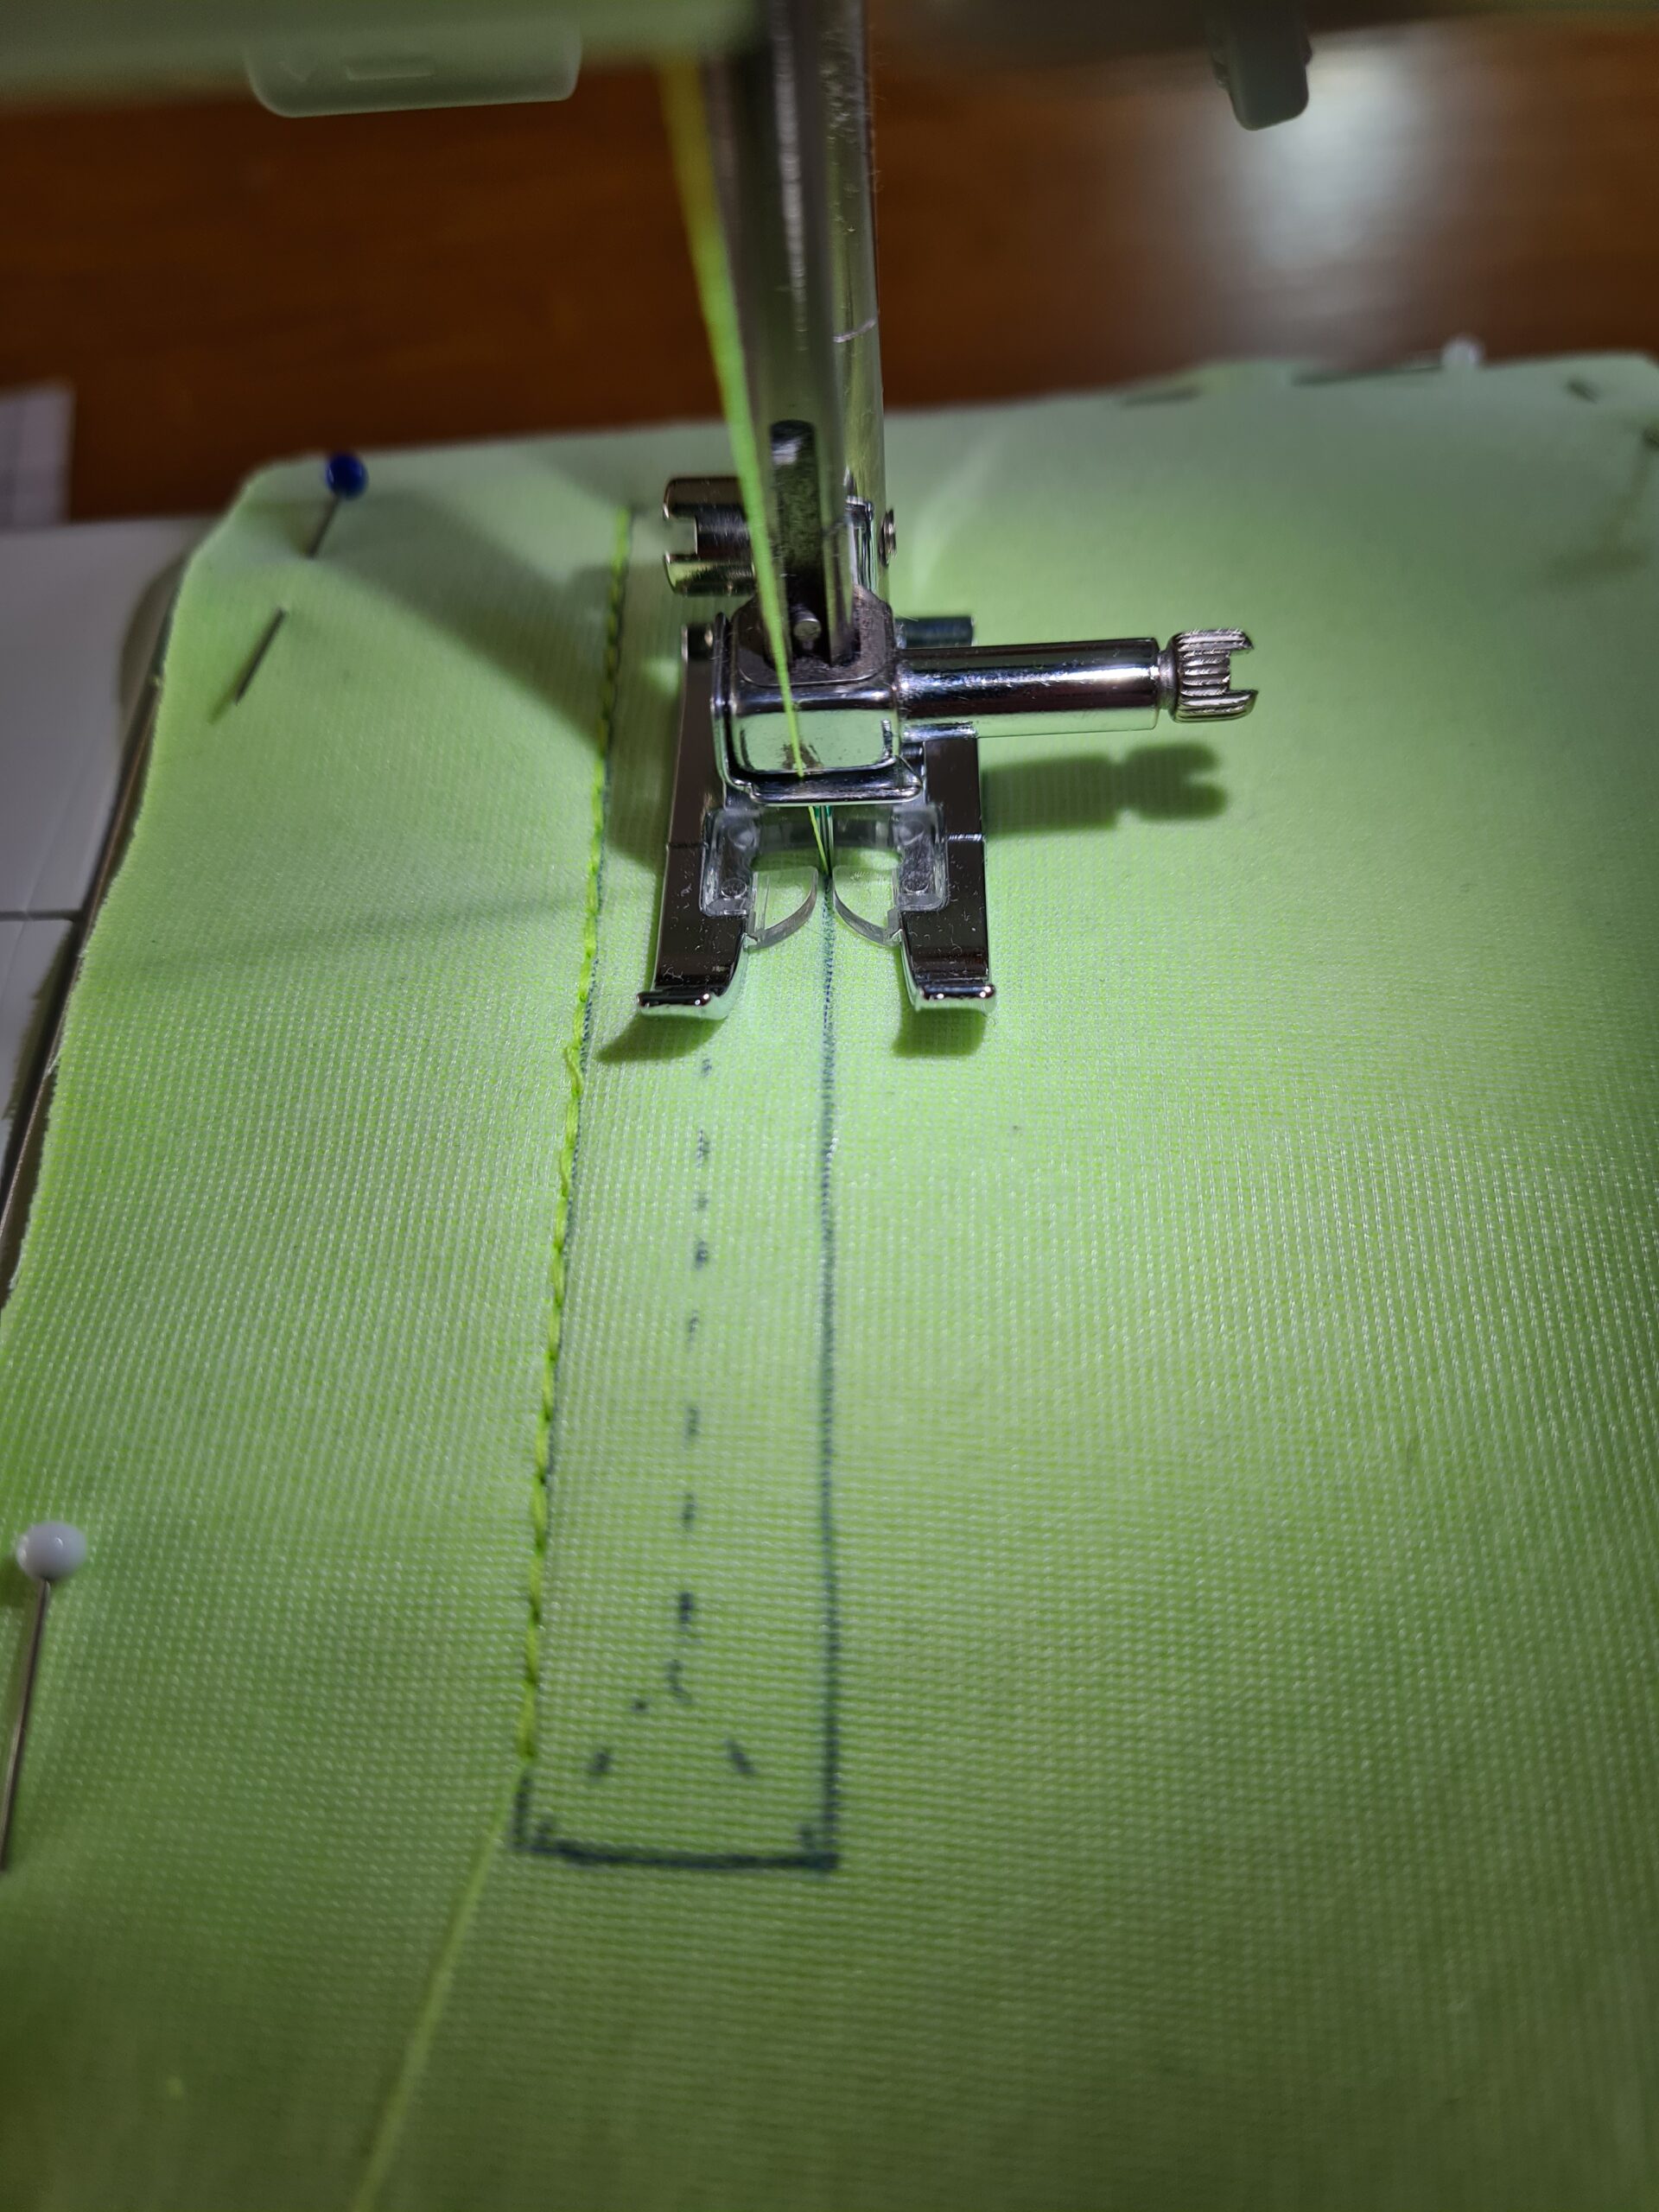
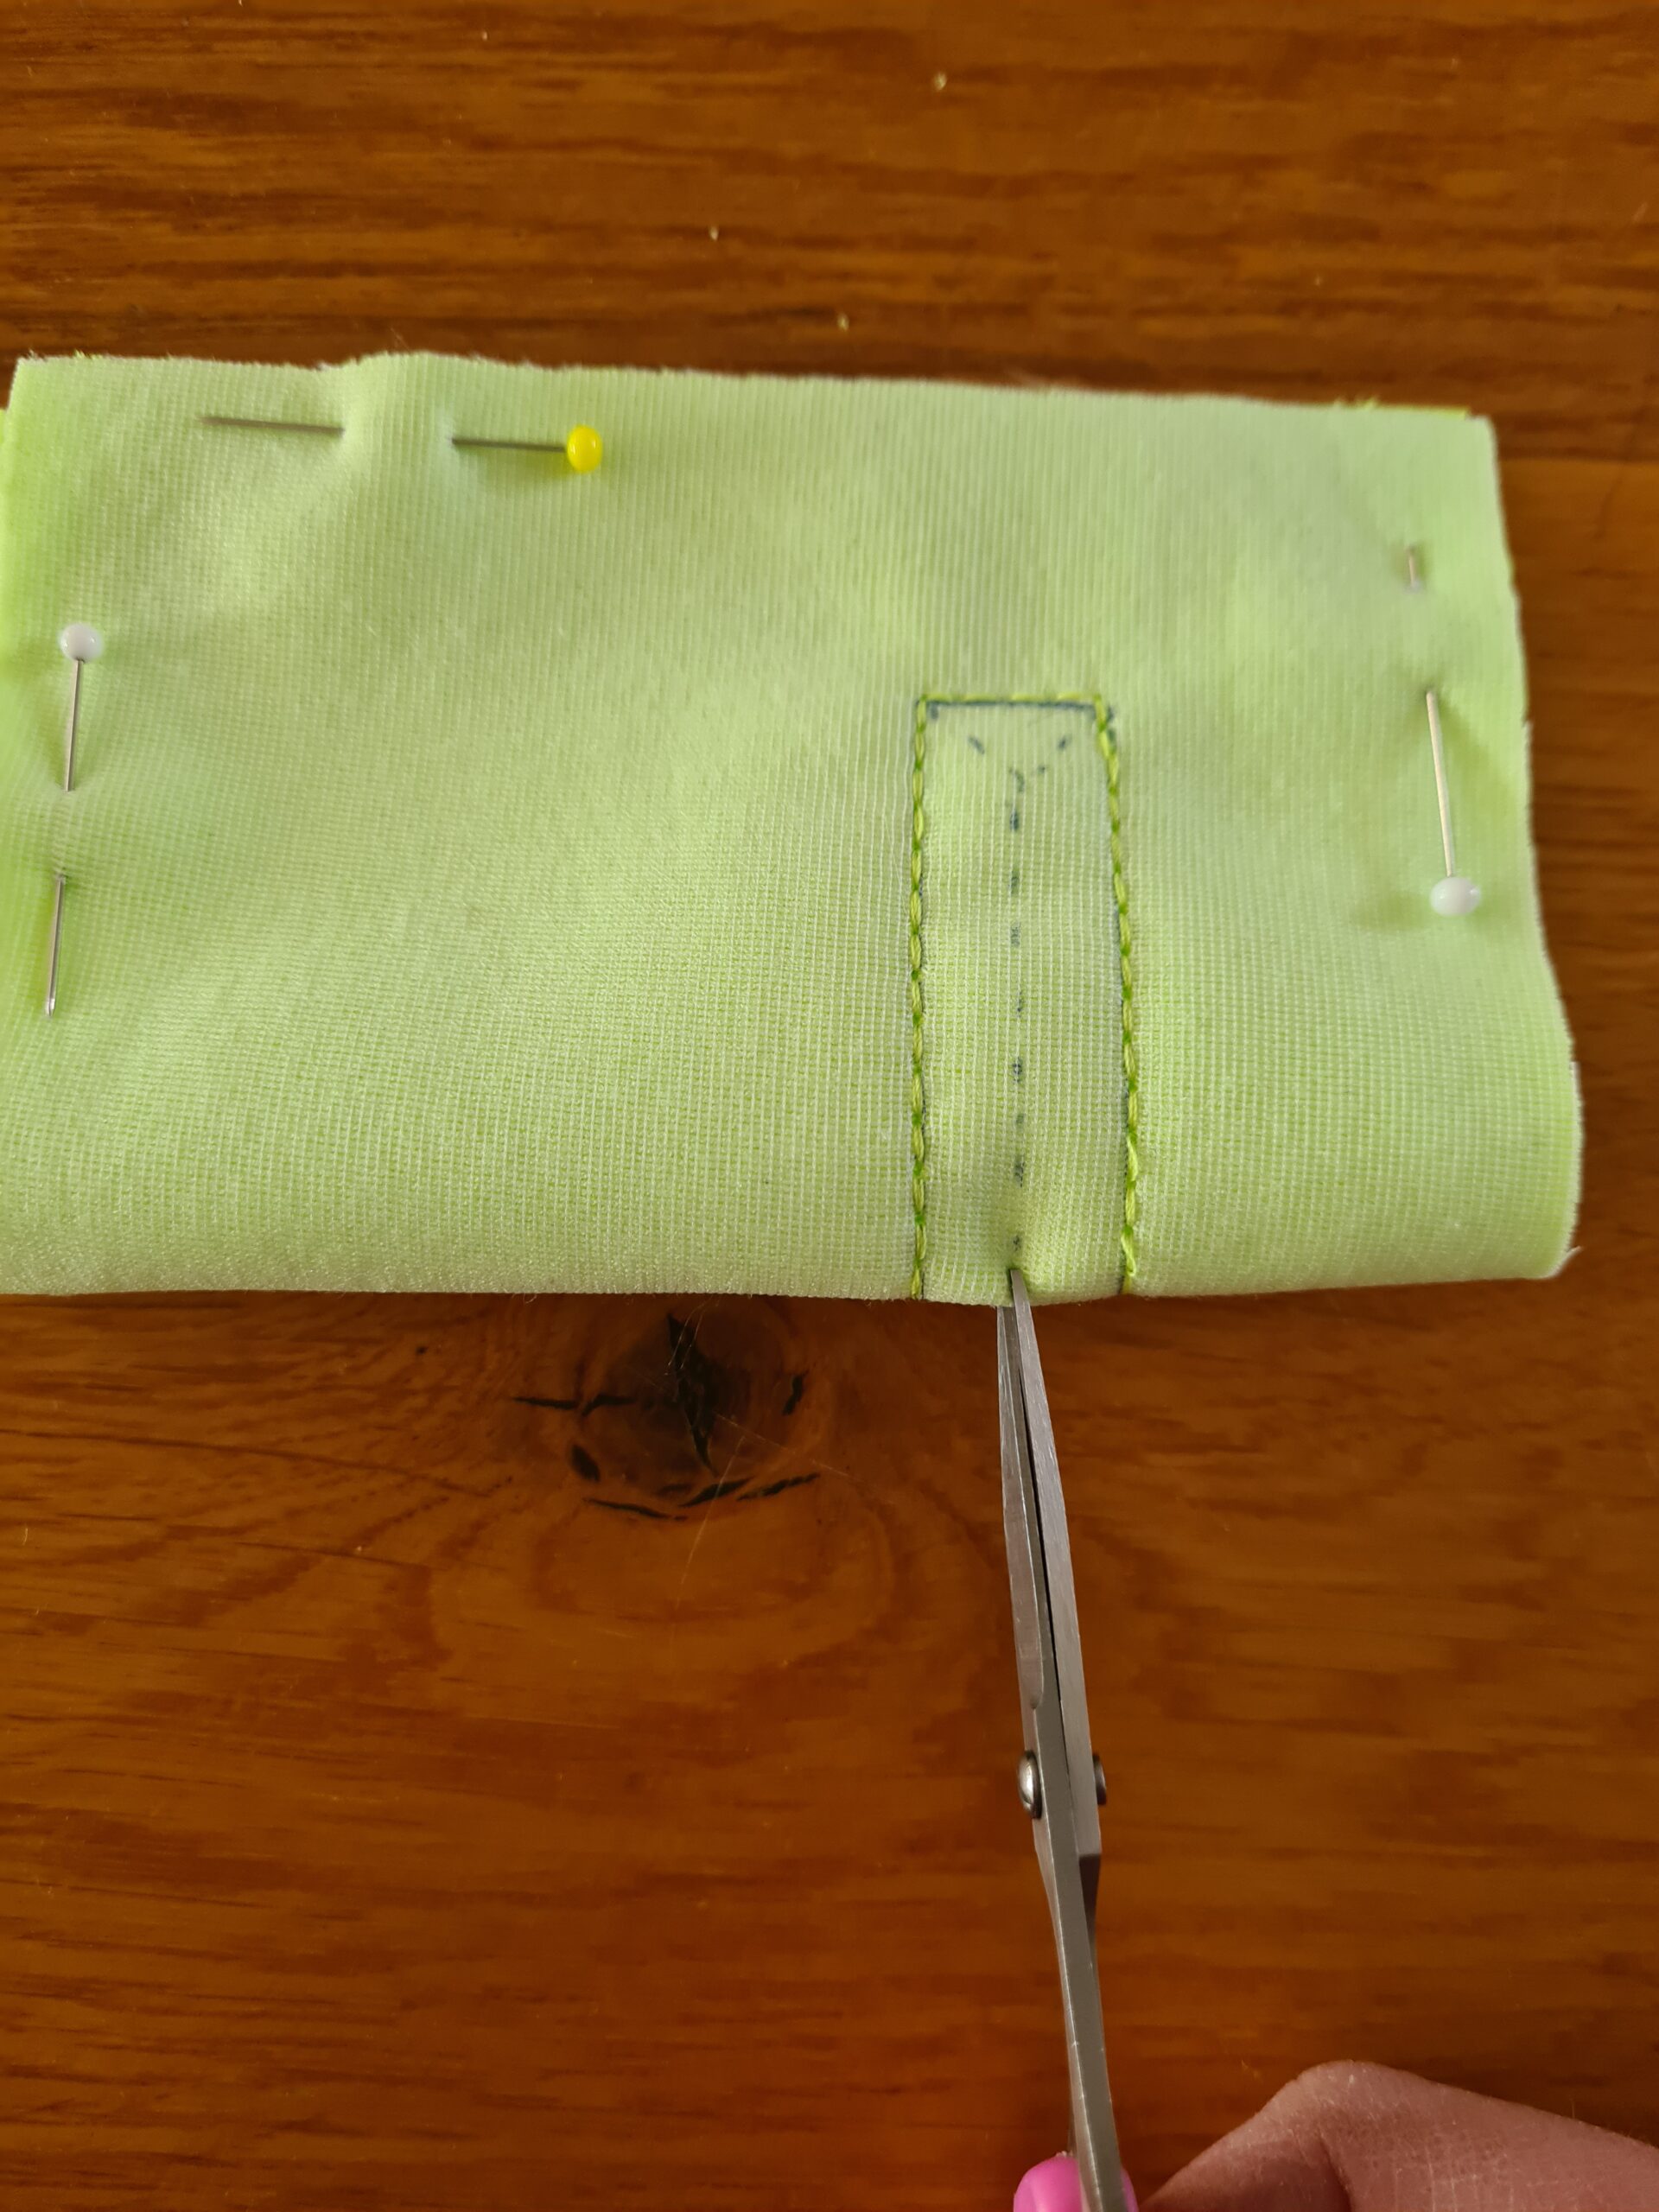
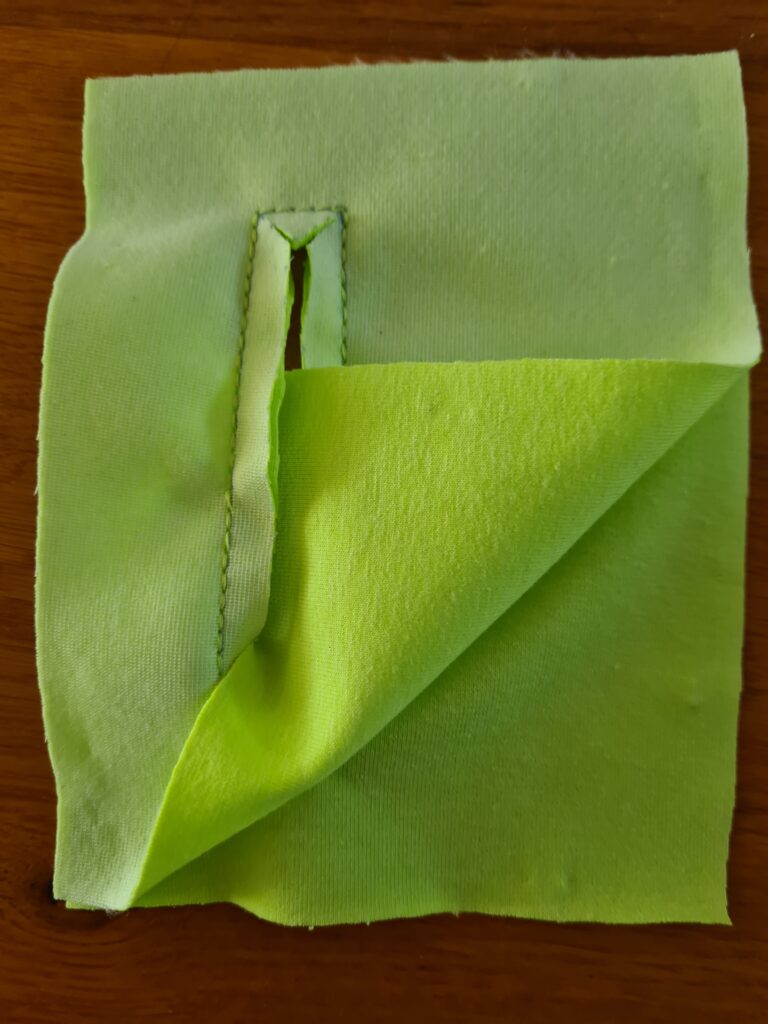
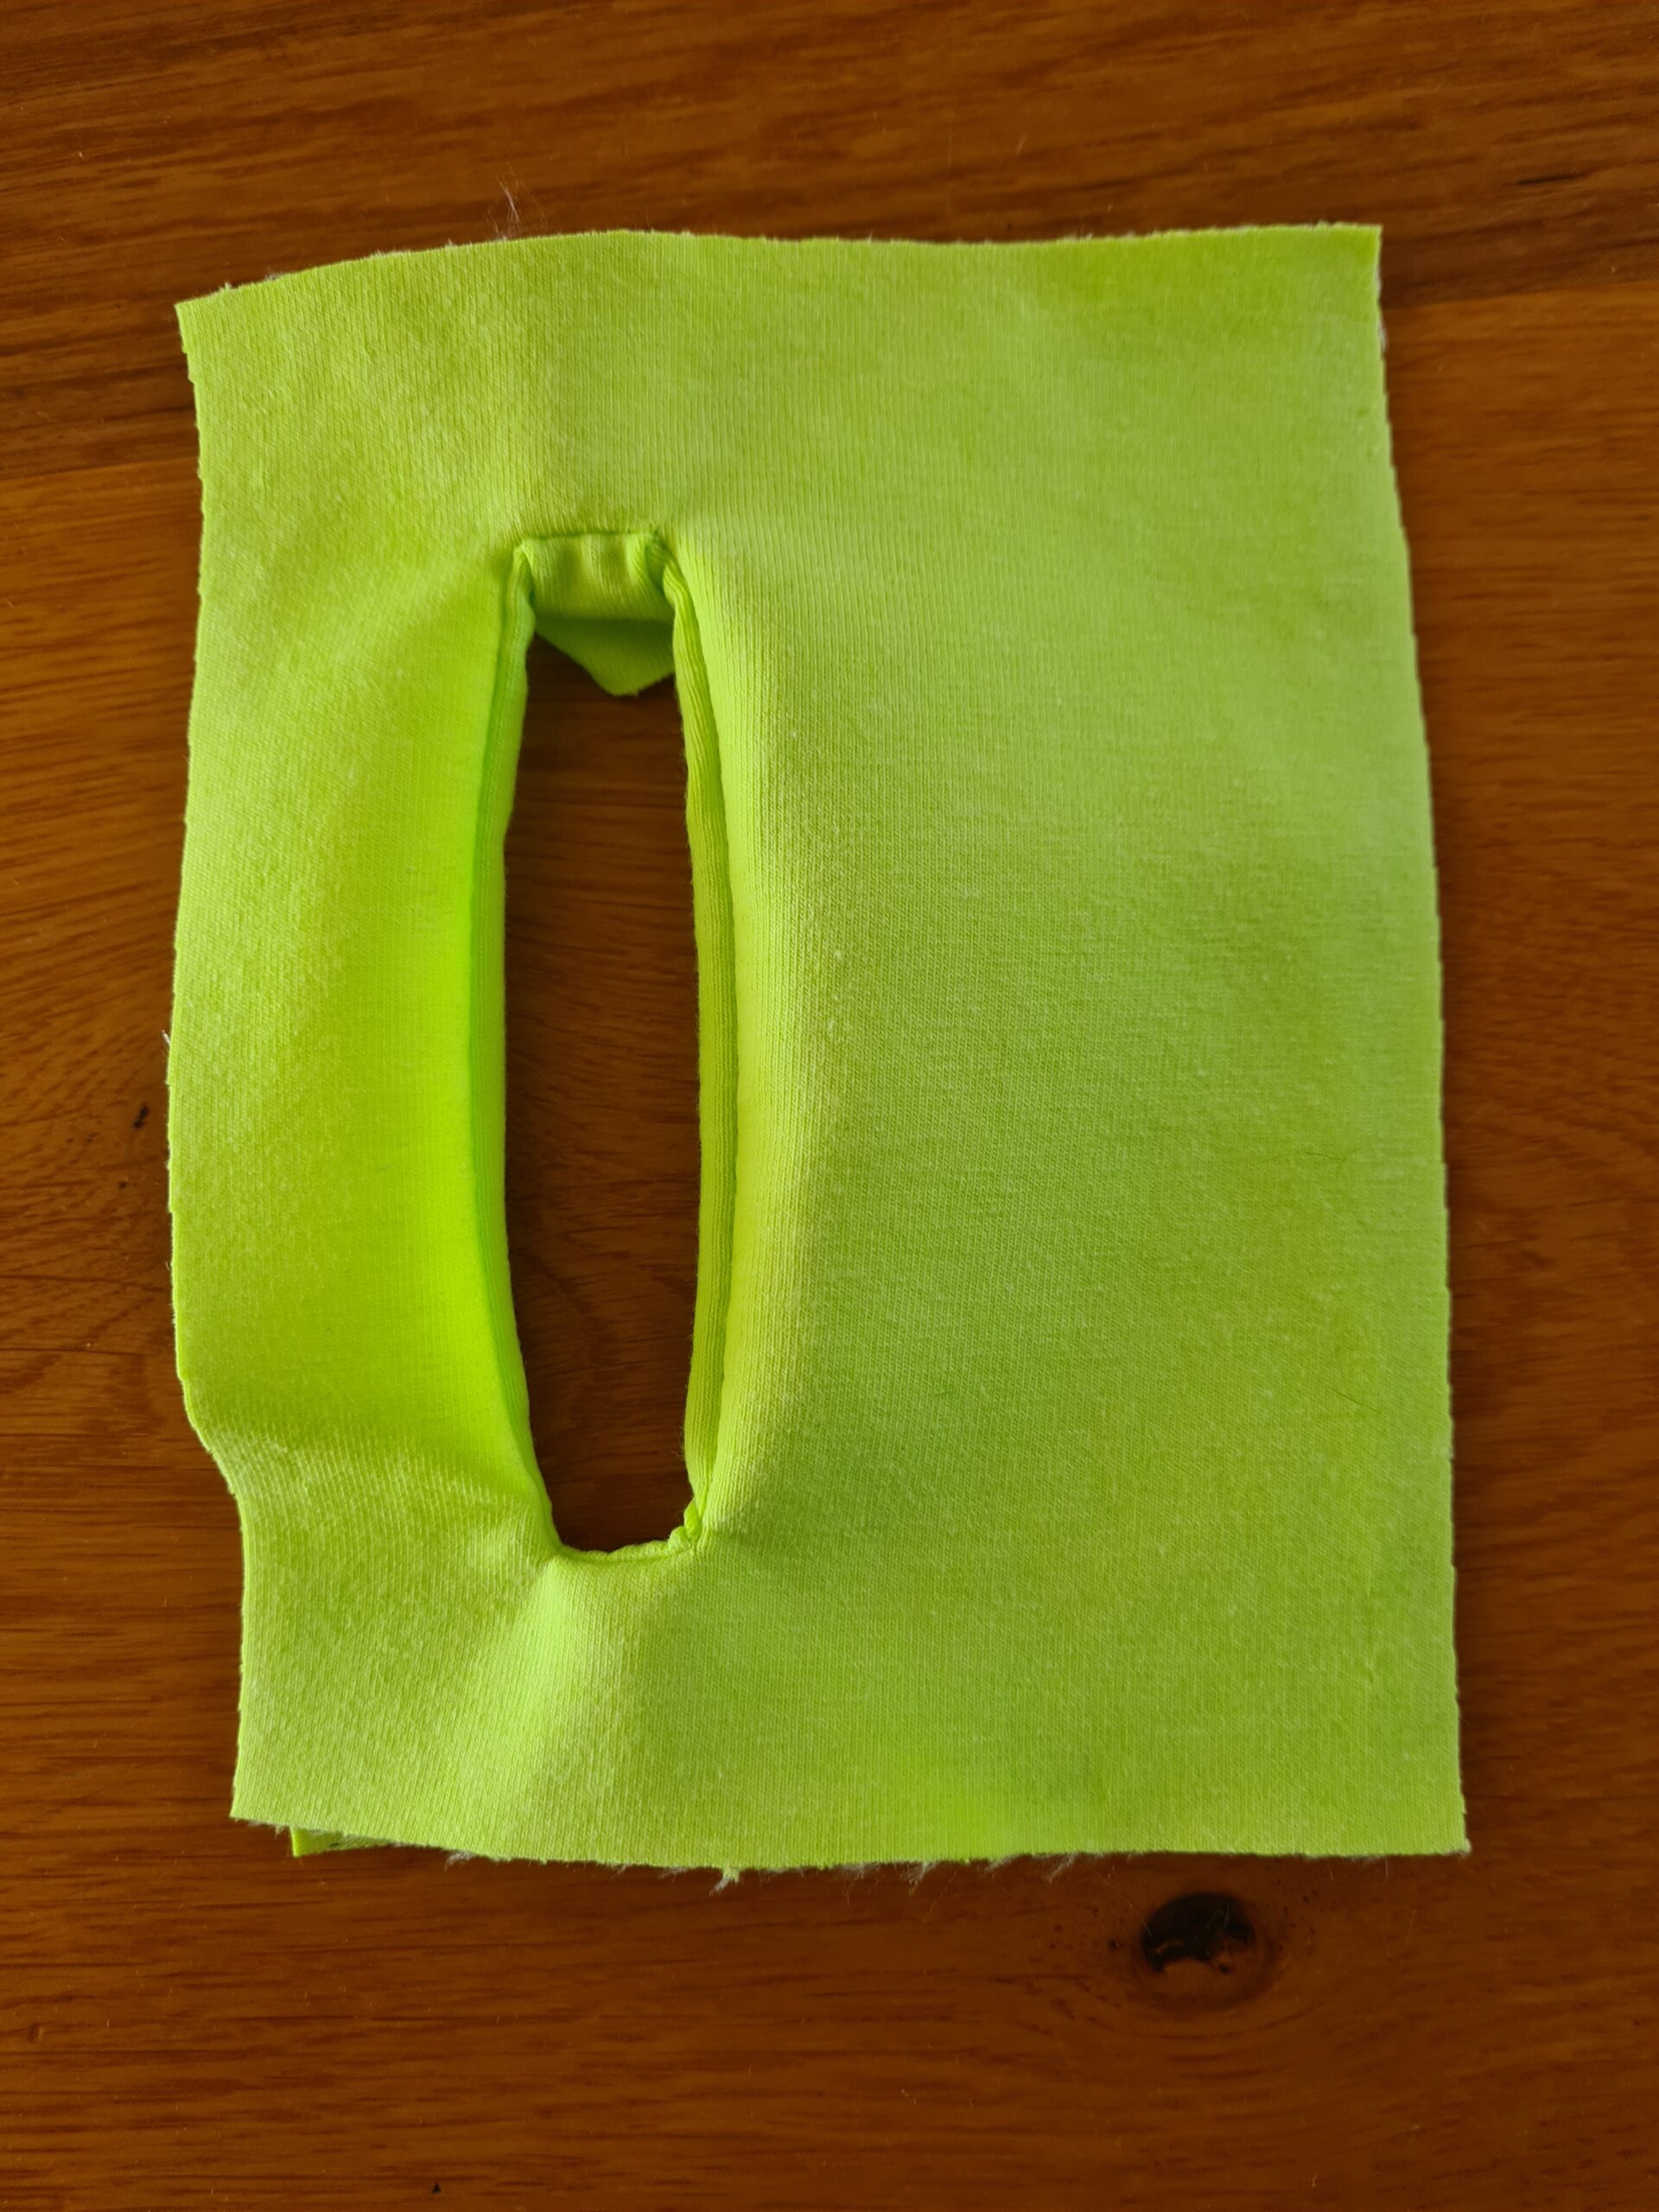
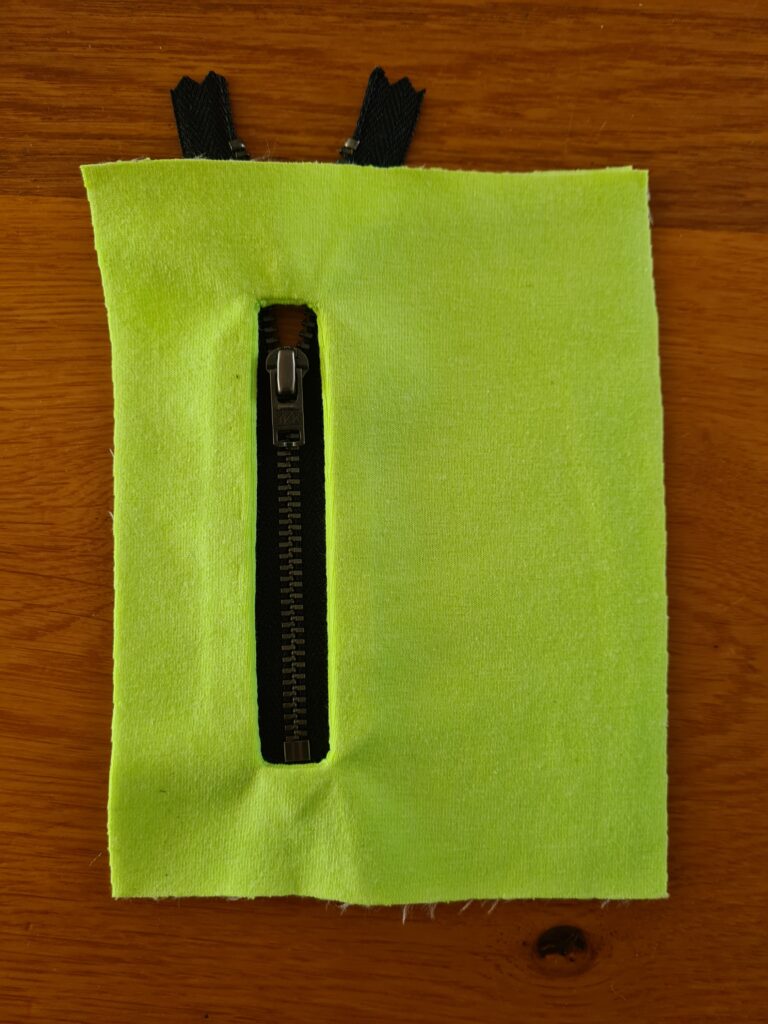
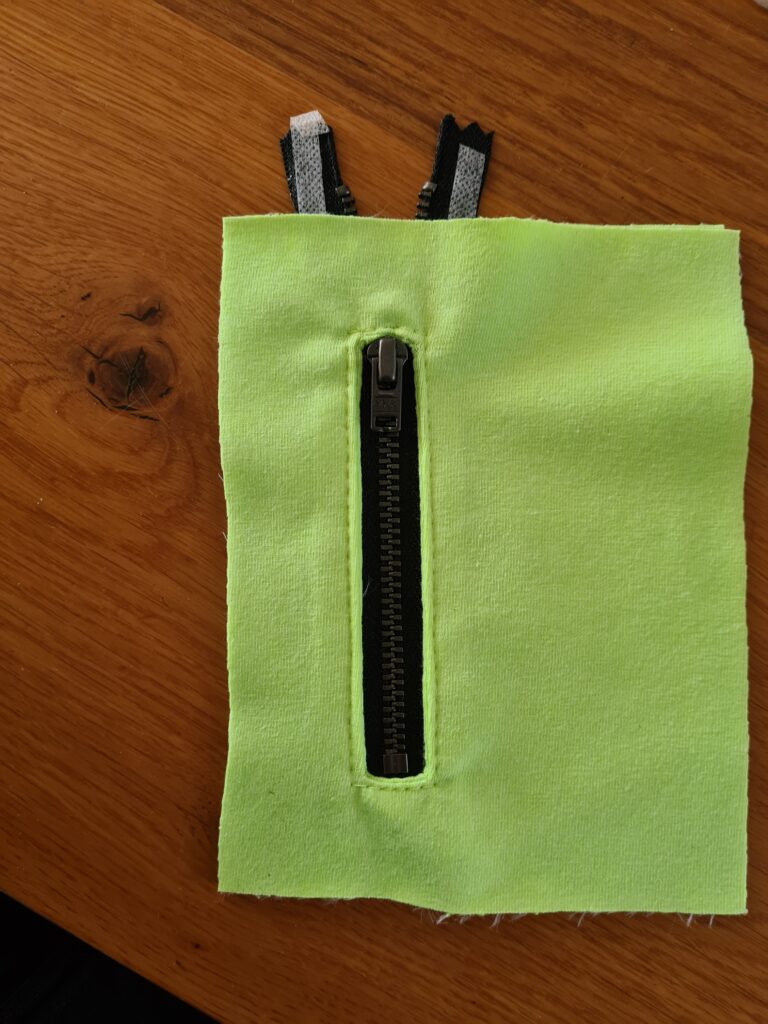
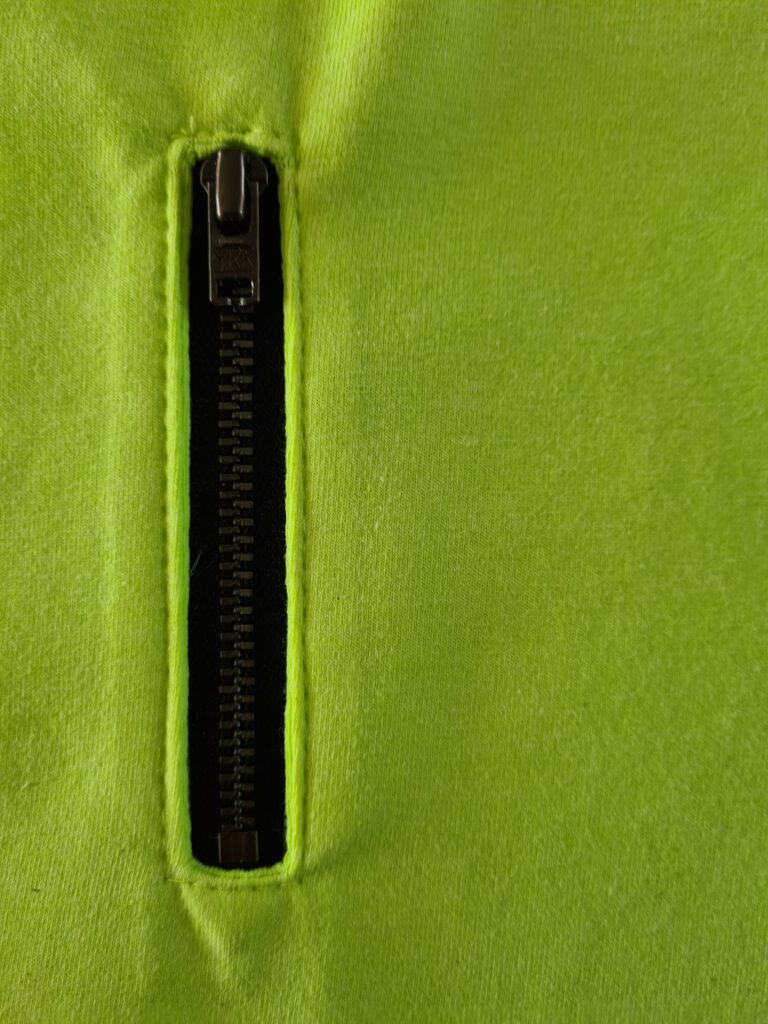
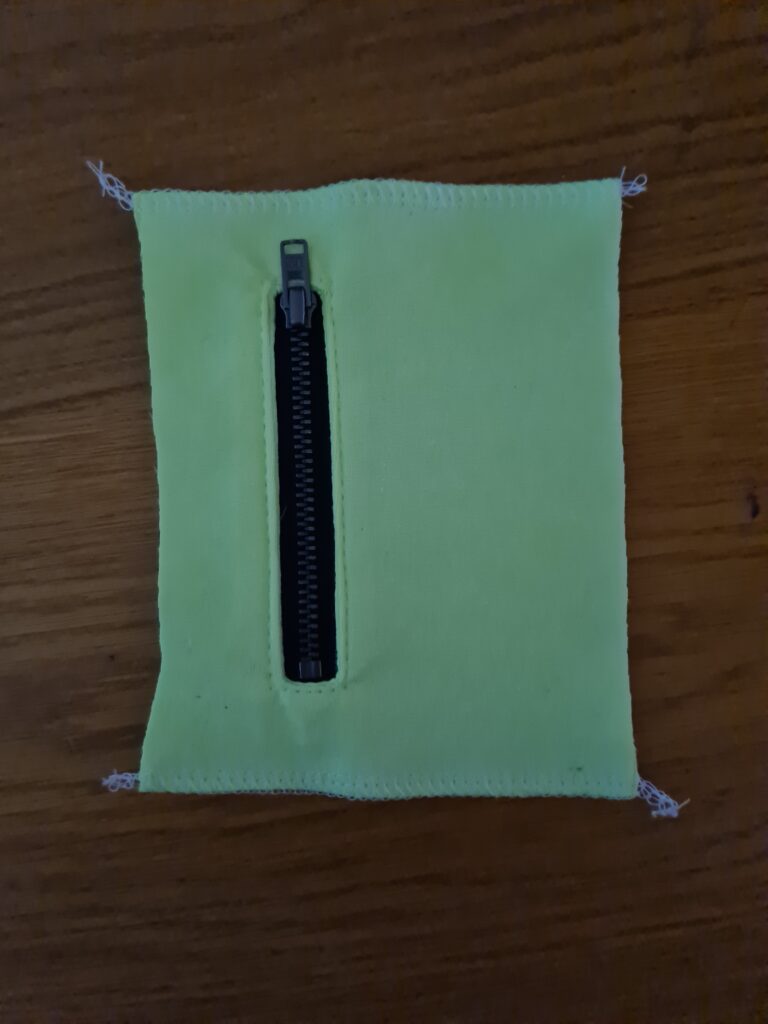
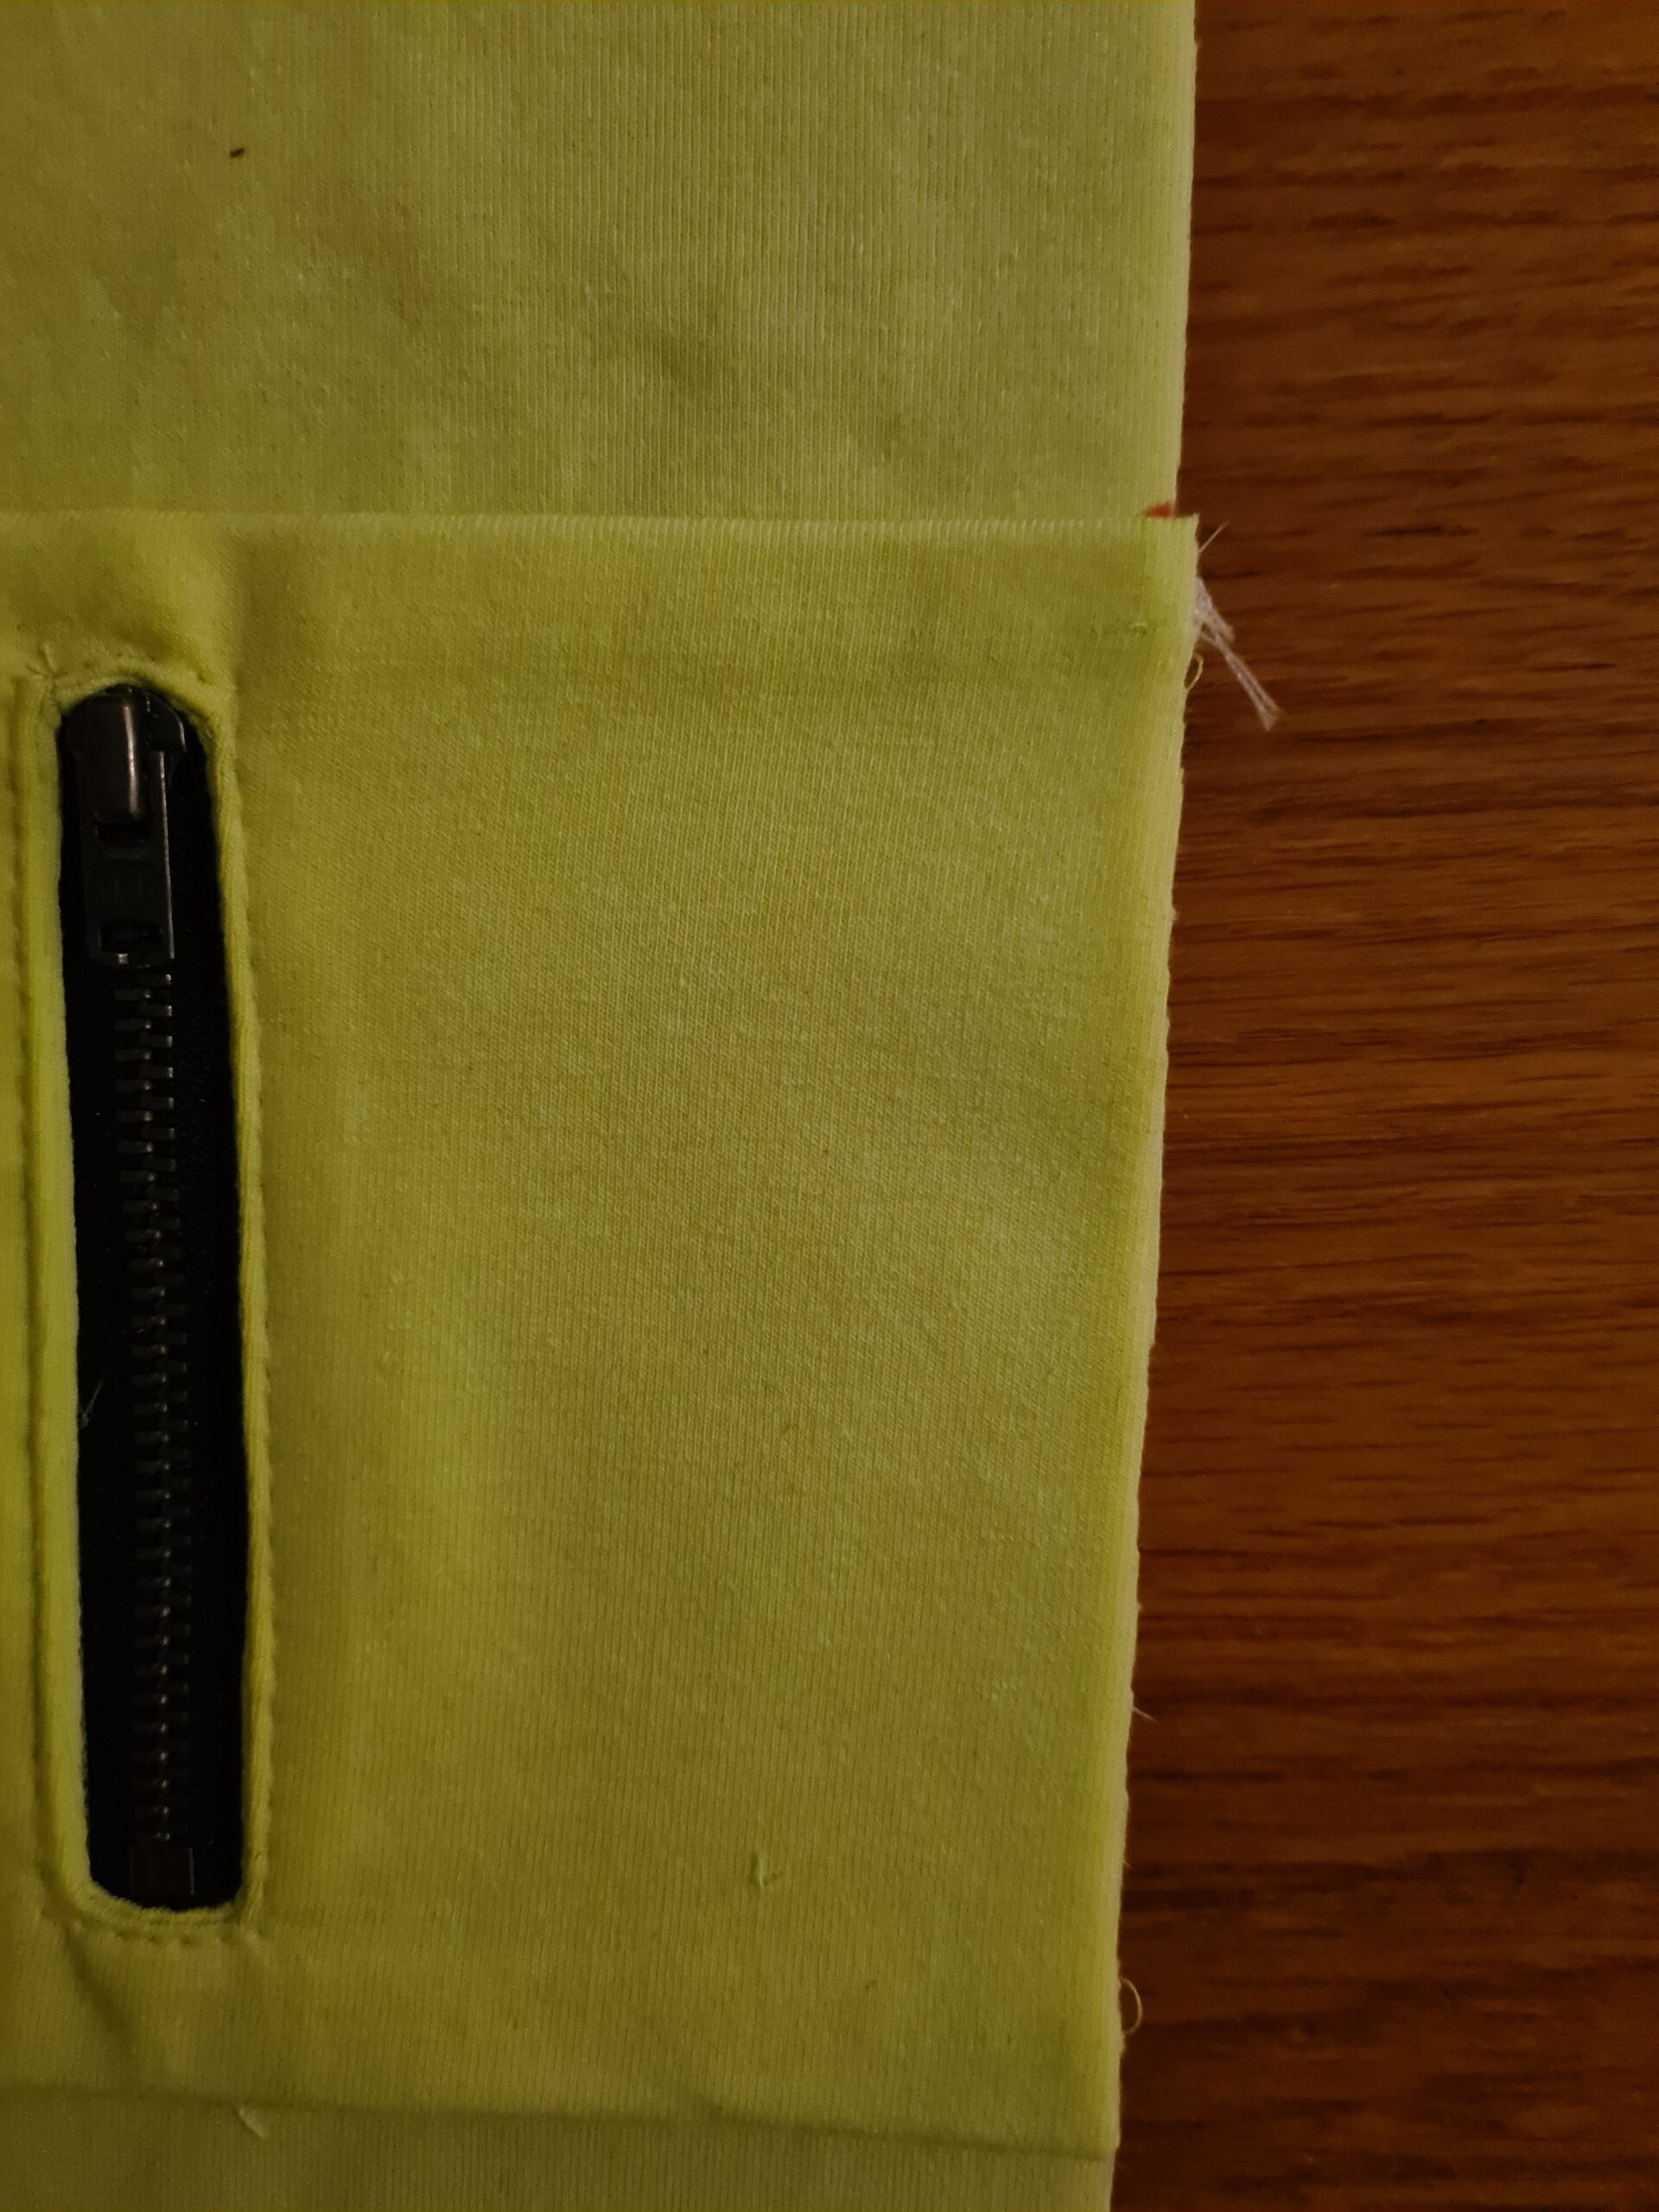
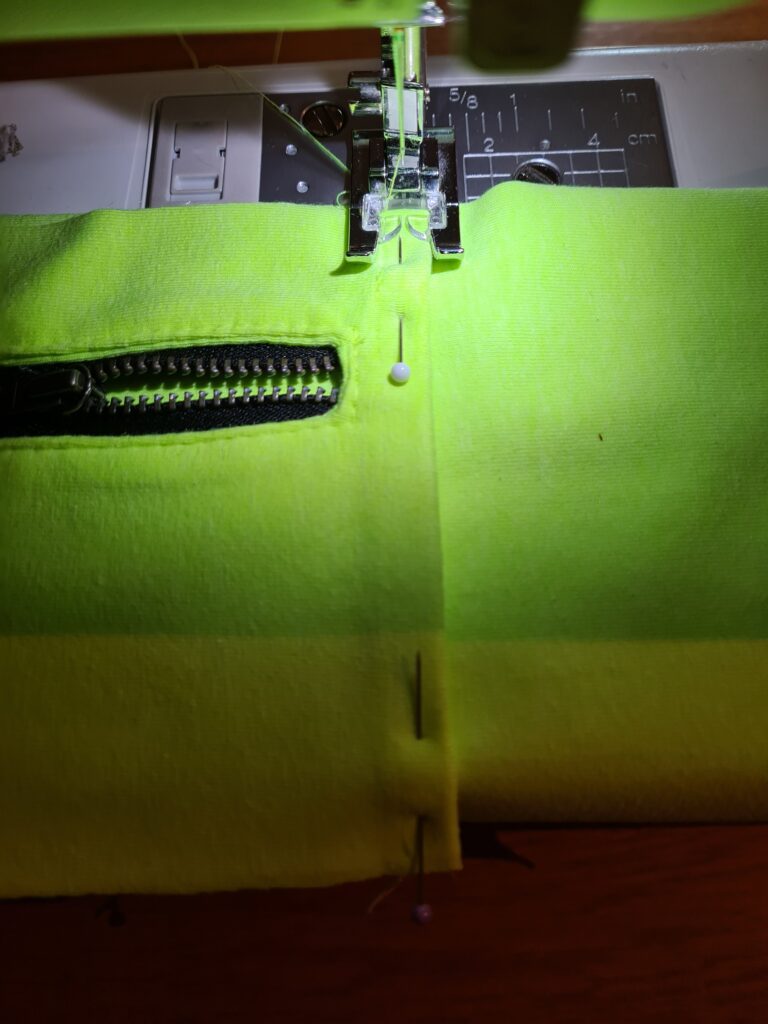
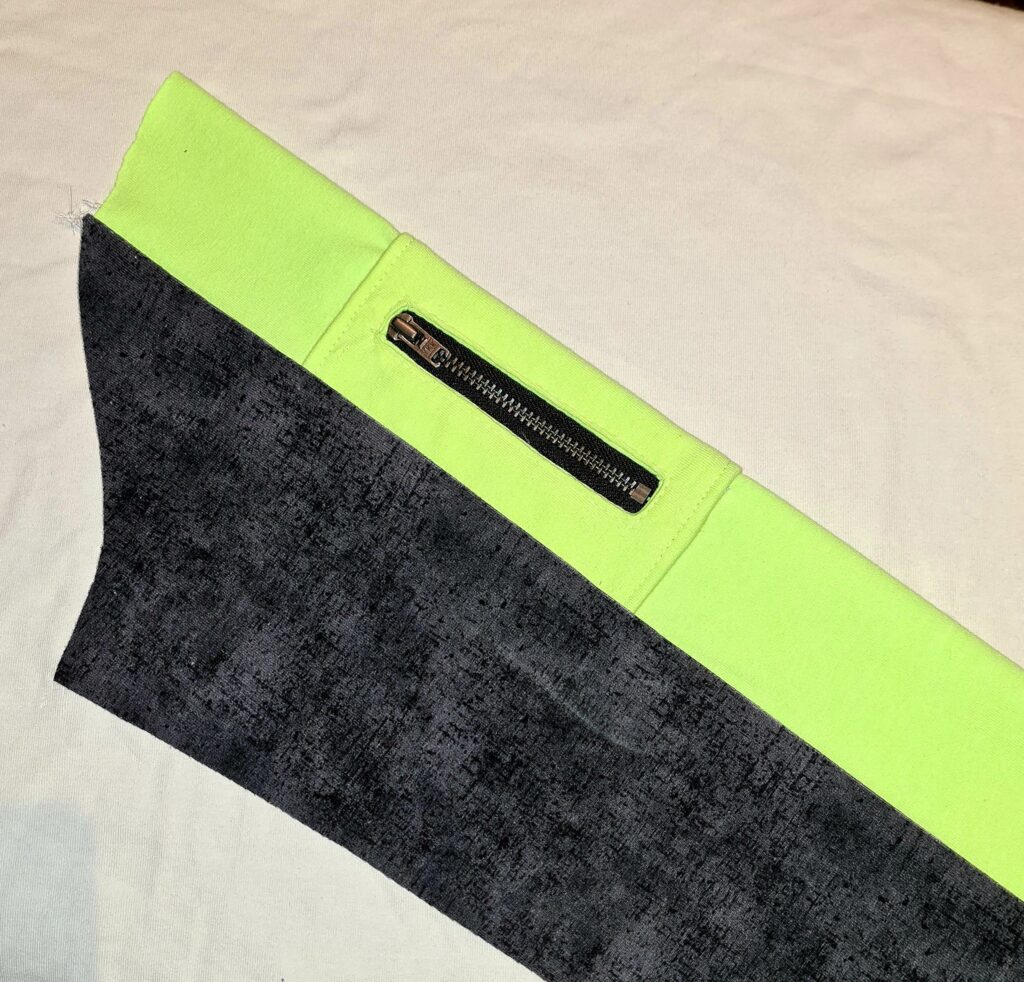
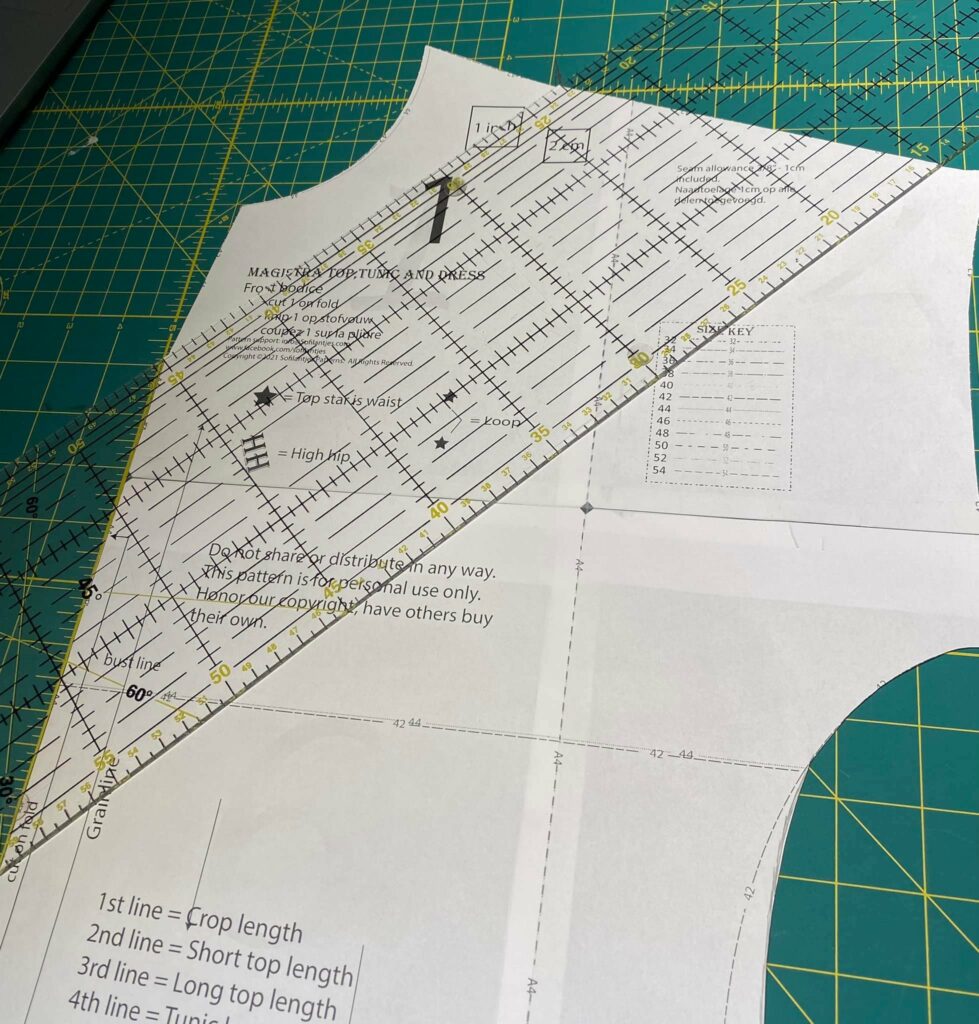
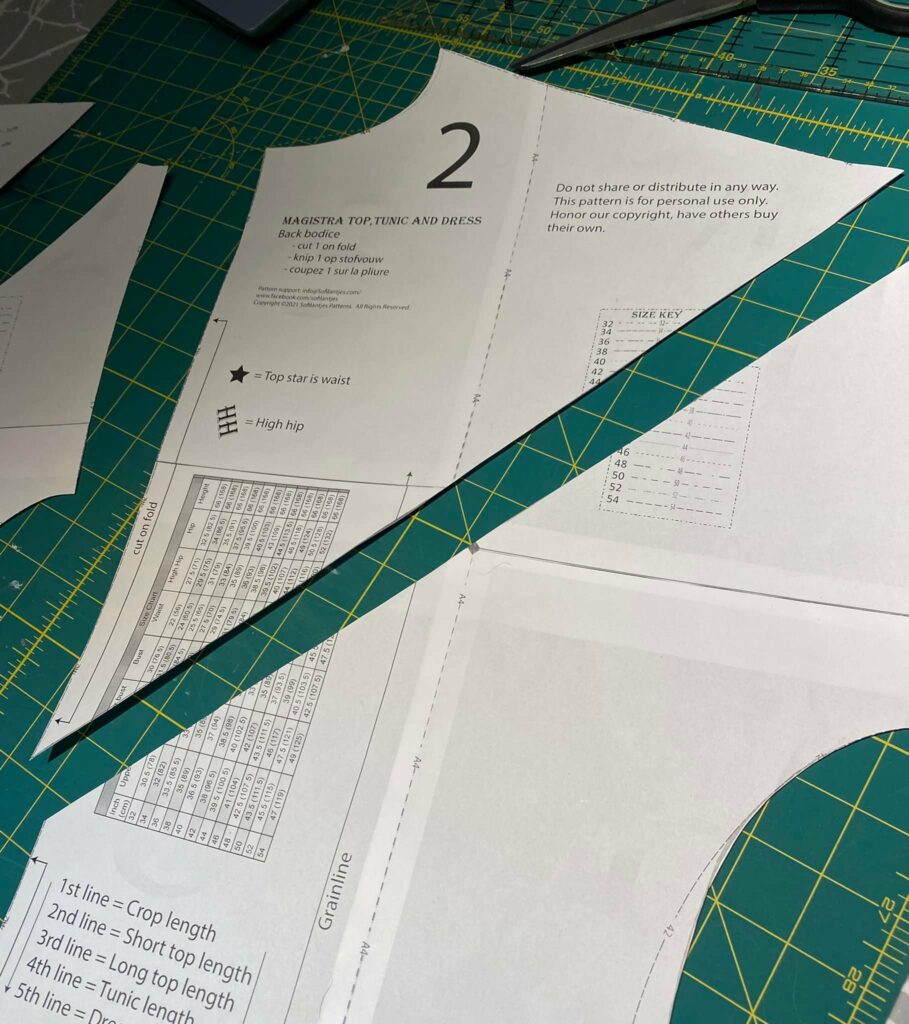
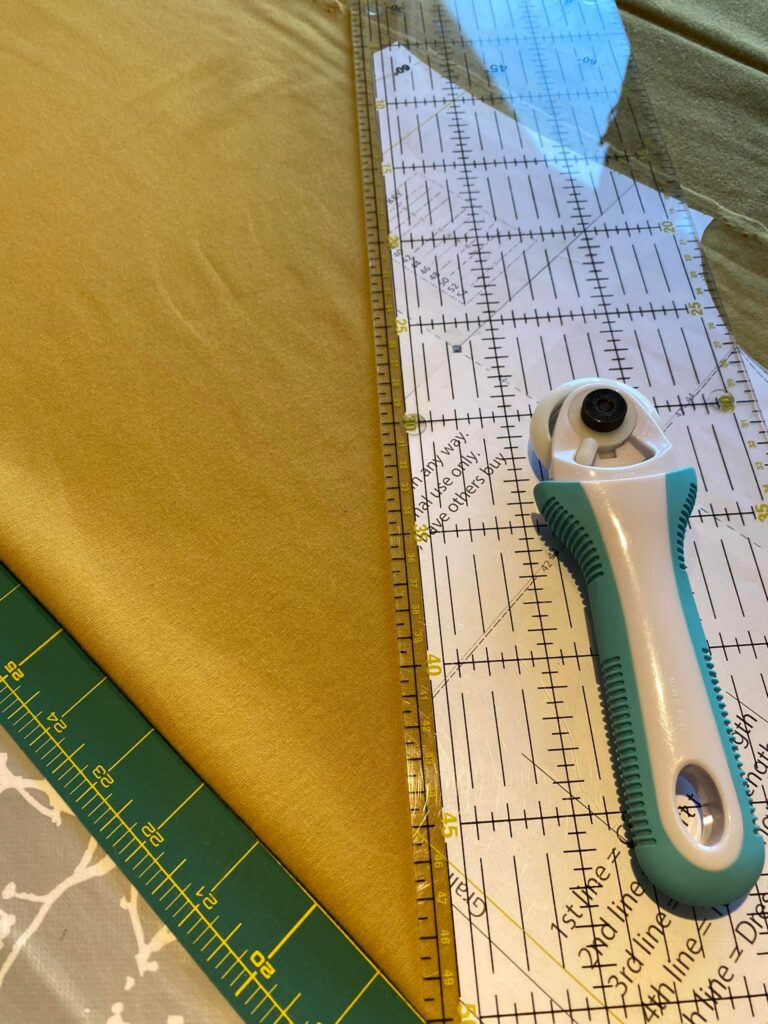
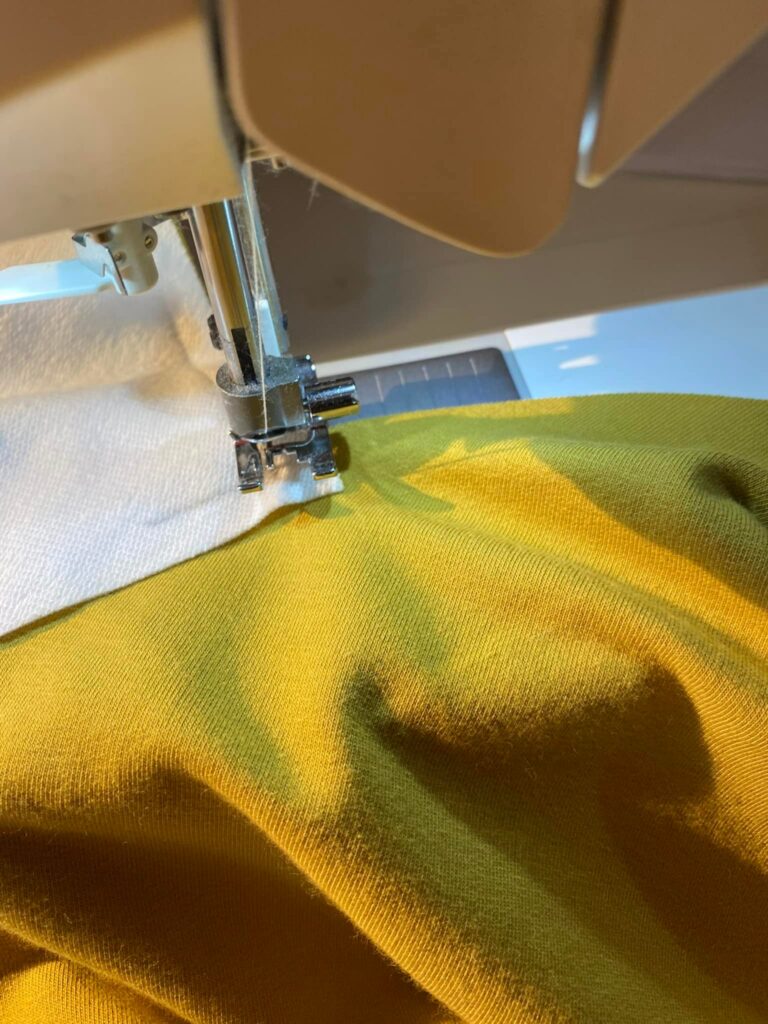
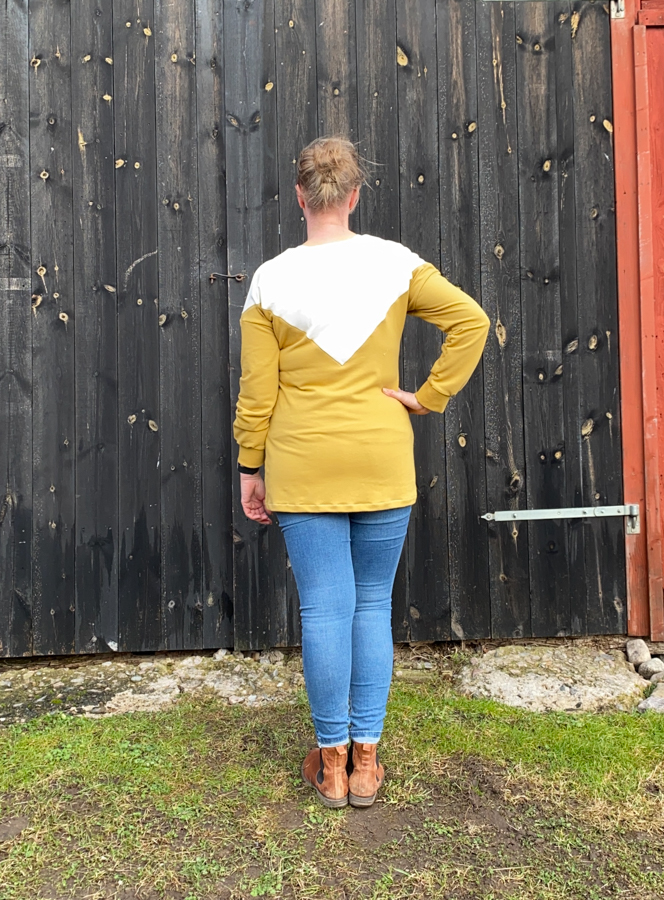
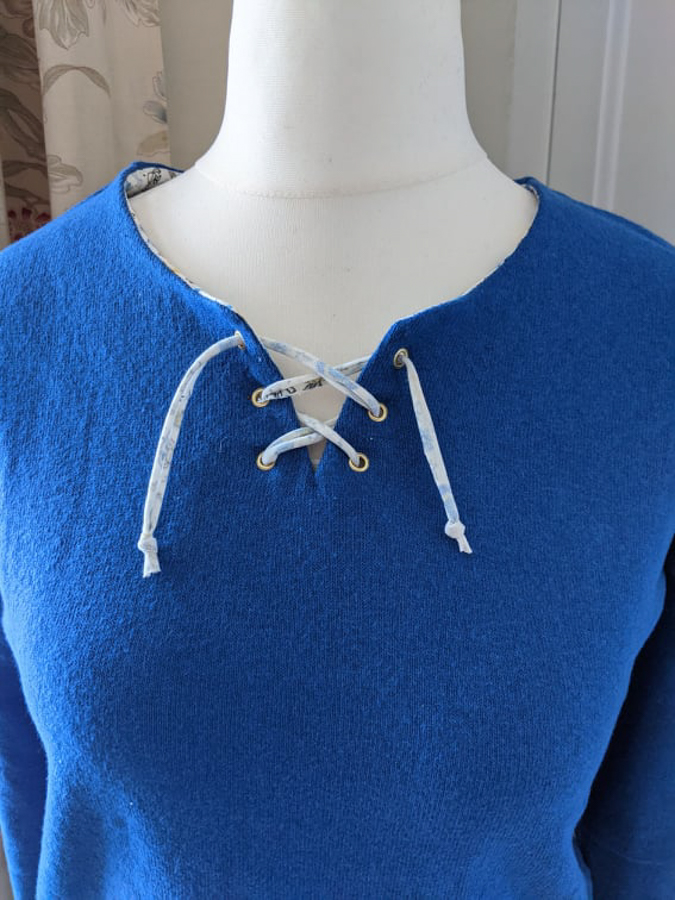
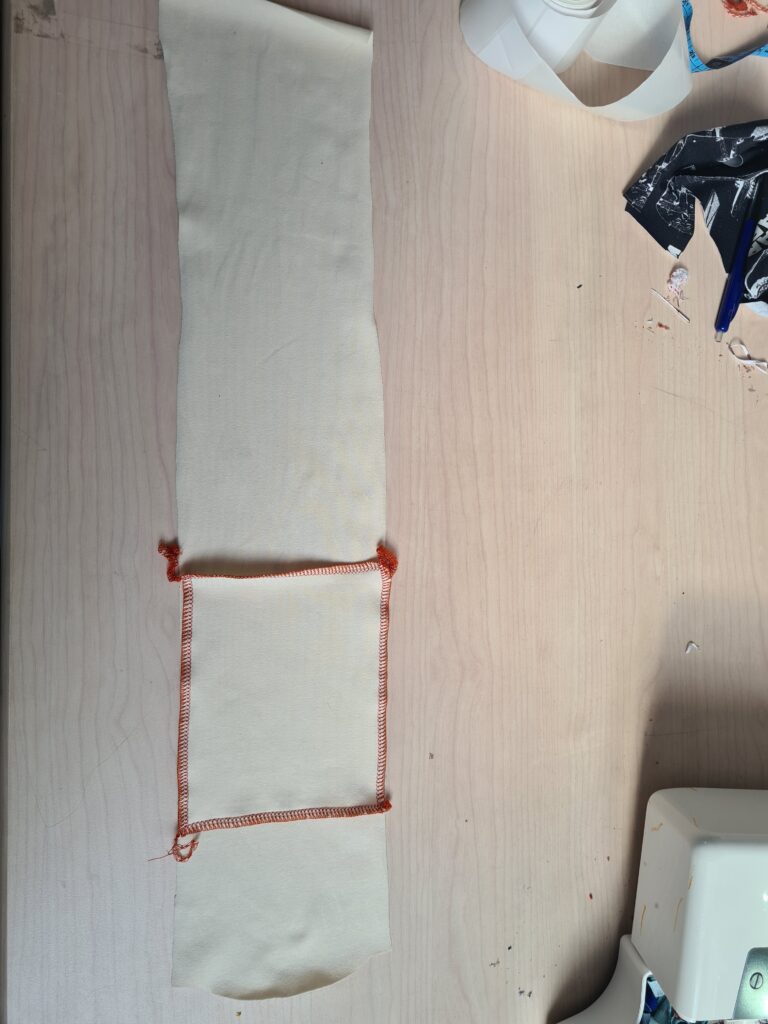
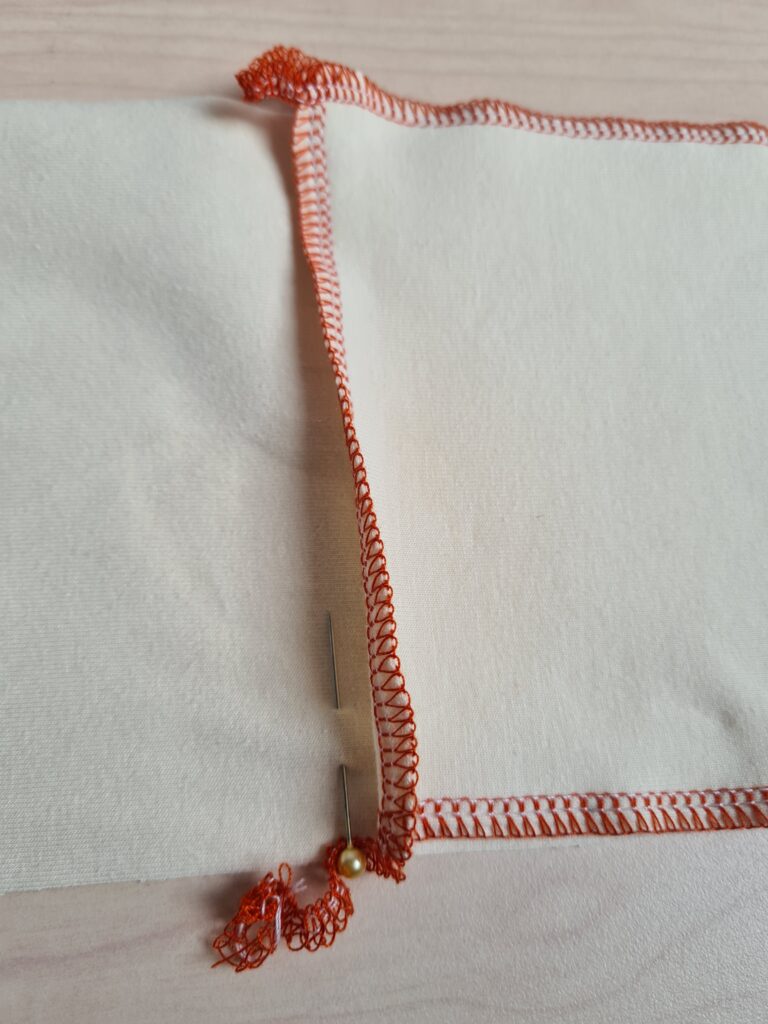
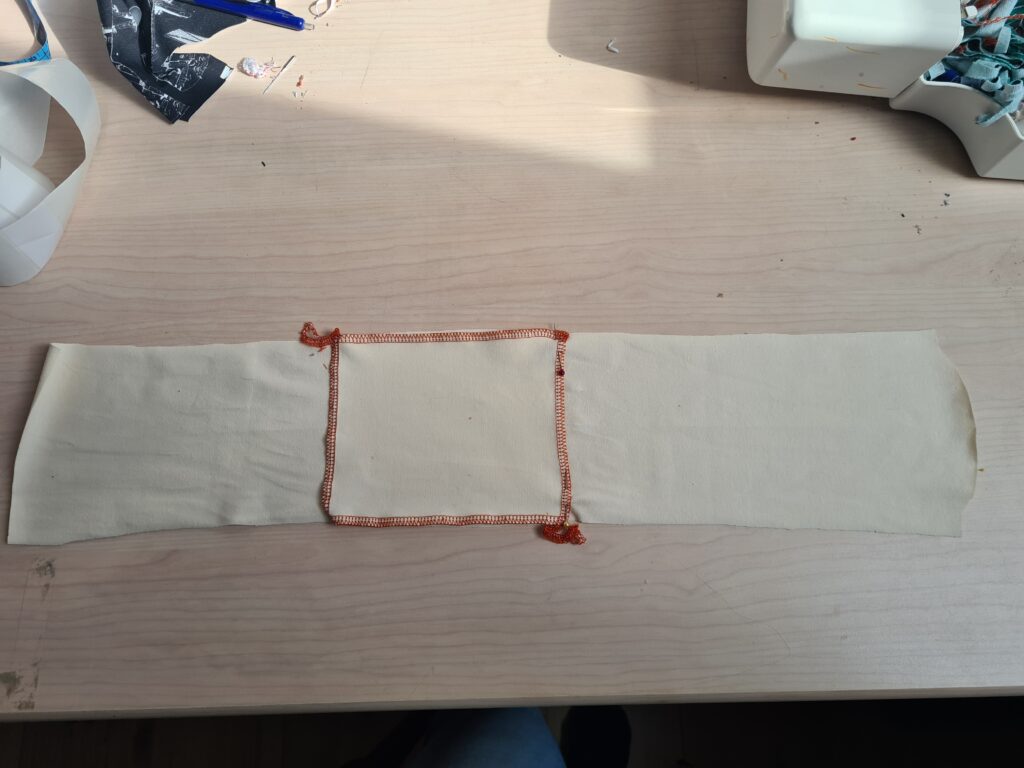
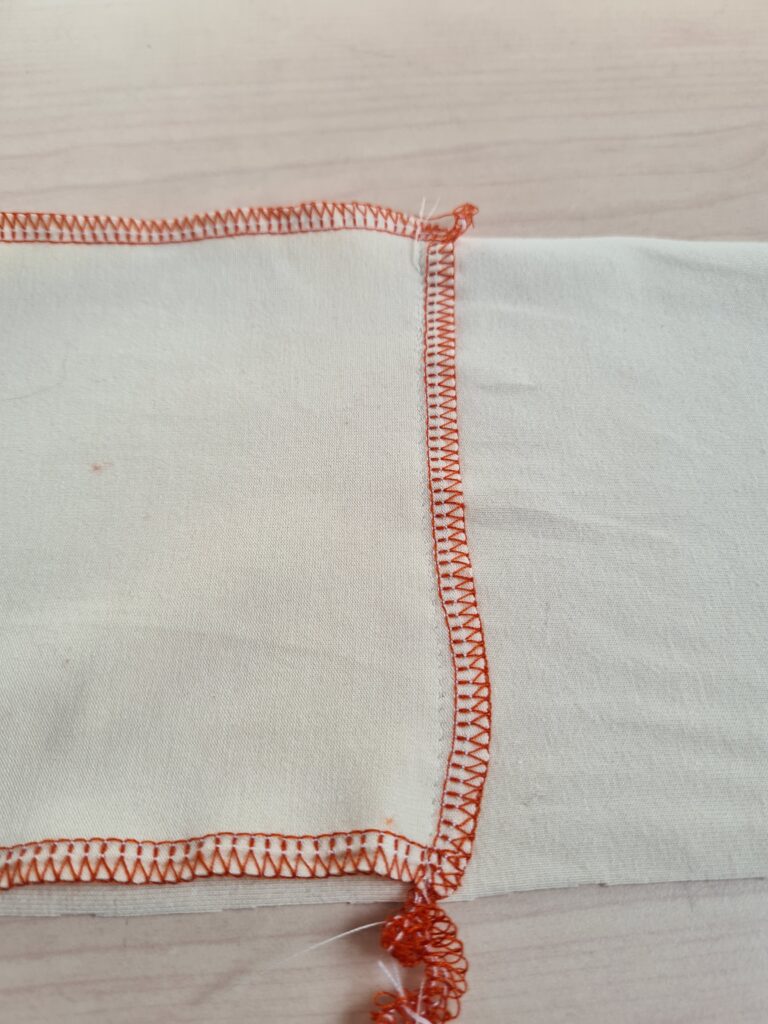
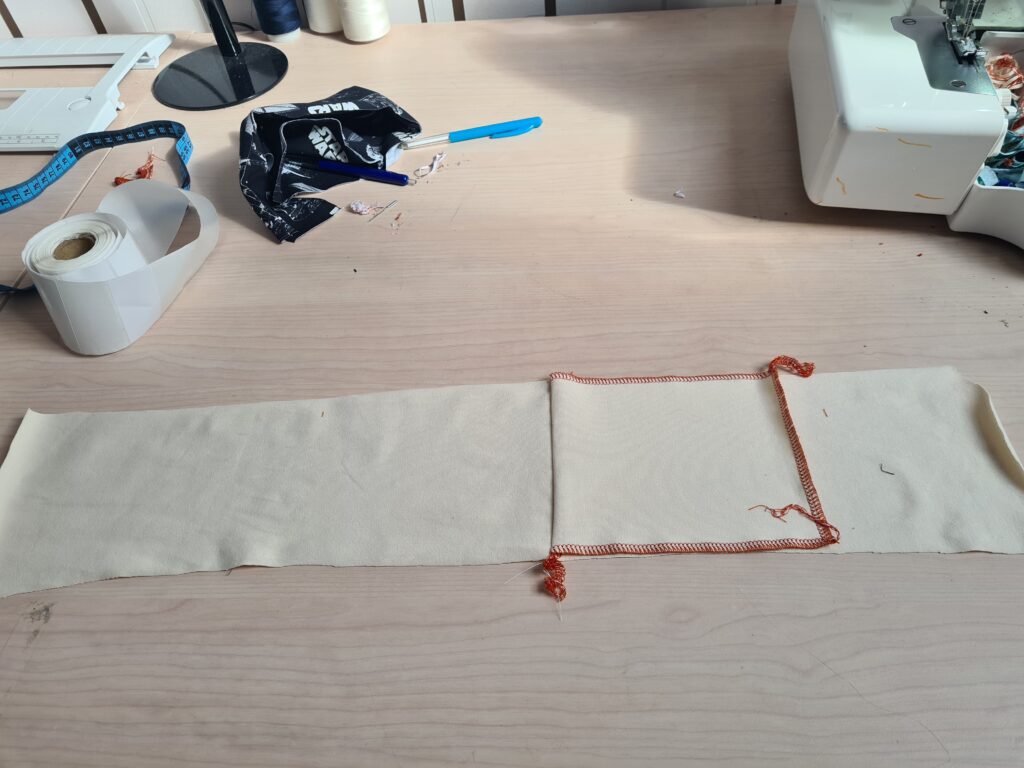
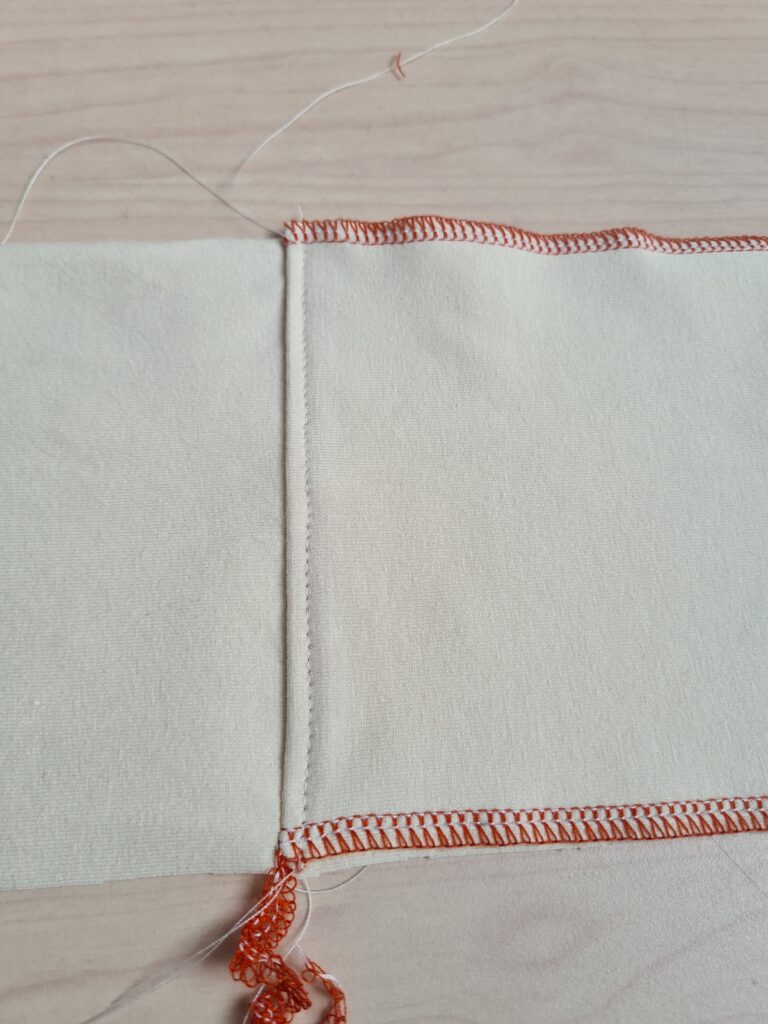
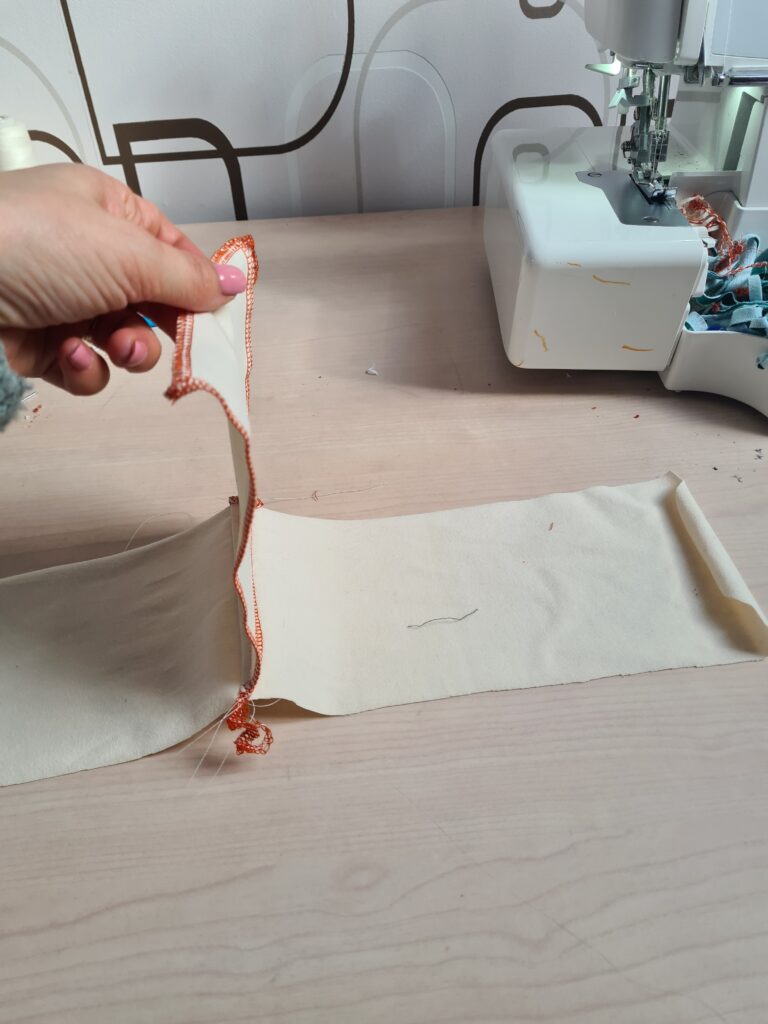
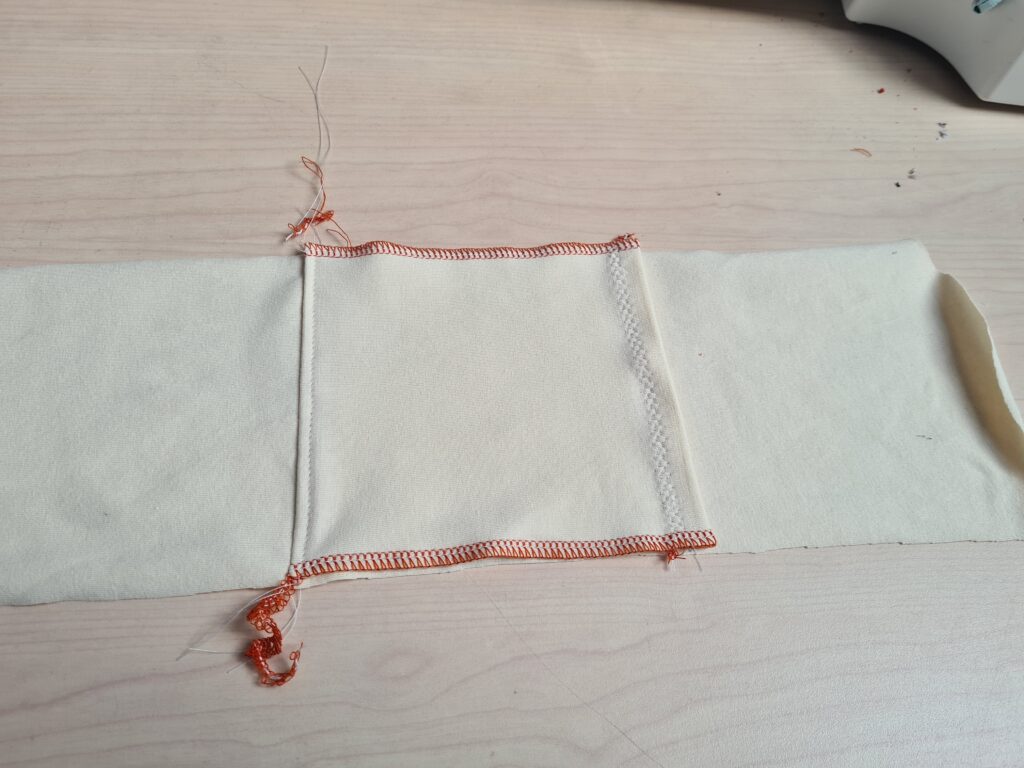
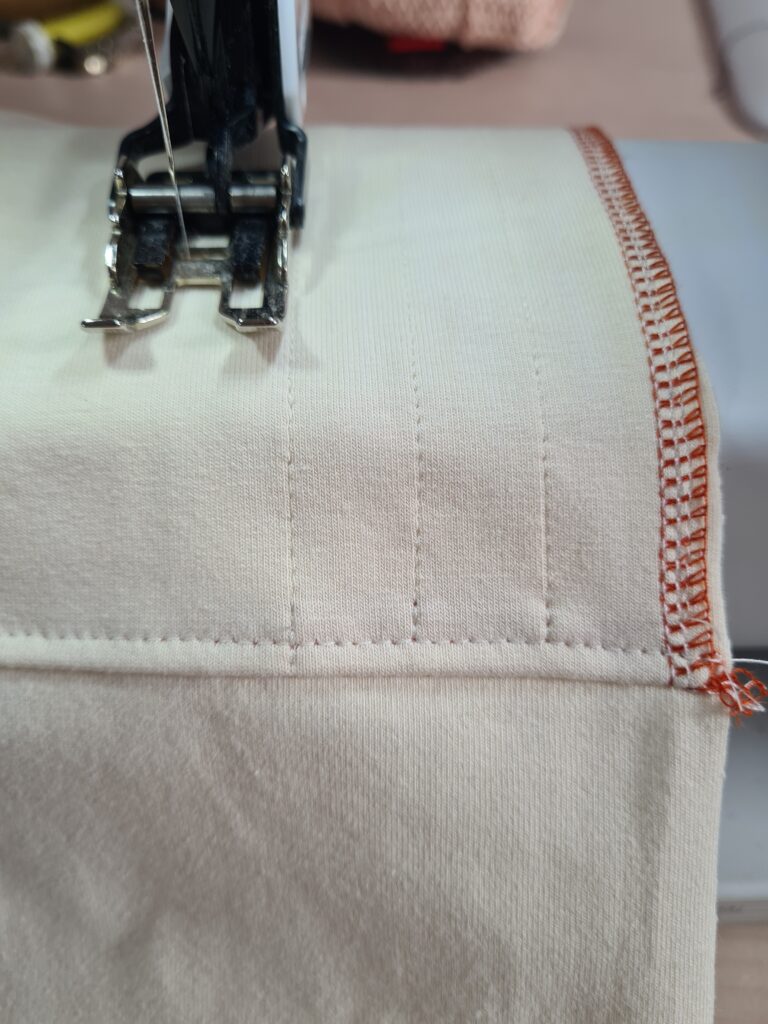
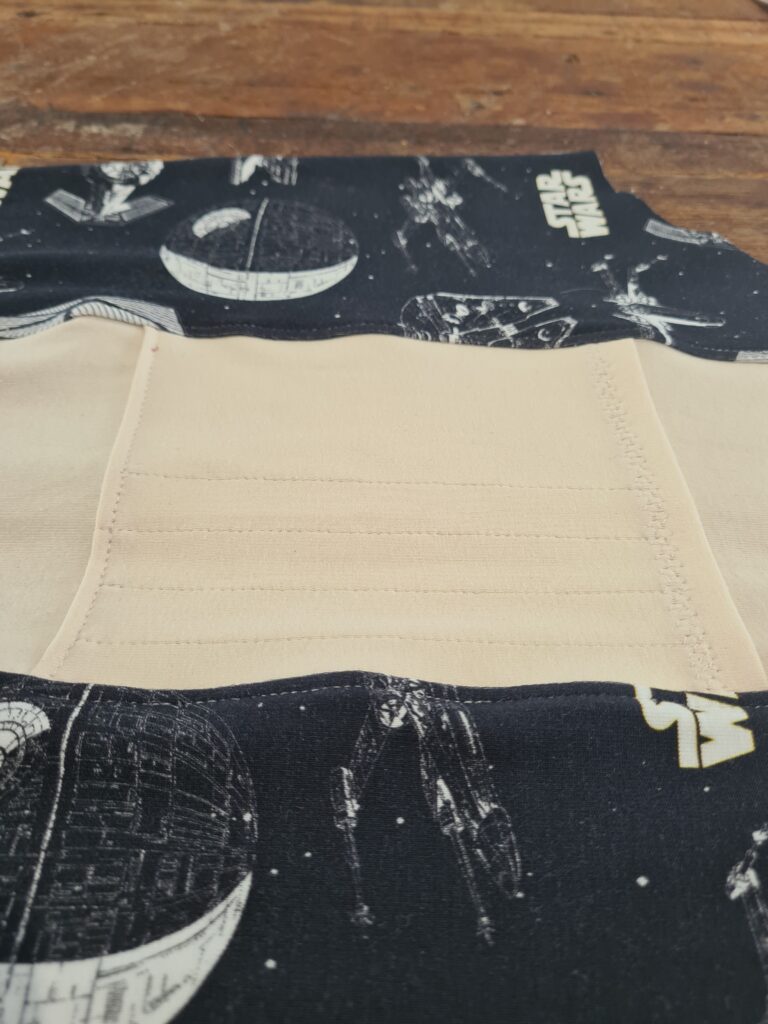
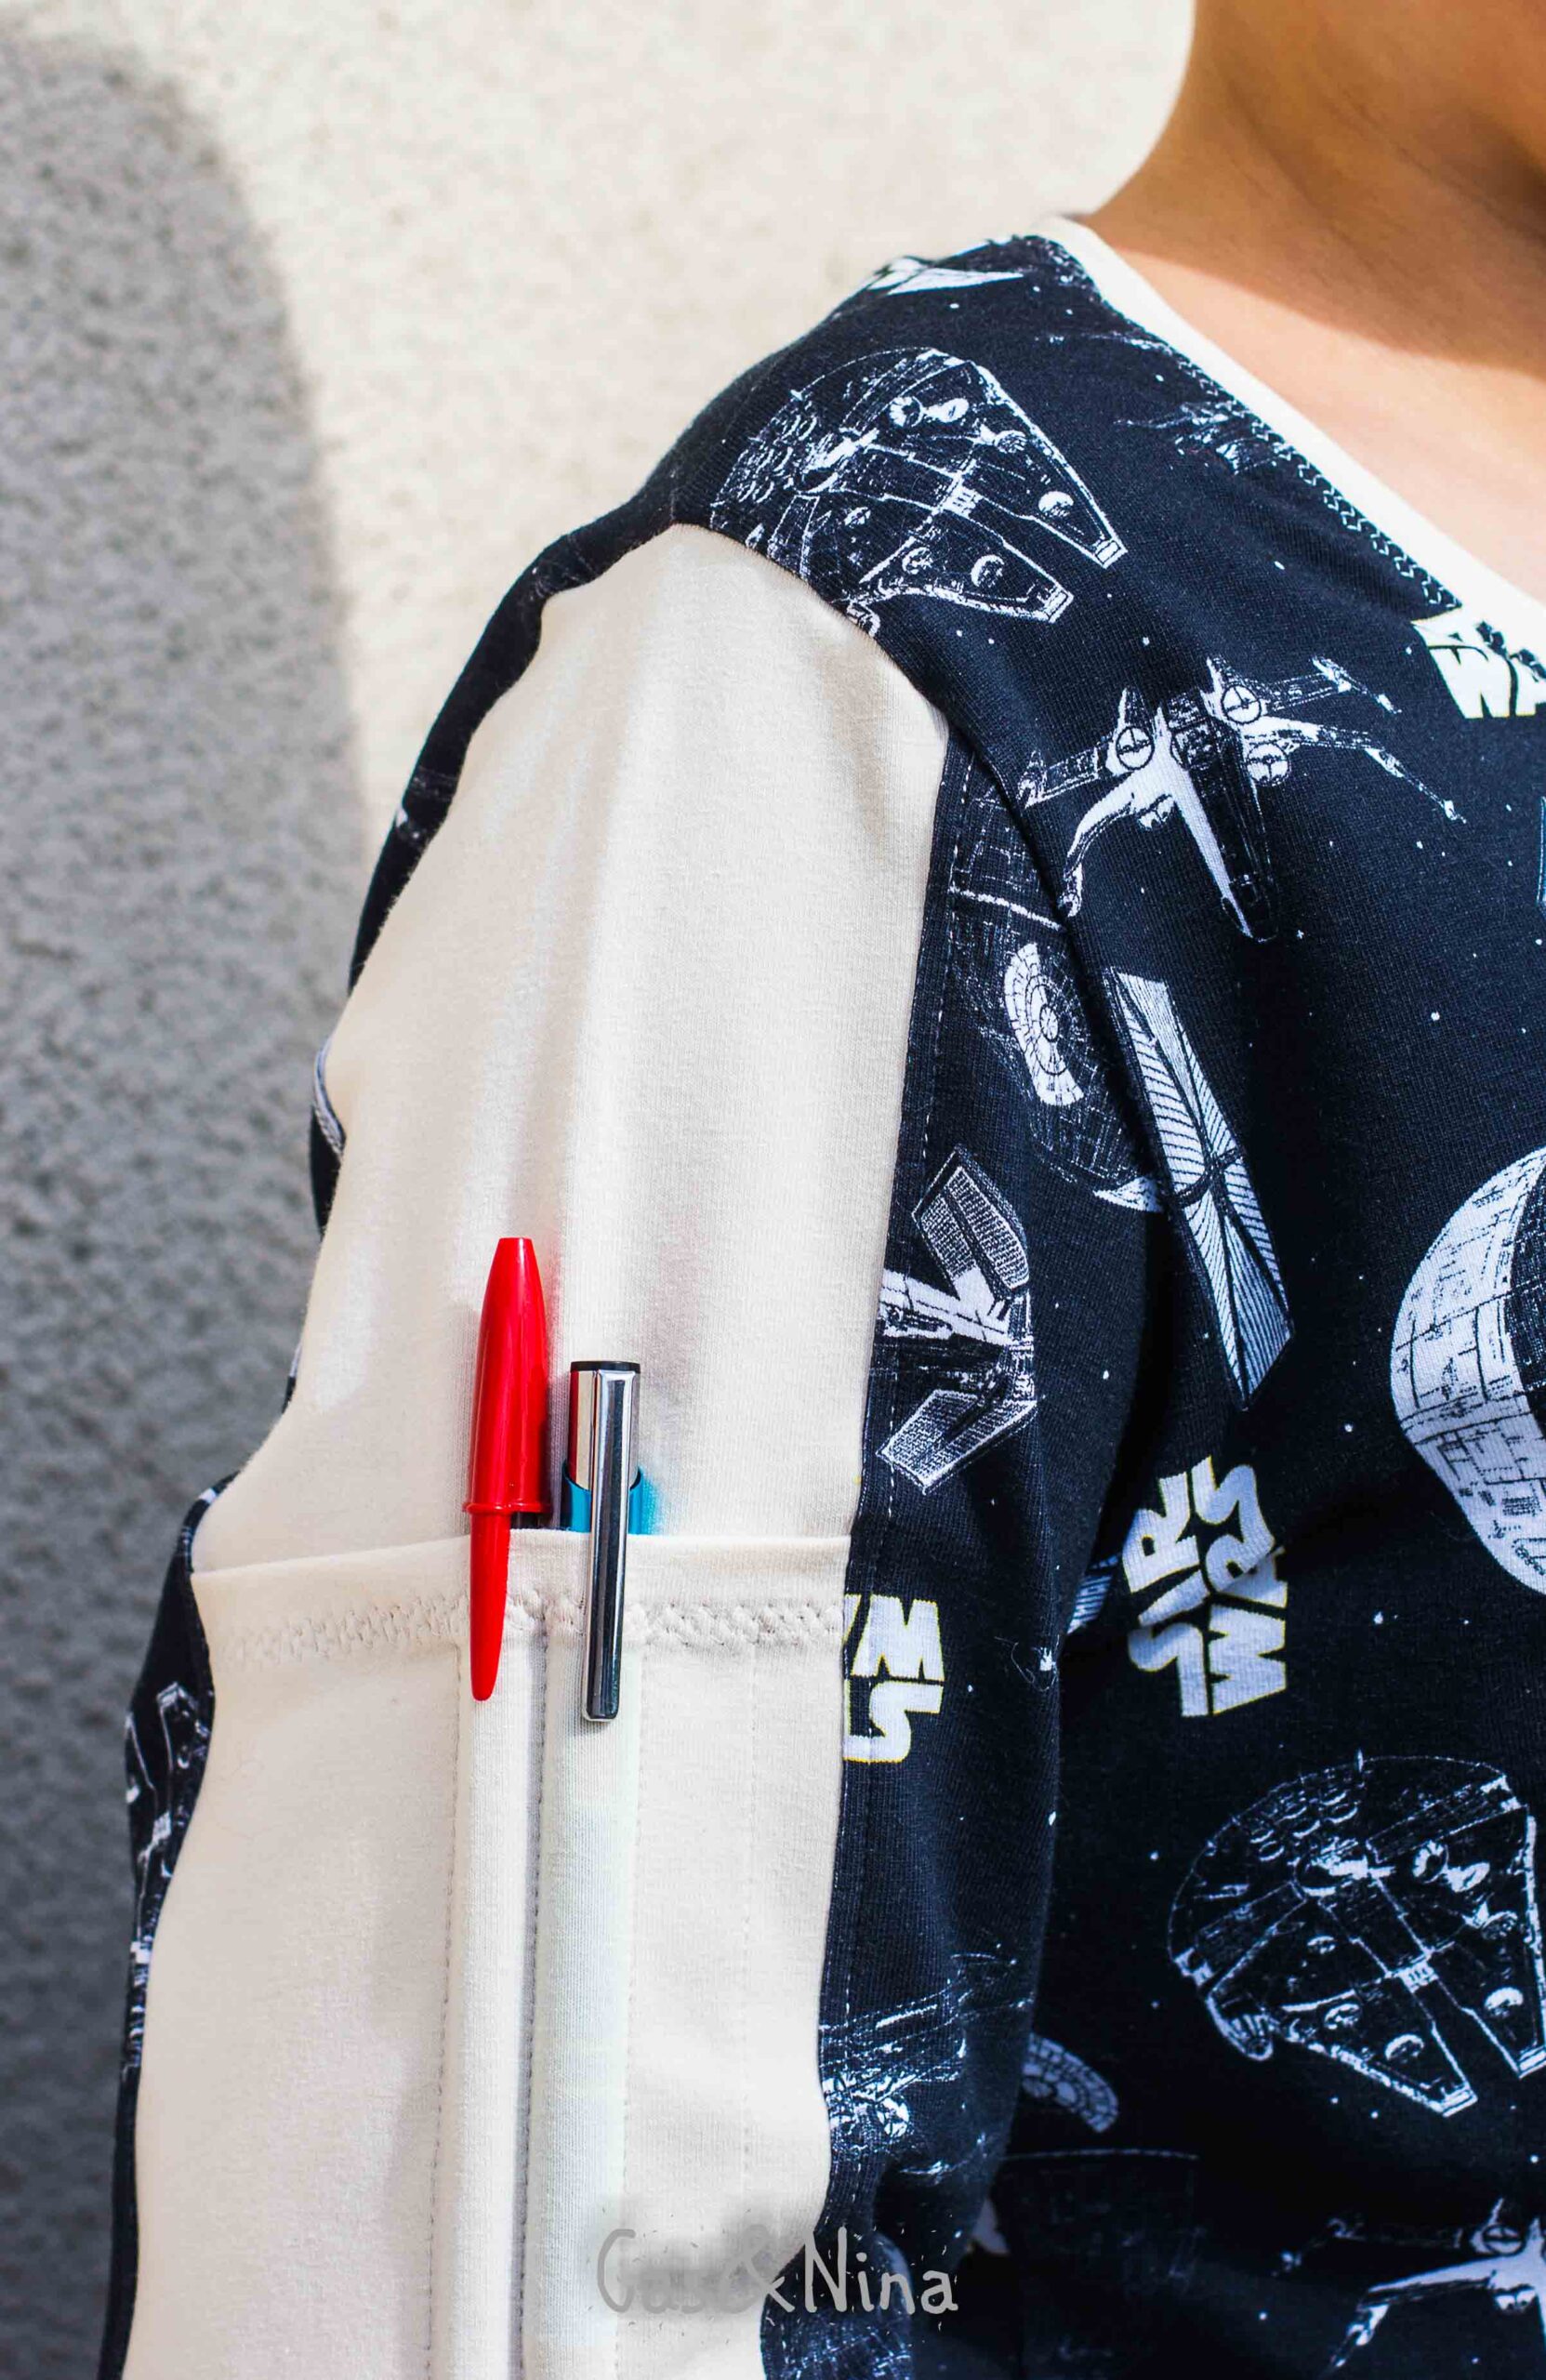
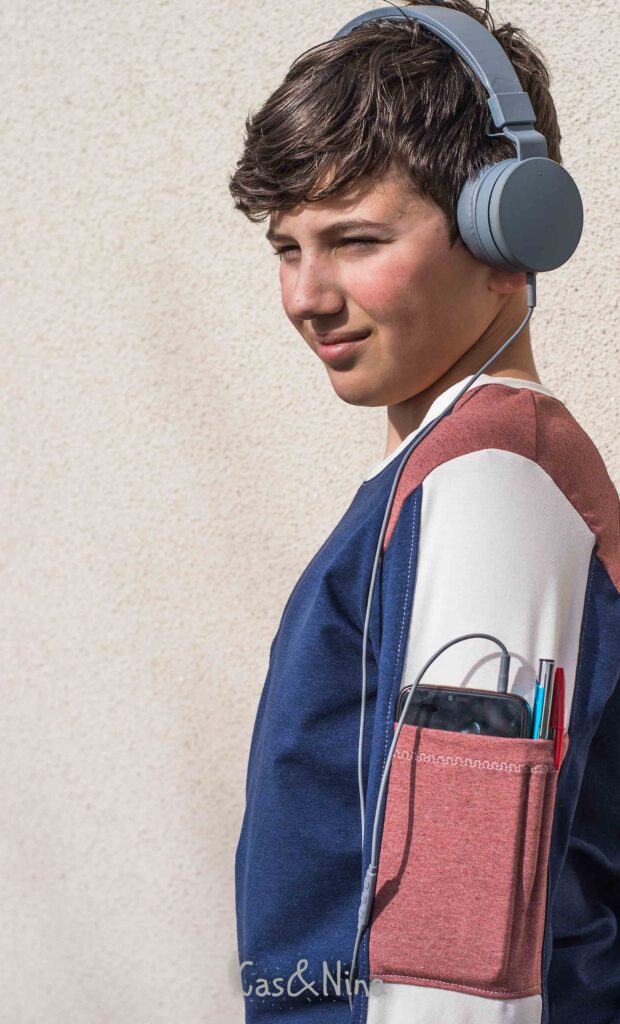
Tutorial: Add a Pocket to the Stripes Sleeve (Option 2)
Did you love the pocket tutorial we shared two days ago? You’ll love this one too.
A pocket worthy of a teenager. No more losing your phone! Follow the directions below and do not forget to show us your result in our Facebook group or tag us on IG (@Sofilantjes_anne).
This tutorial is made by Deborah, go say hi over on IG and thank her by following her account.

-
 Velocitas Hoodie – Nederlands$8.68 excl. tax
 -
 Velocitas Hoodie – English$8.68 excl. tax
 -
 ADVTee – Français + supplément gratuit$7.85 excl. tax
 -
 Chandail à Capuche Velocitas – Français$8.68 excl. tax
 -
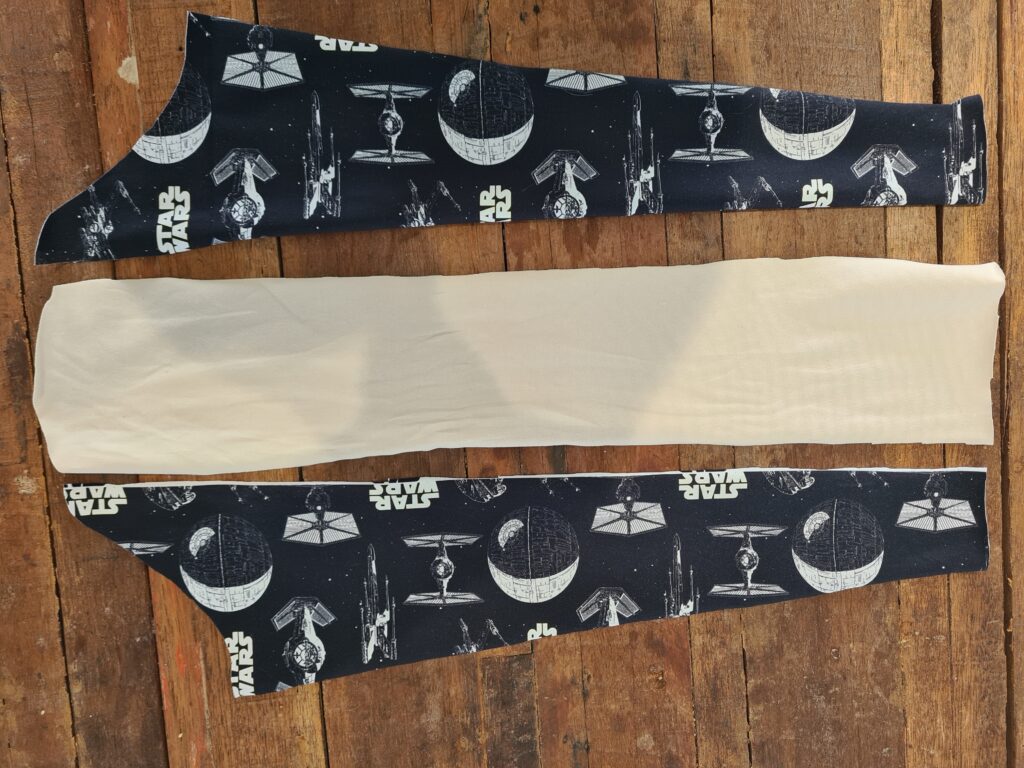
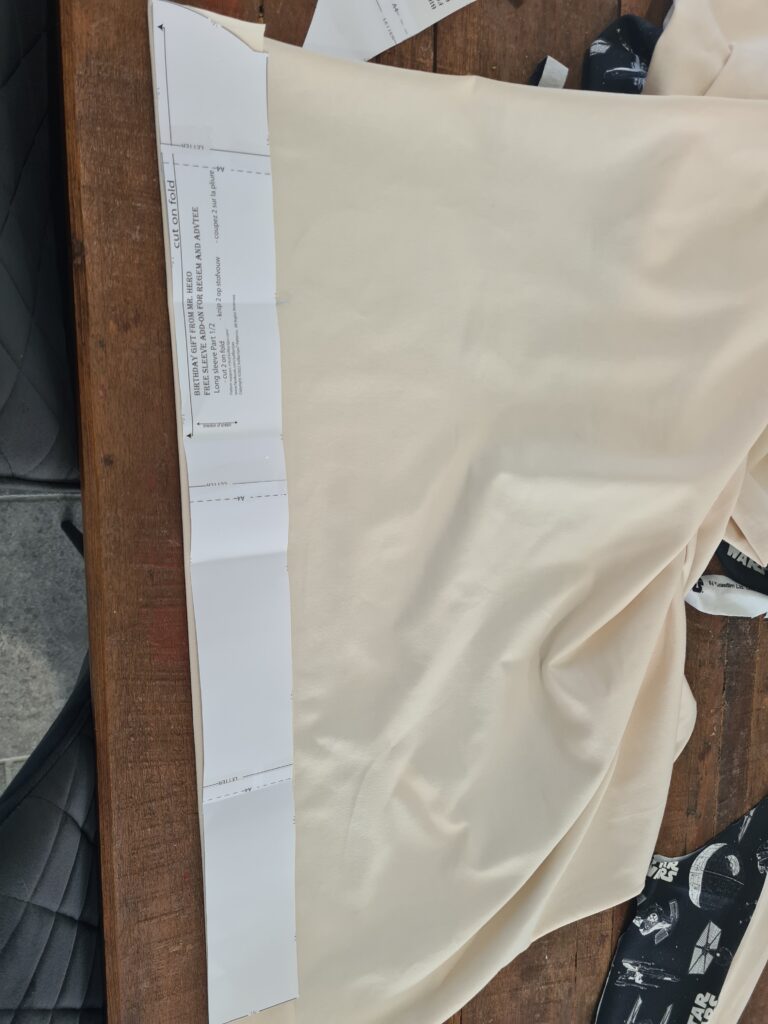
 Regem Shirt + Free add-on – English$8.68 excl. tax
 -
 Regem Shirt + Gratis add-on – Nederlands$8.68 excl. tax
 -
 Chandail Regem + supplément gratuit – Français$8.68 excl. tax
 -
 ADVTee – English + Free add-on$7.85 excl. tax
 -
ADVTee – Nederlands + Gratis add-on$7.85 excl. tax