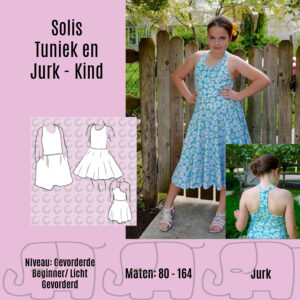
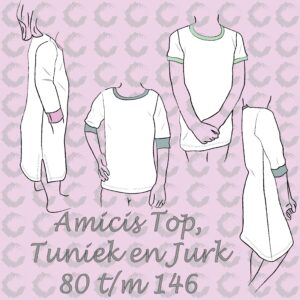
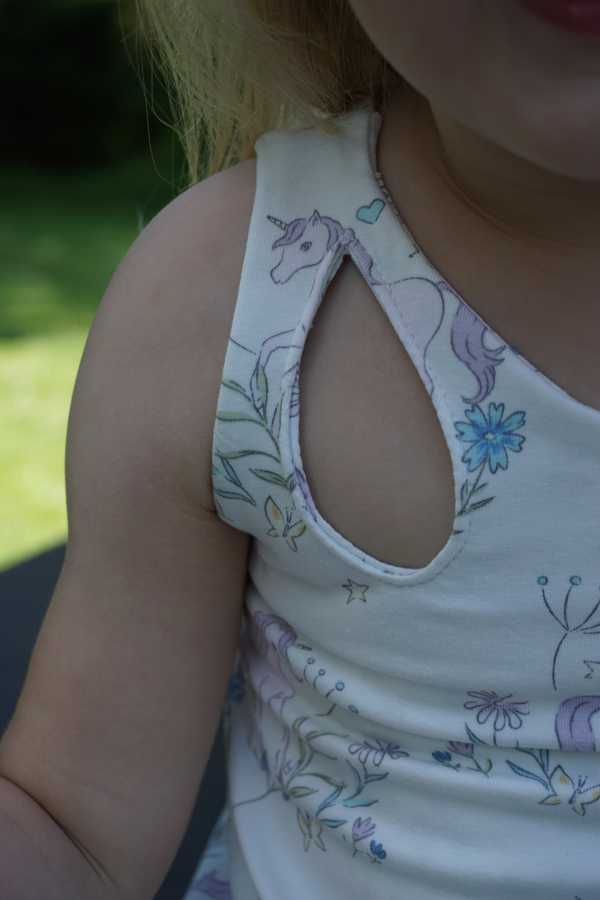
A Happy New Pattern – Felix Top, Tunic, and Dress
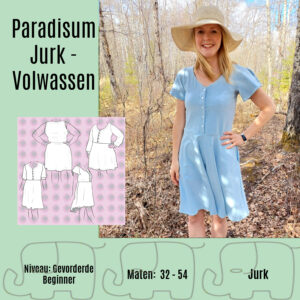
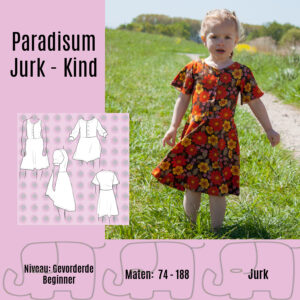
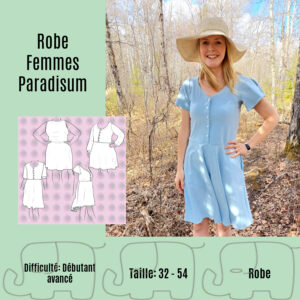
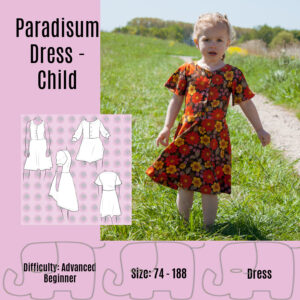
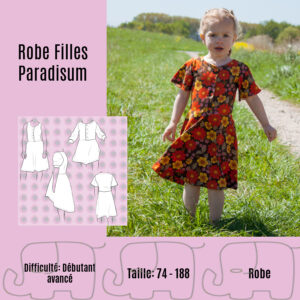
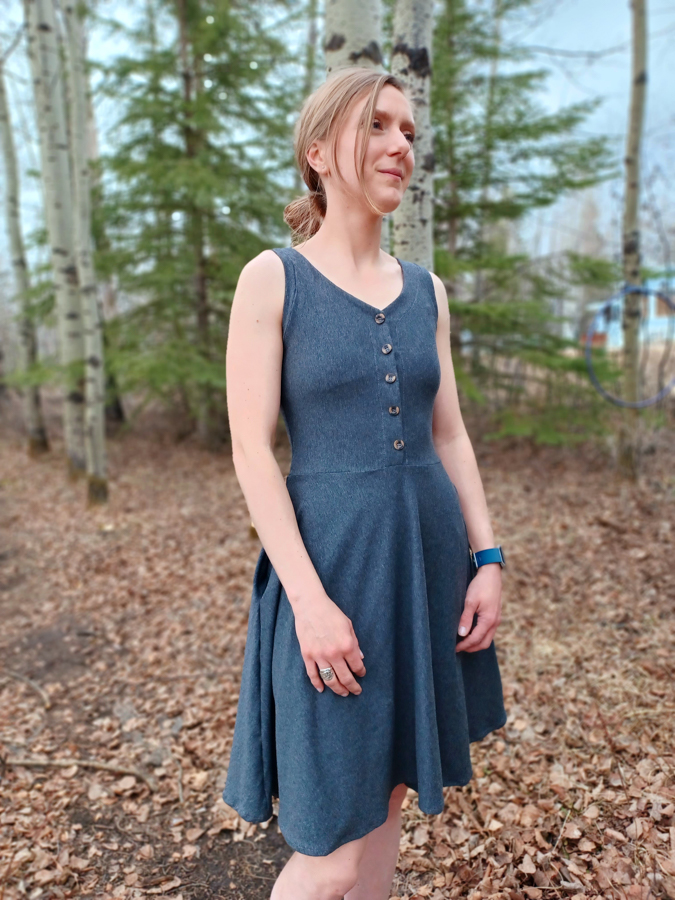
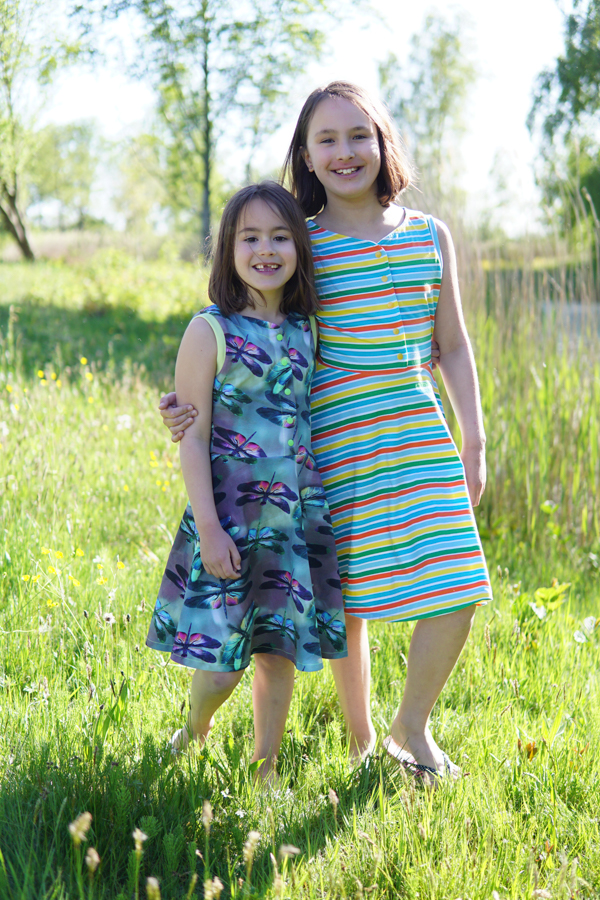
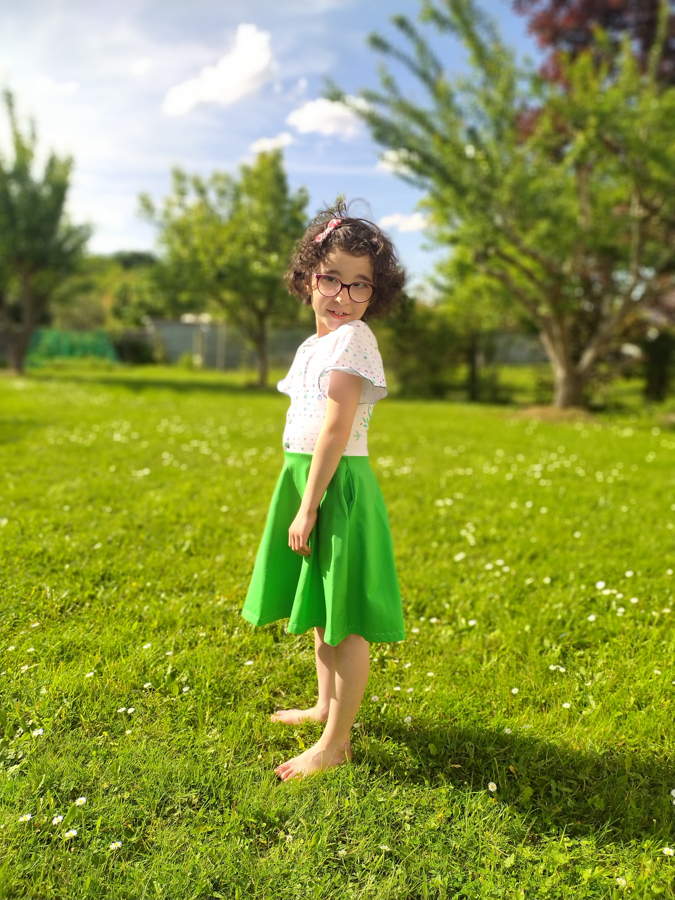
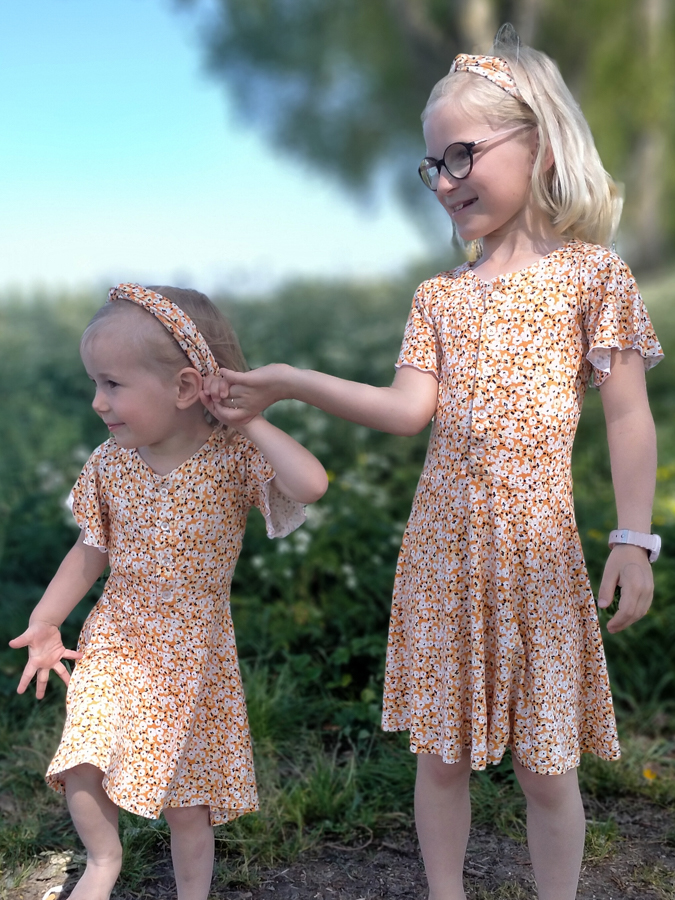
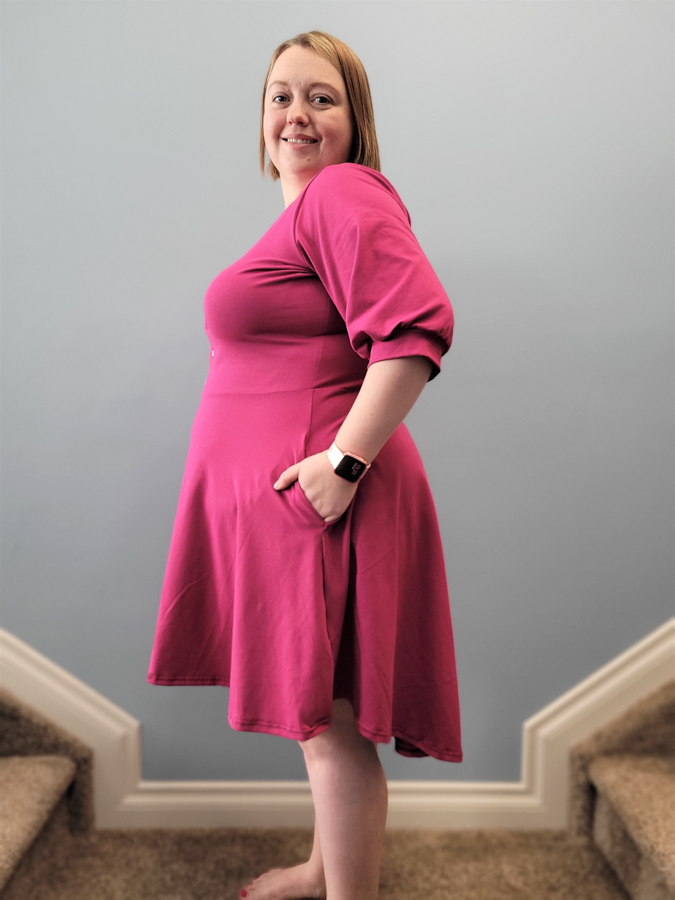
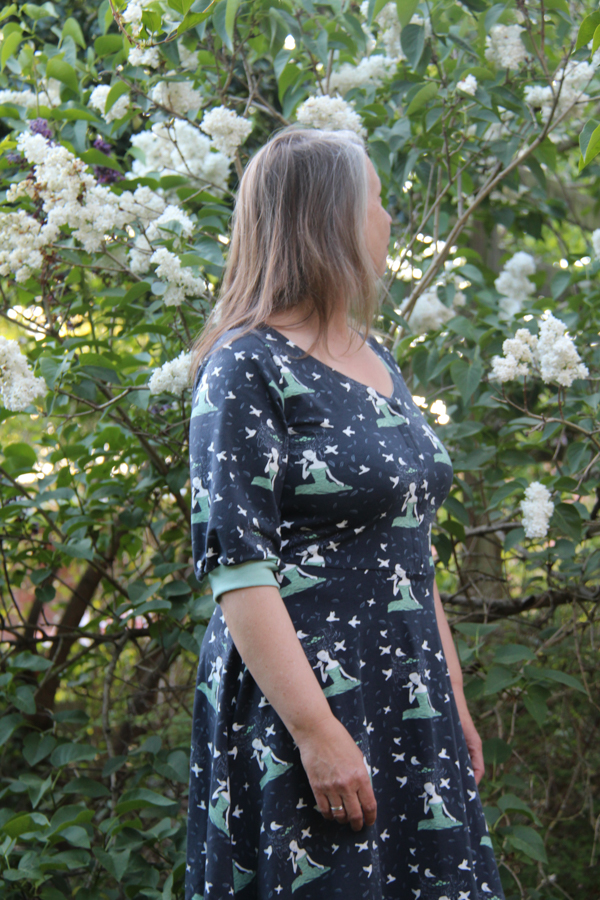
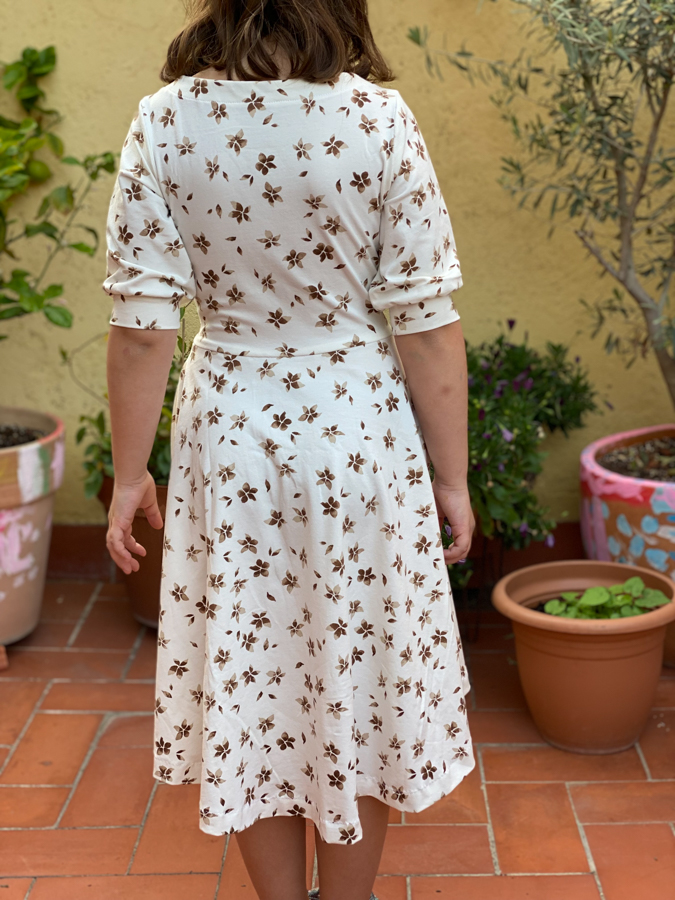
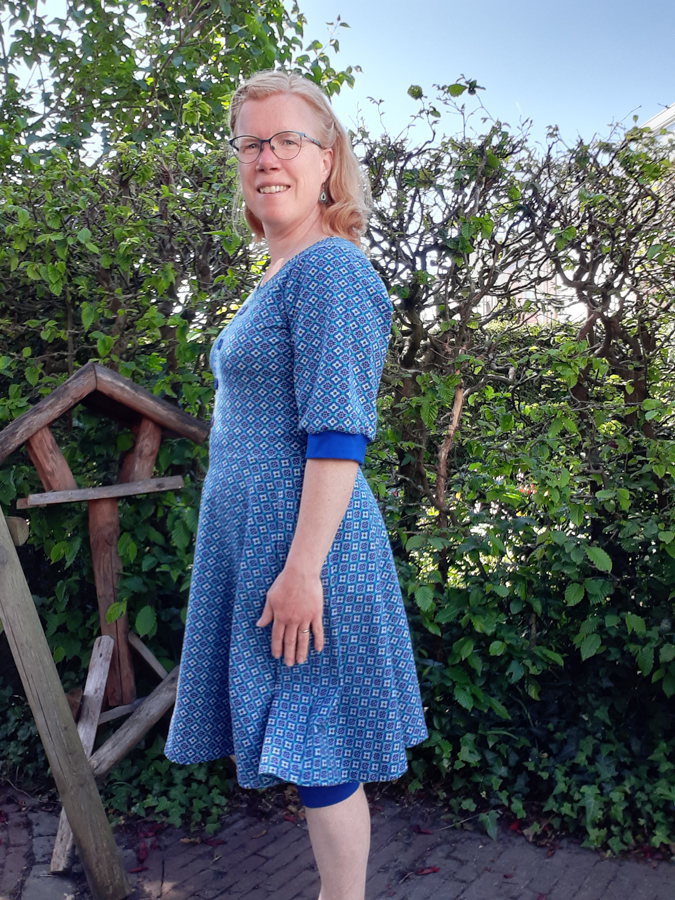
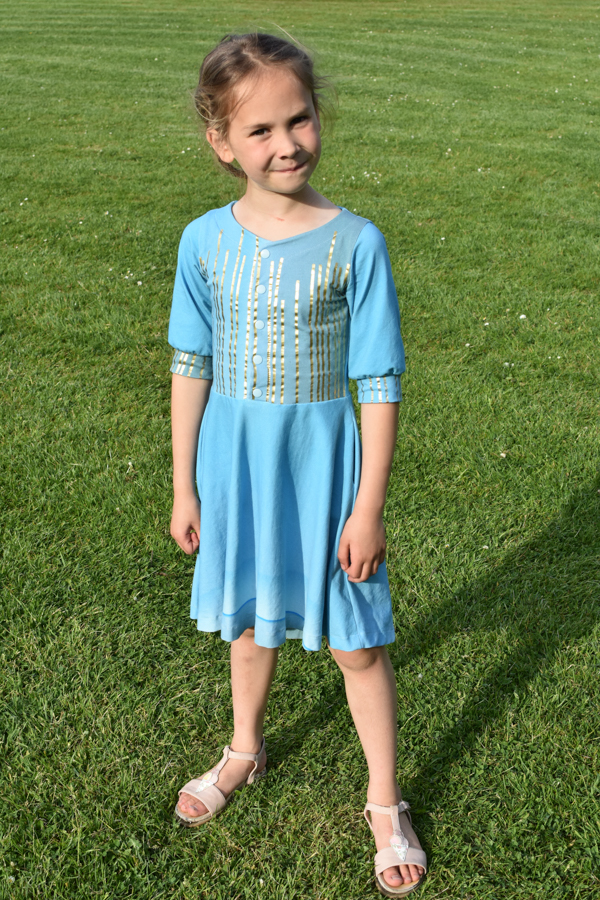
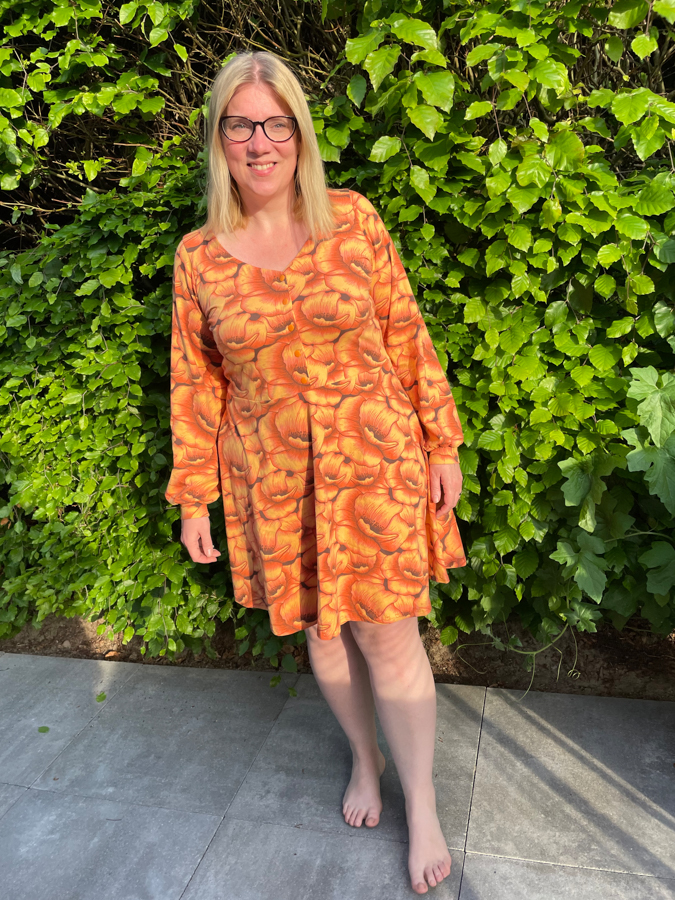
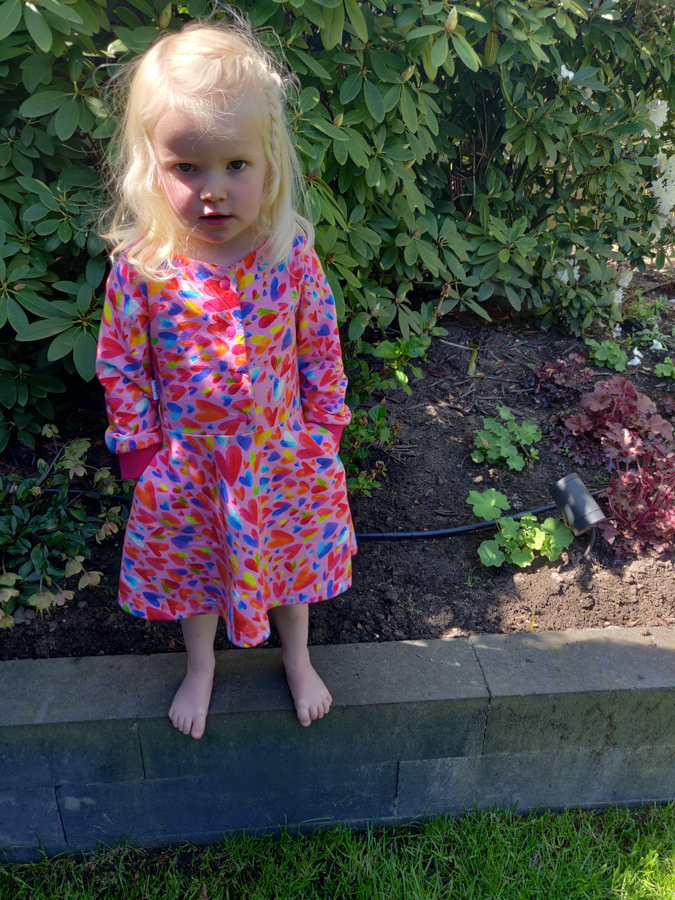
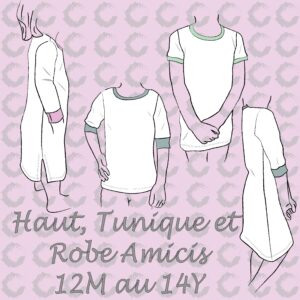
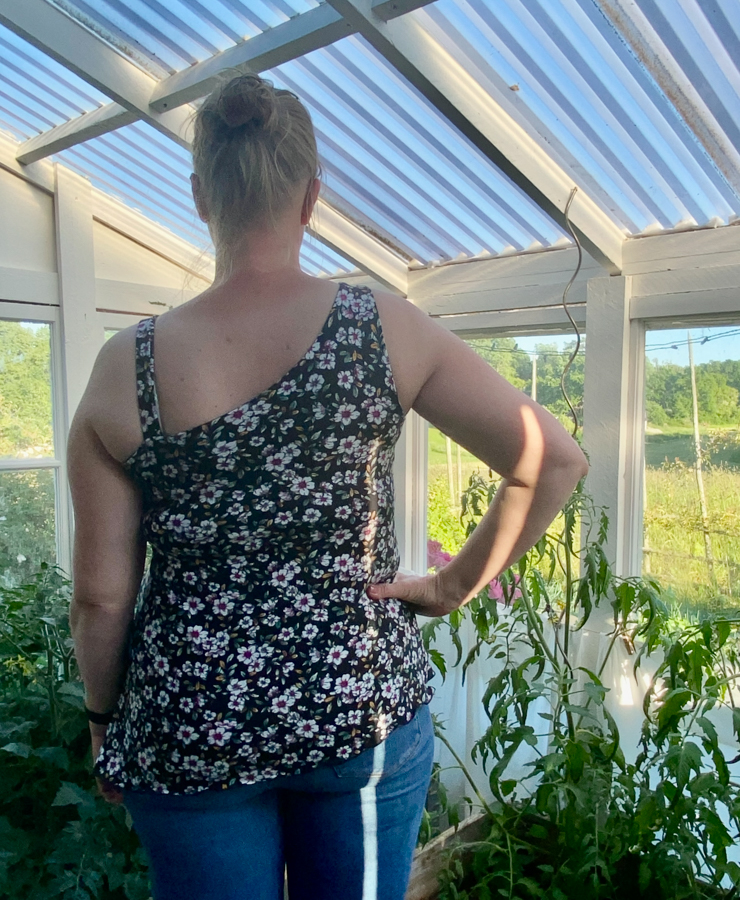
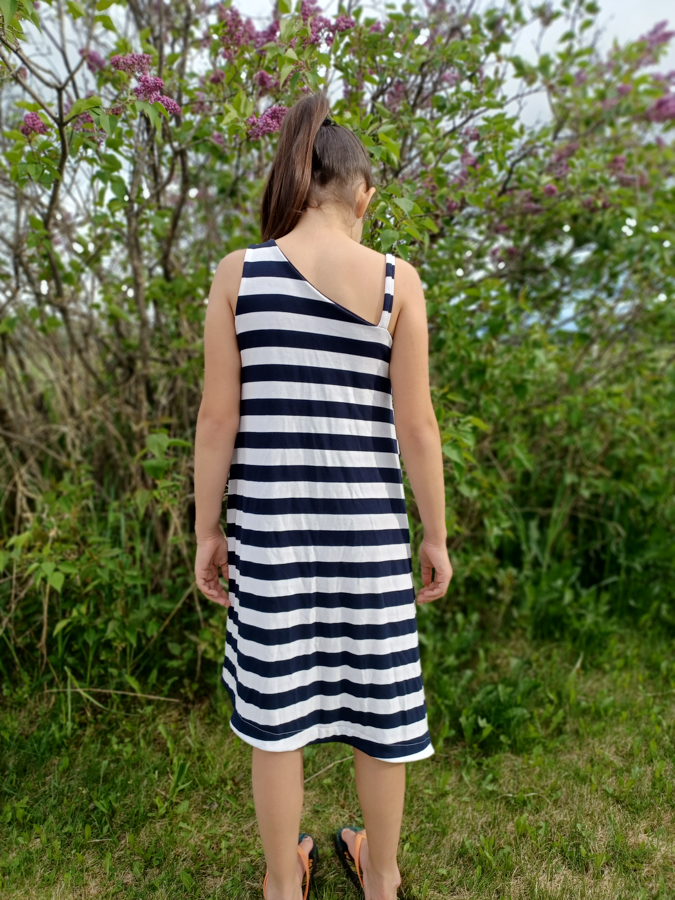
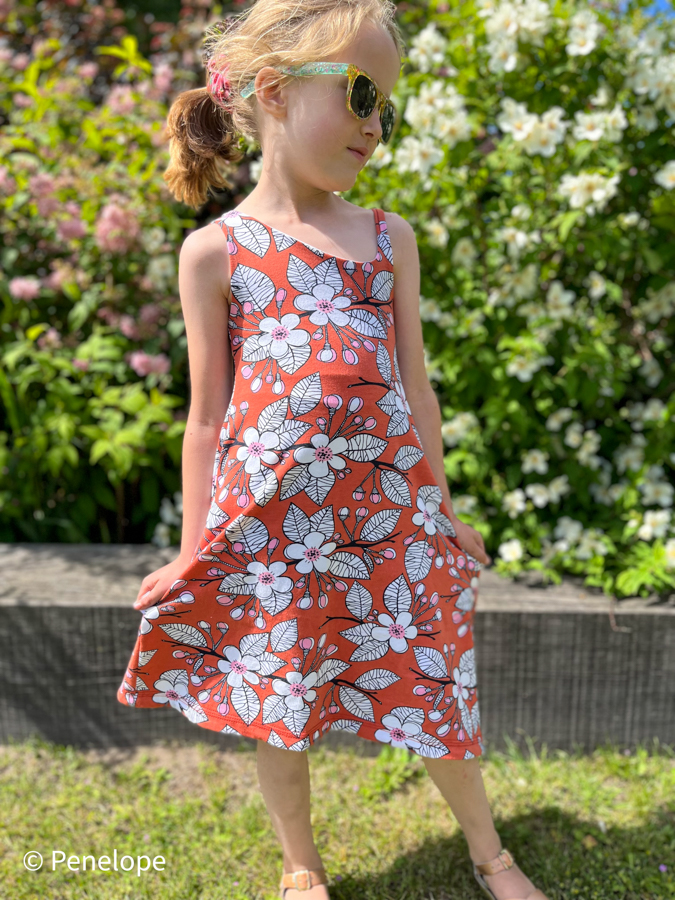
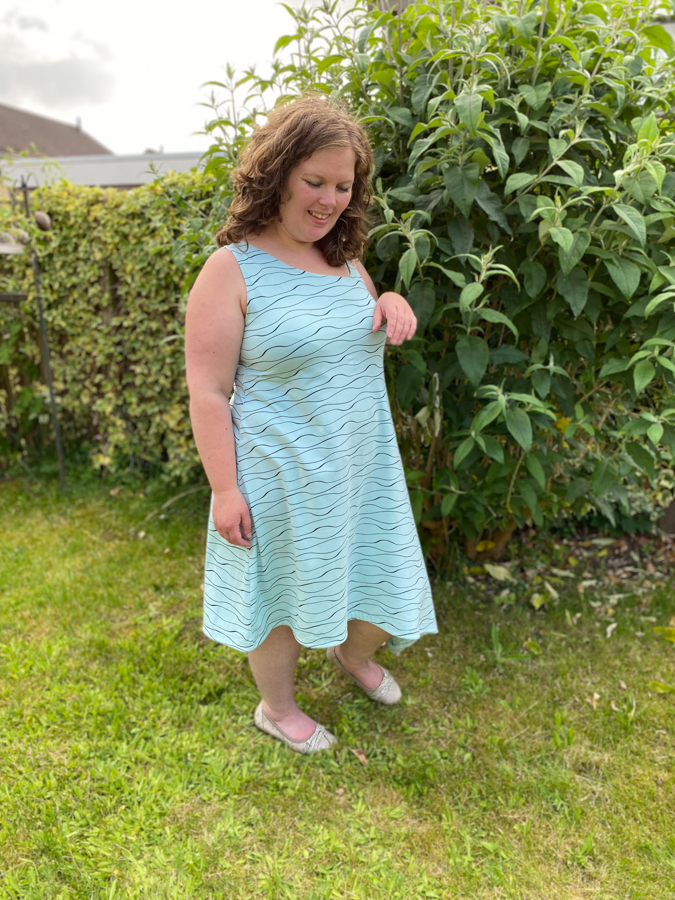
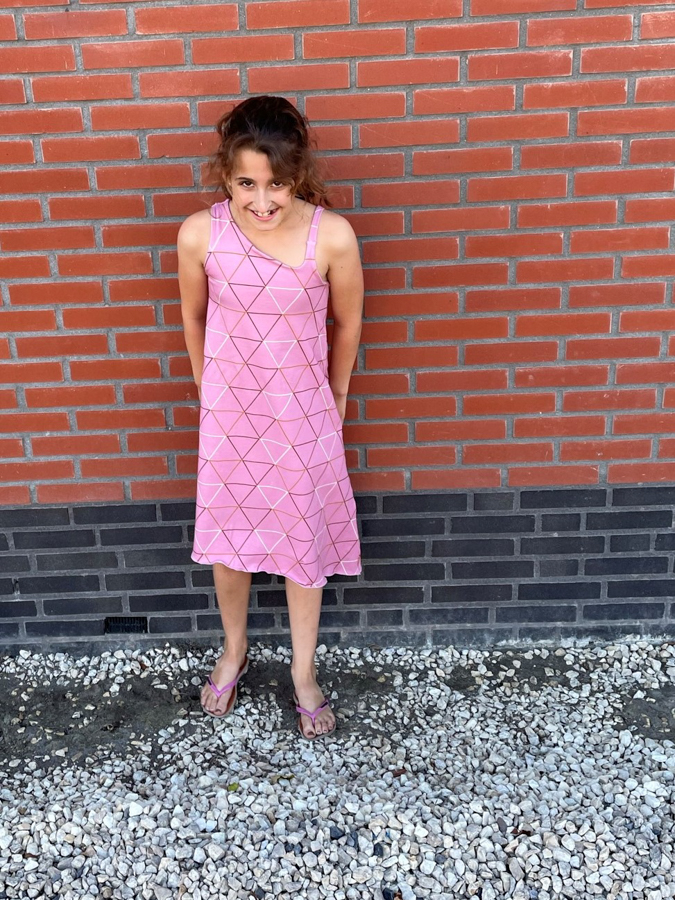
For many, this is a happy time of year. Schedules are a little less hectic, and clothes are A LOT more fun. We love our summer dresses here at Sofilantjes and this new addition to the collection will surely be a favorite. The Felix Top, Tunic, and Dress has three lengths and 1 neckline option. Offered in sized 32 – 54 for adults and 9m/74 – 18/188 for children.
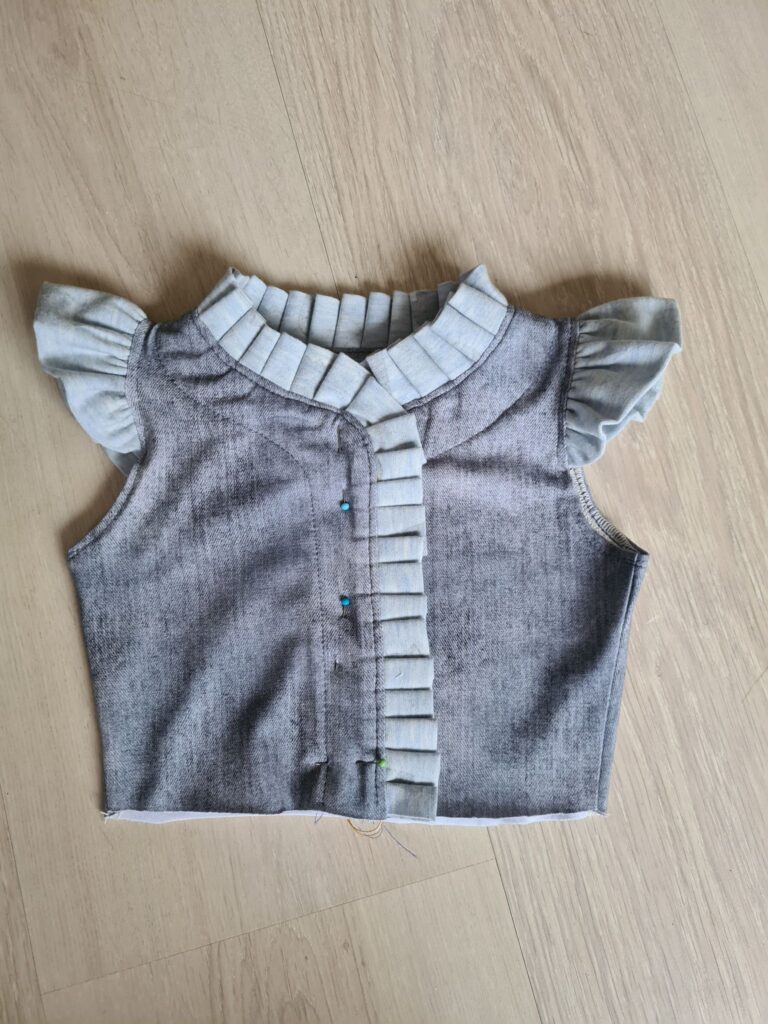
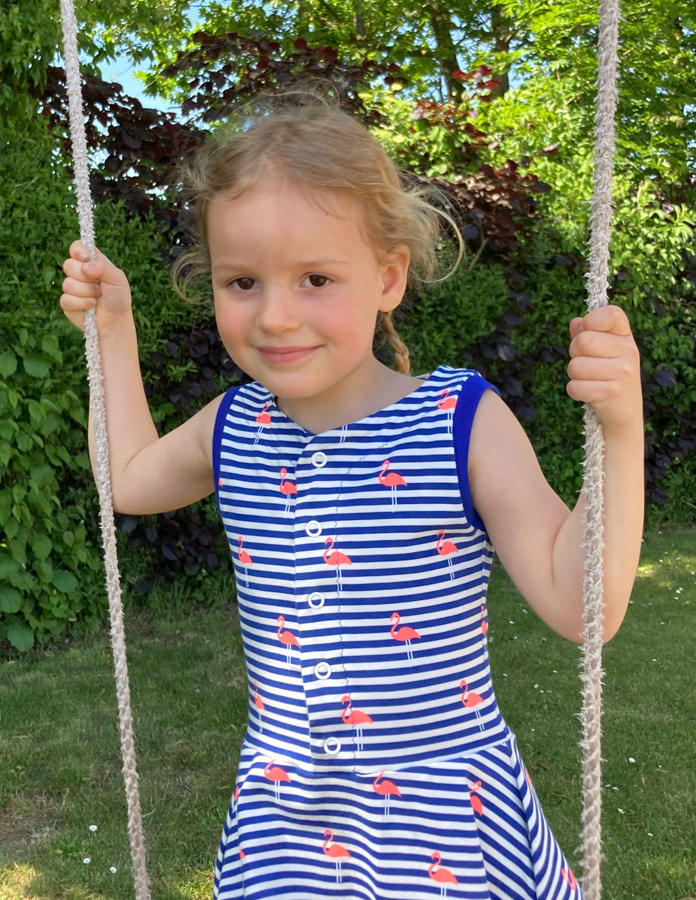
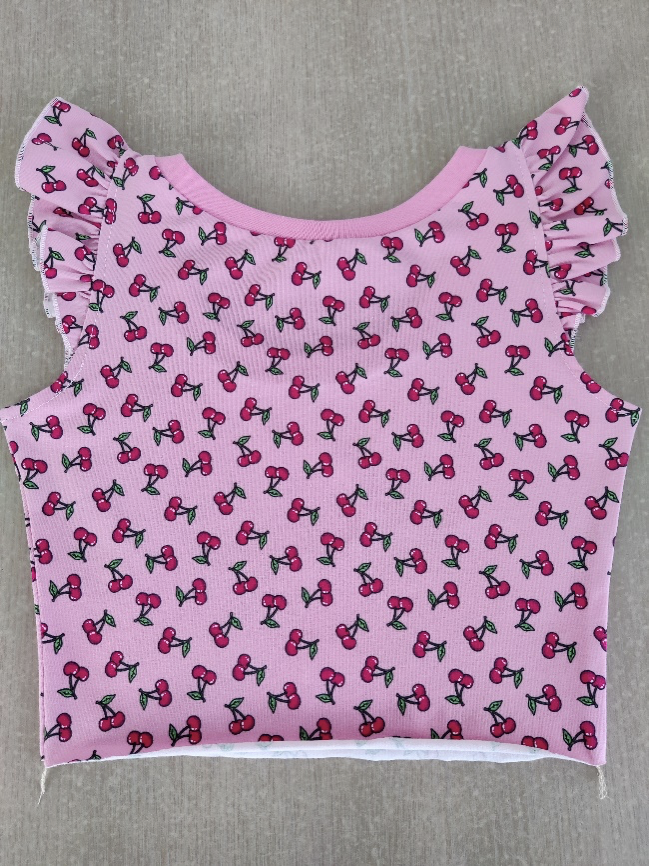
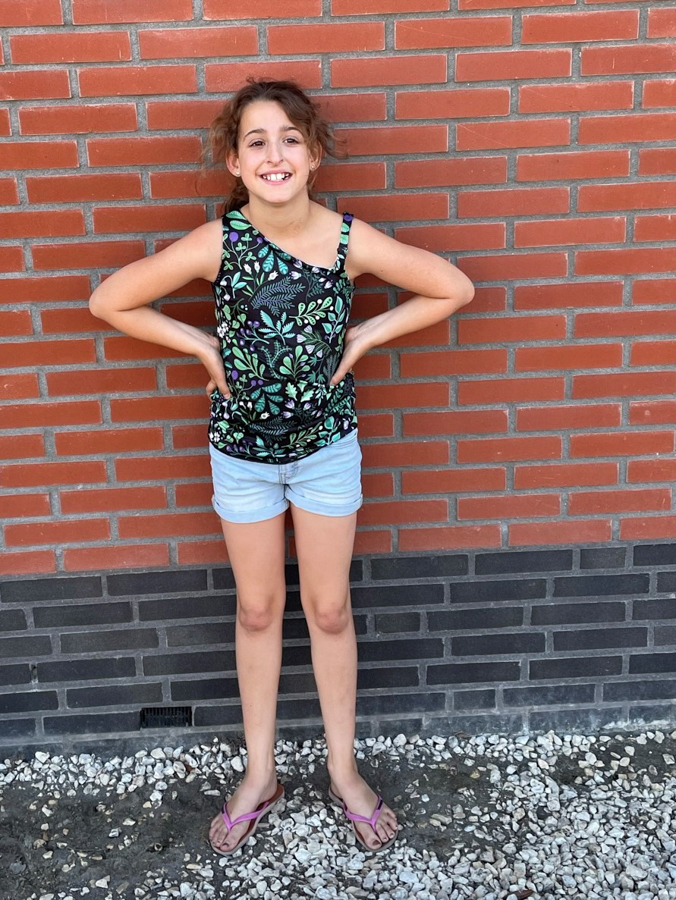
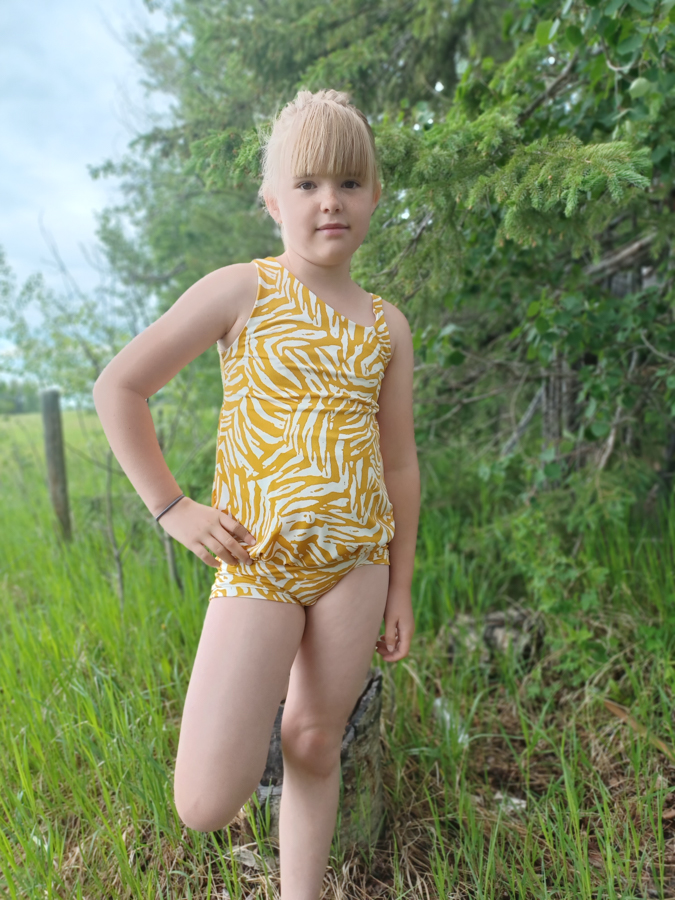
Top:


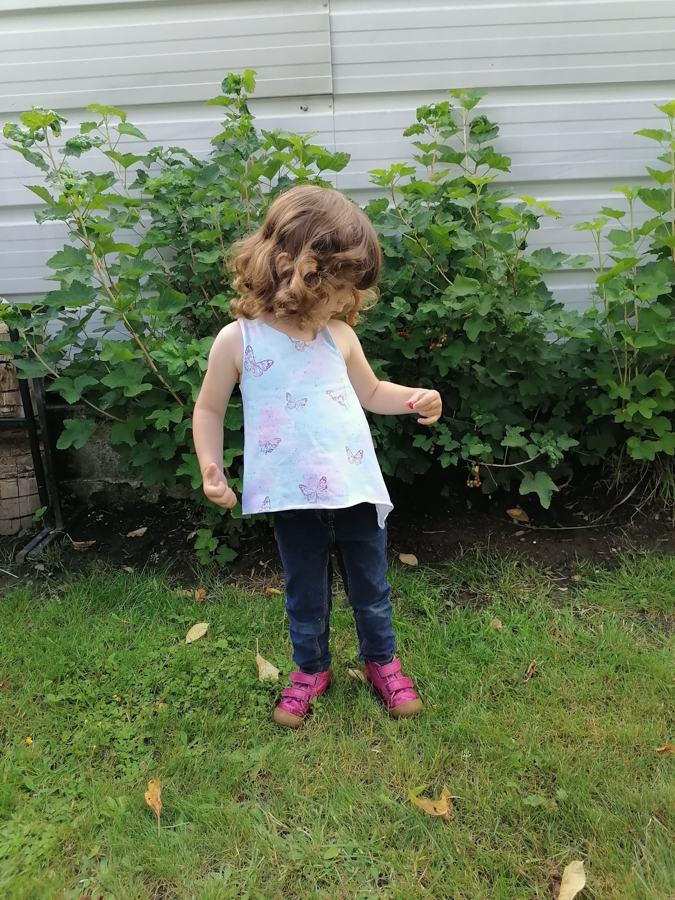
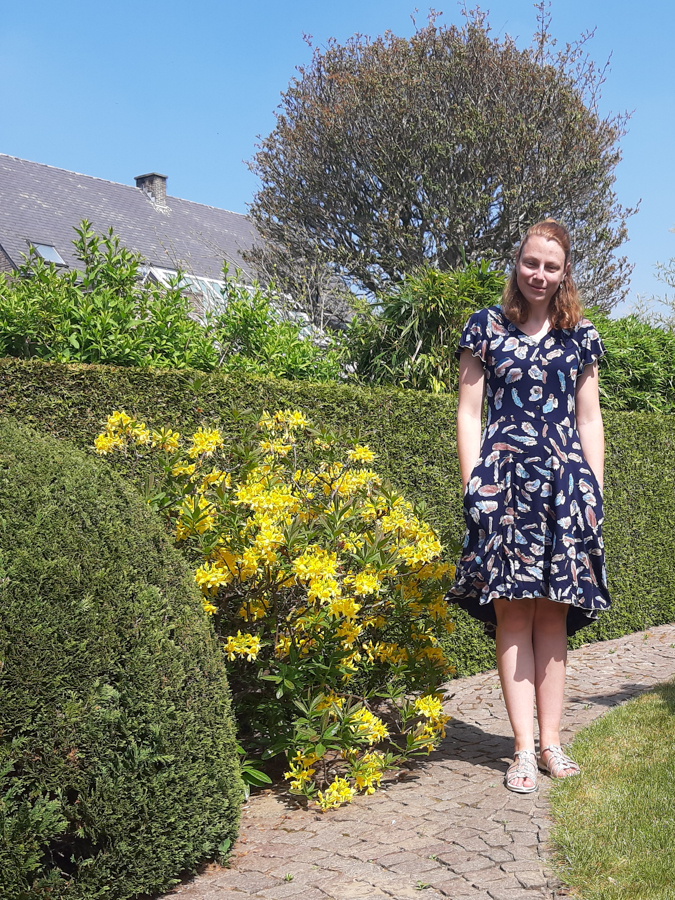
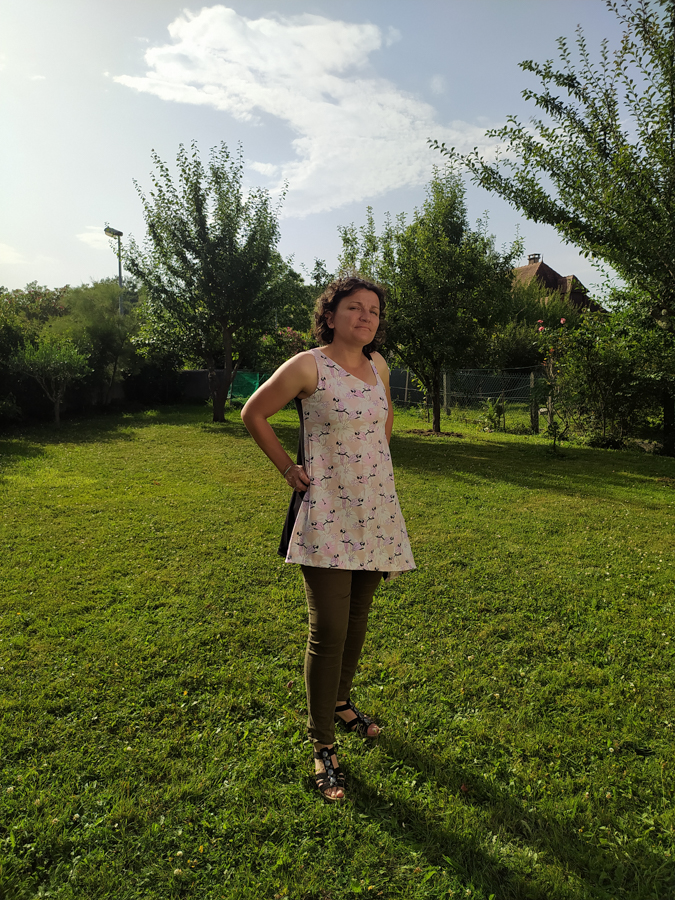
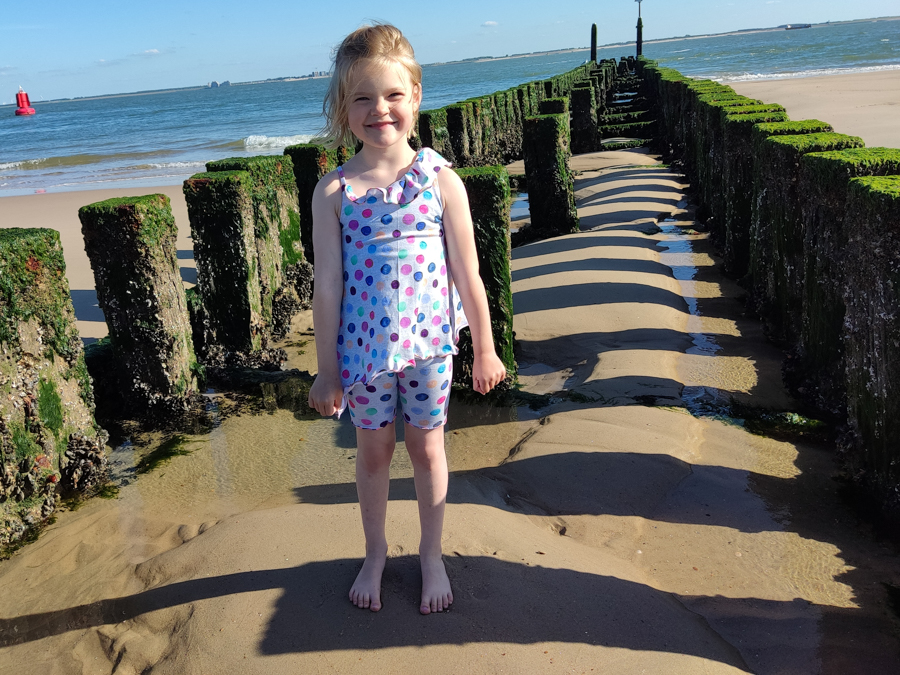
Tunic:

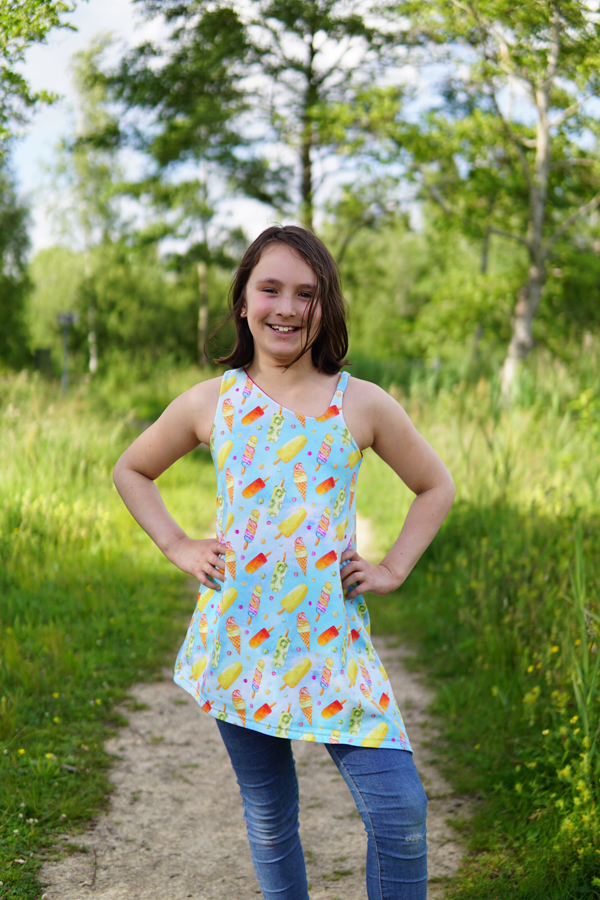
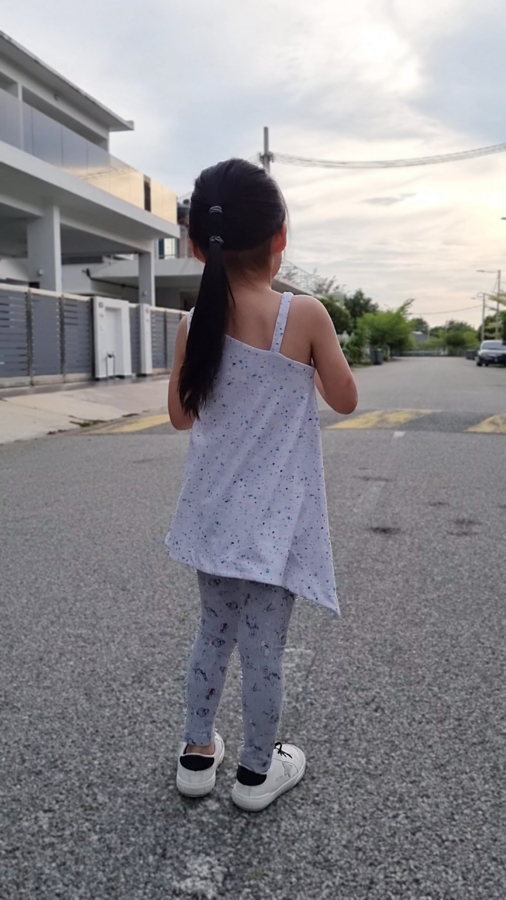
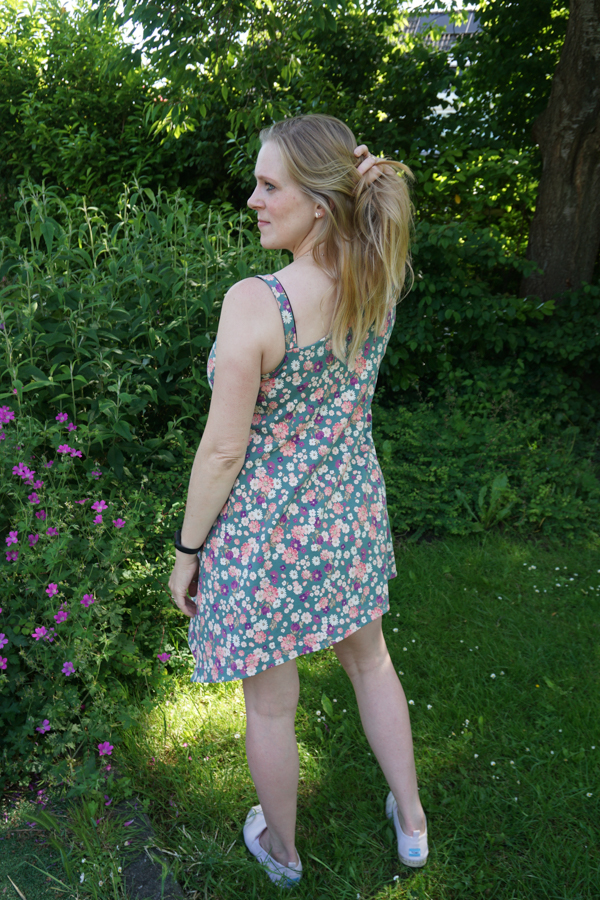
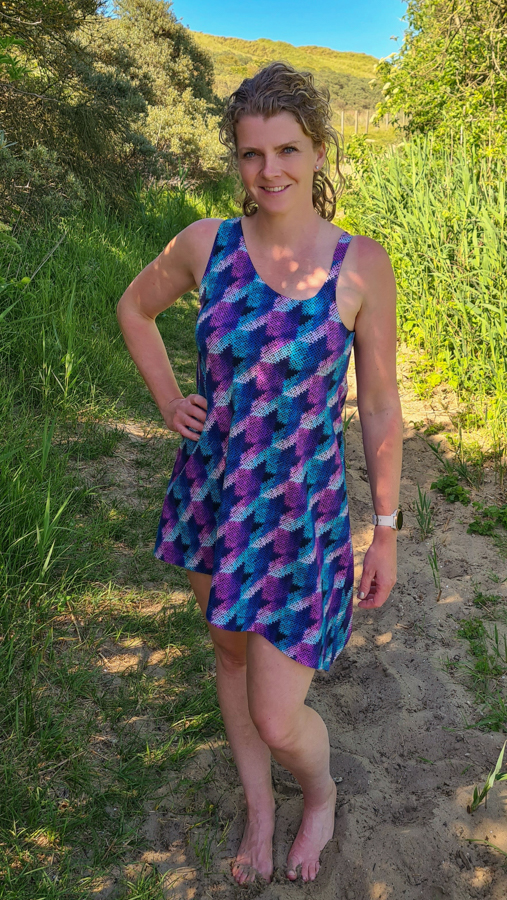
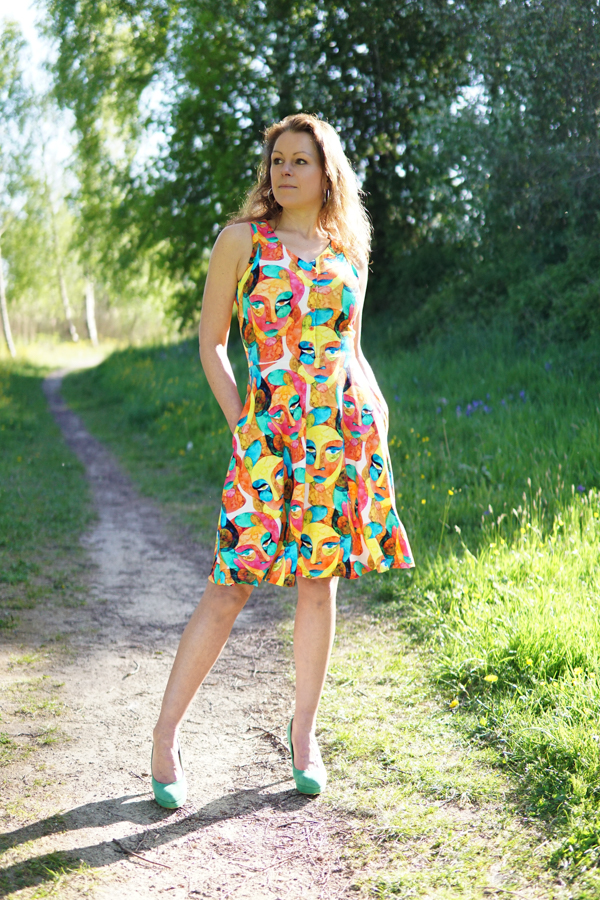
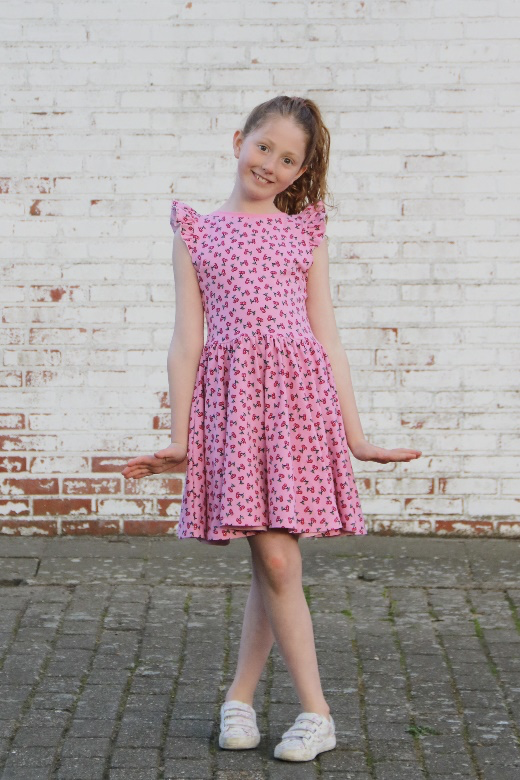
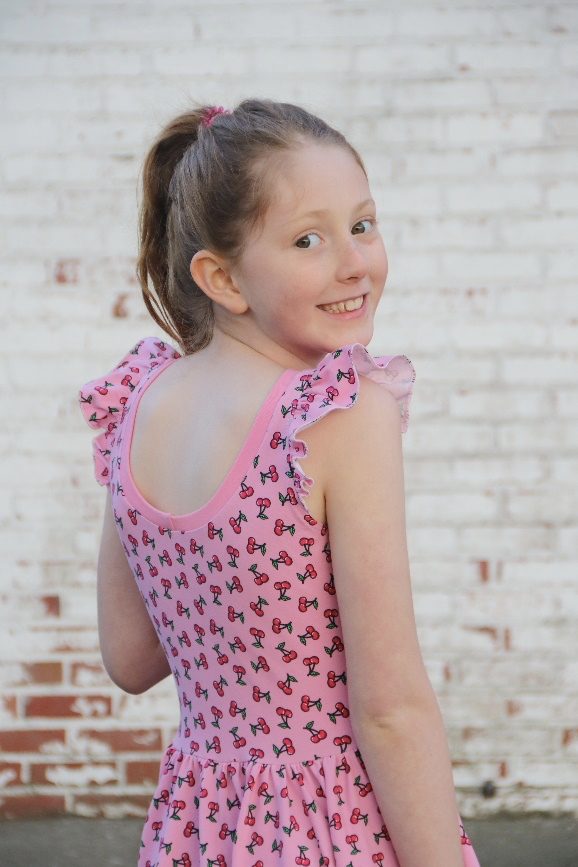
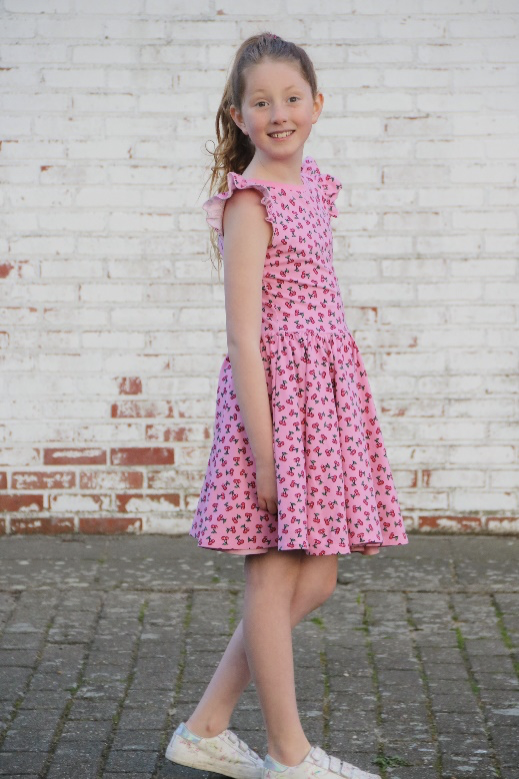
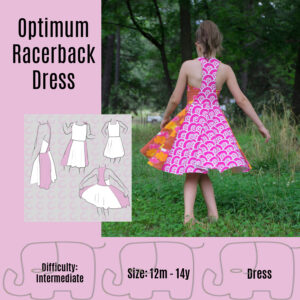
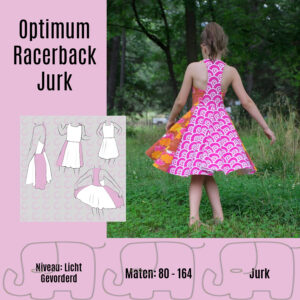
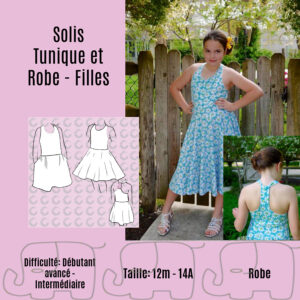
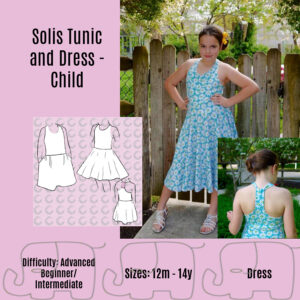
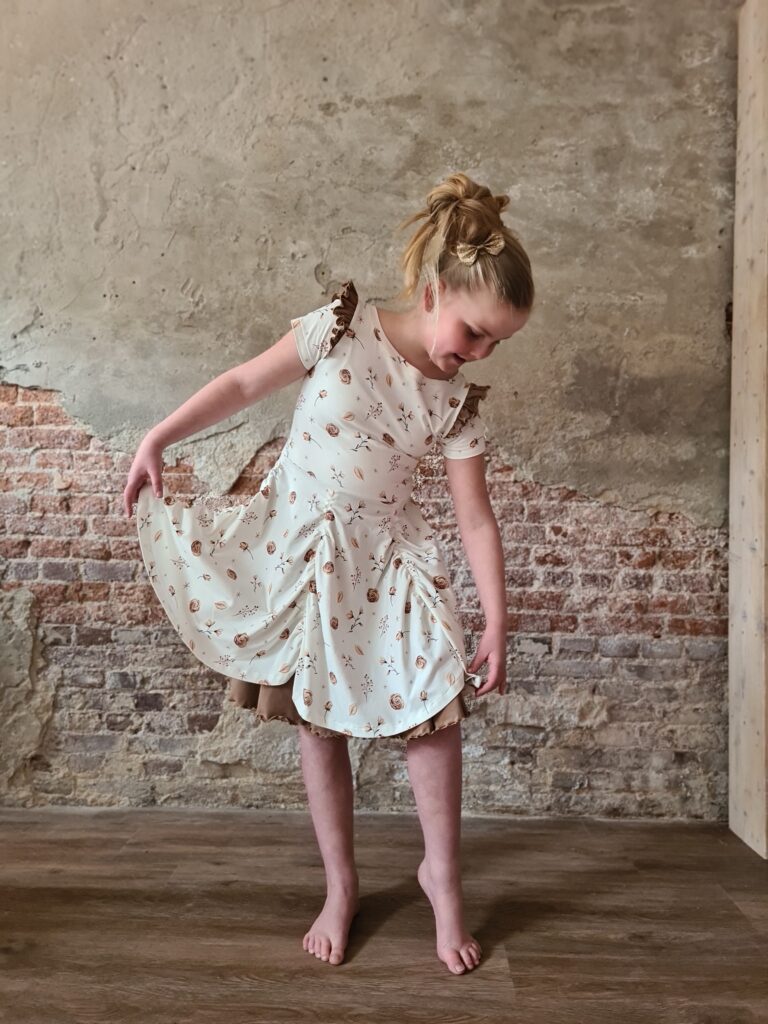
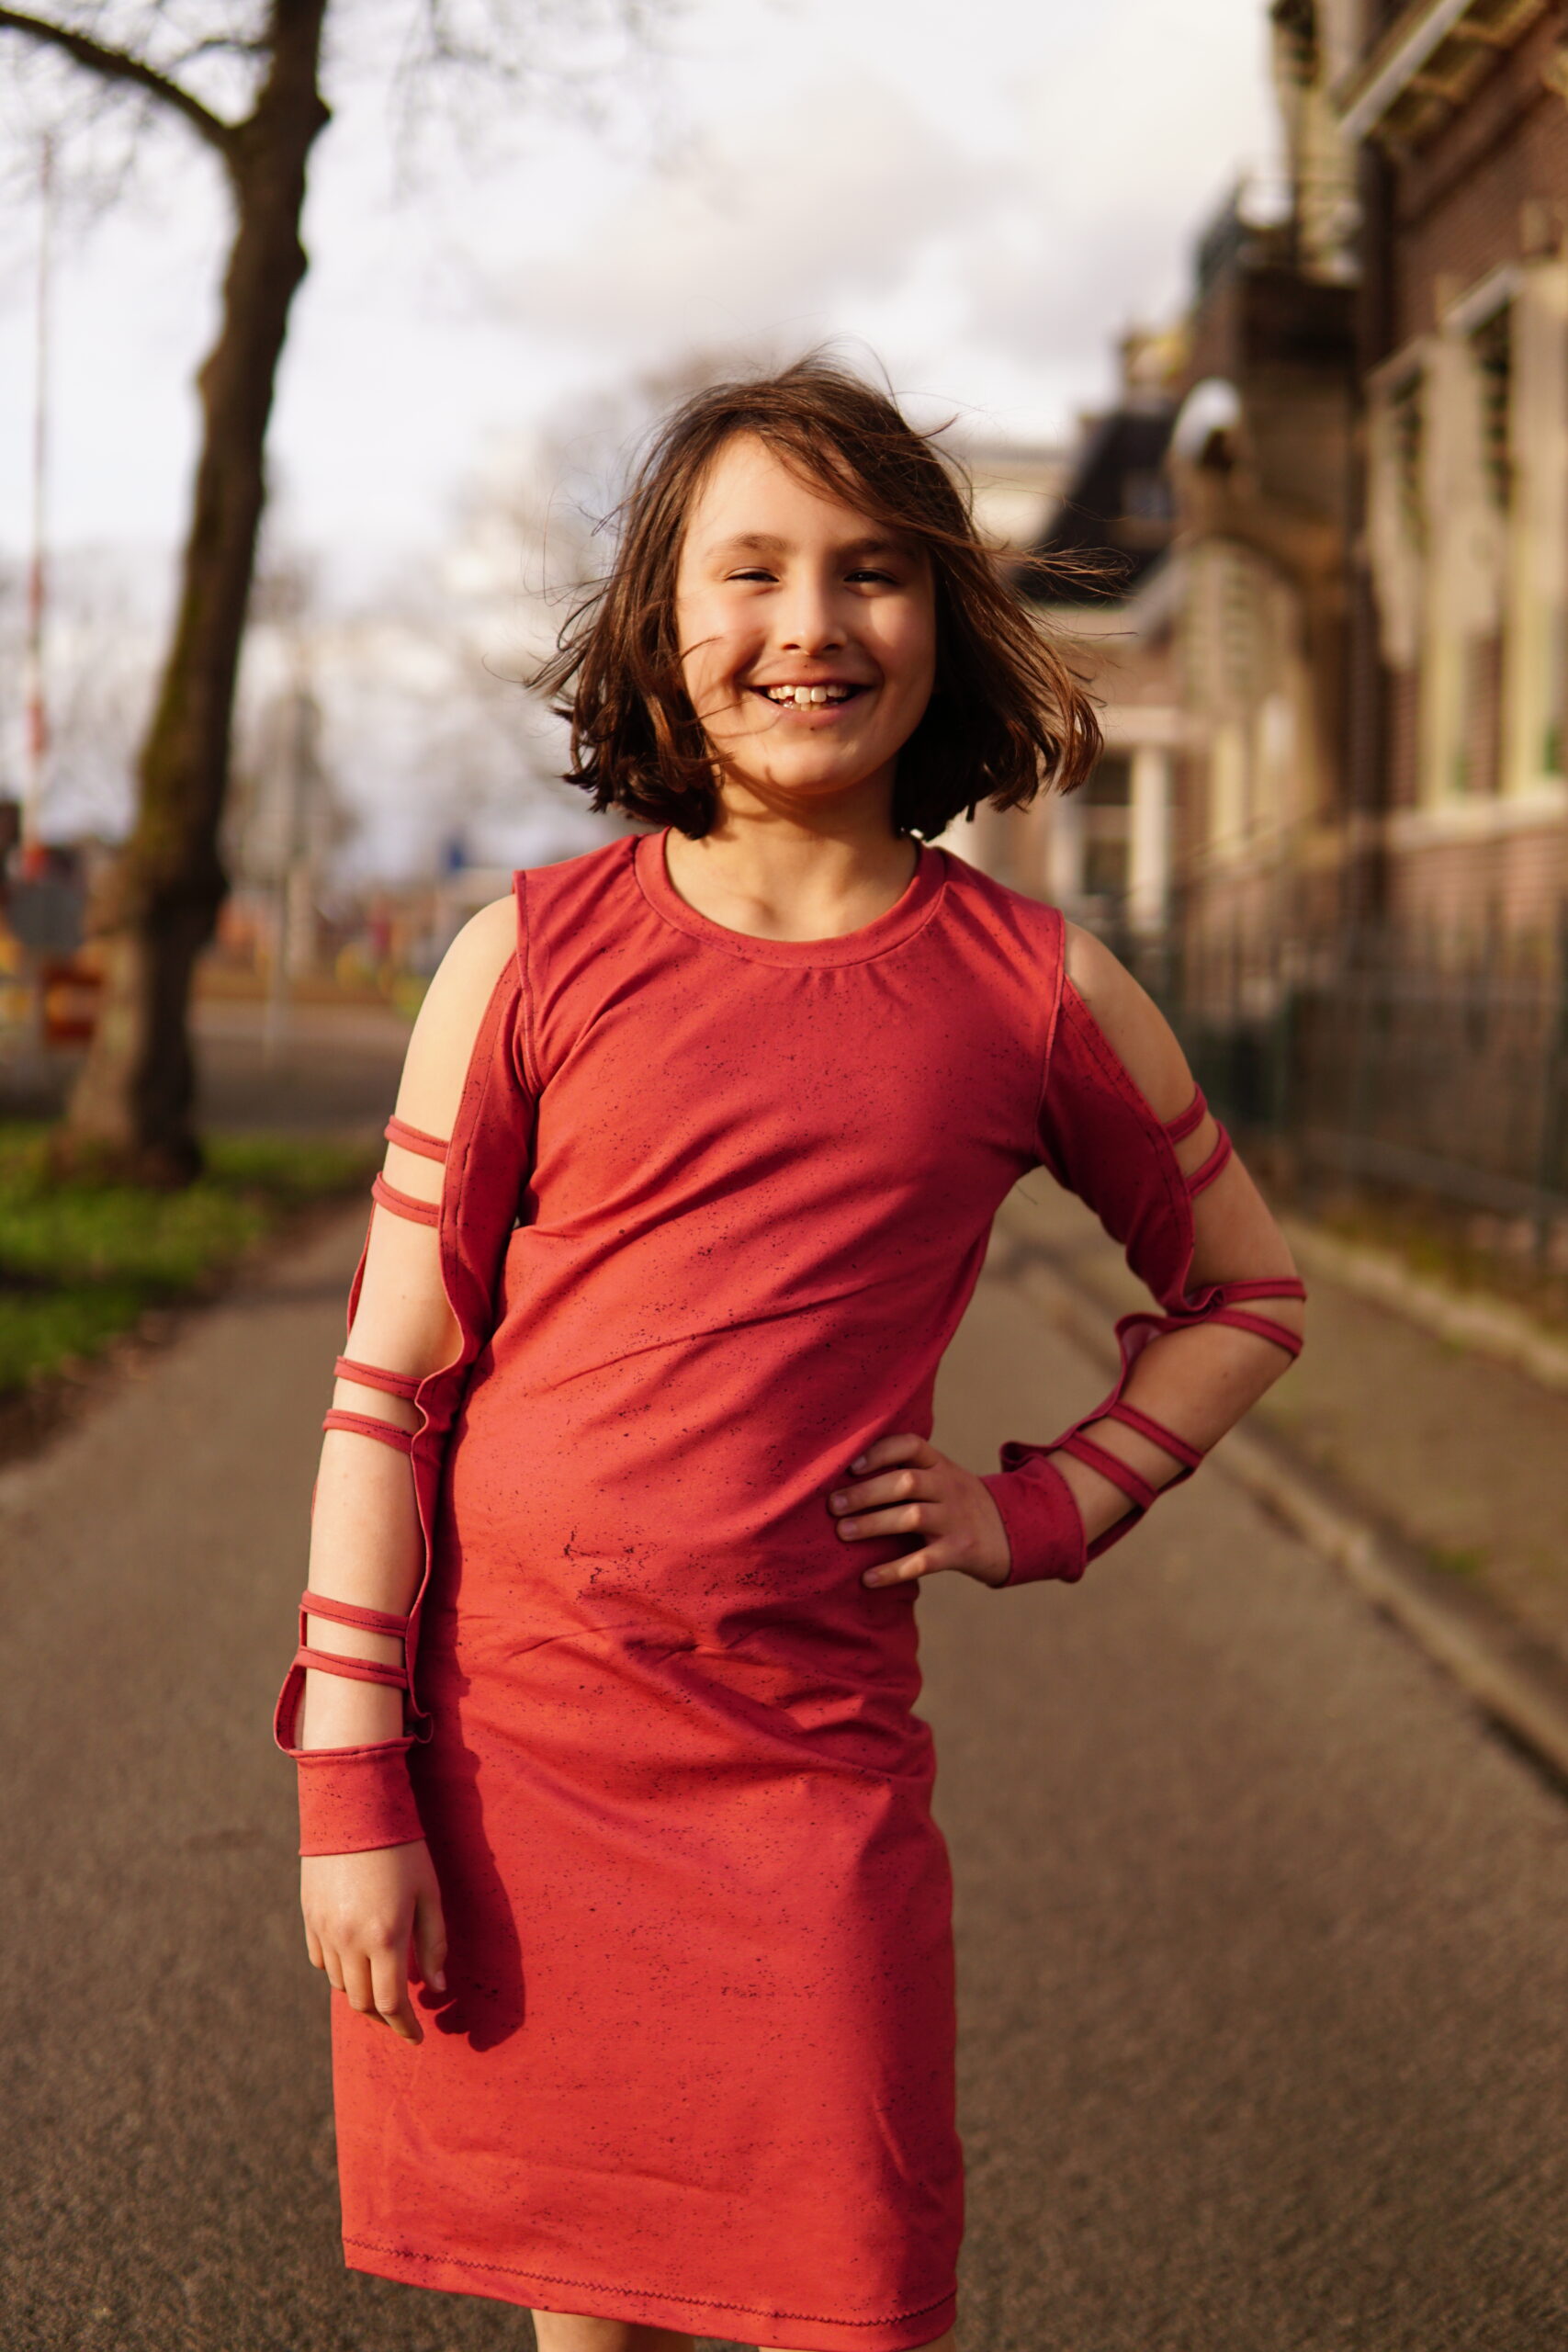
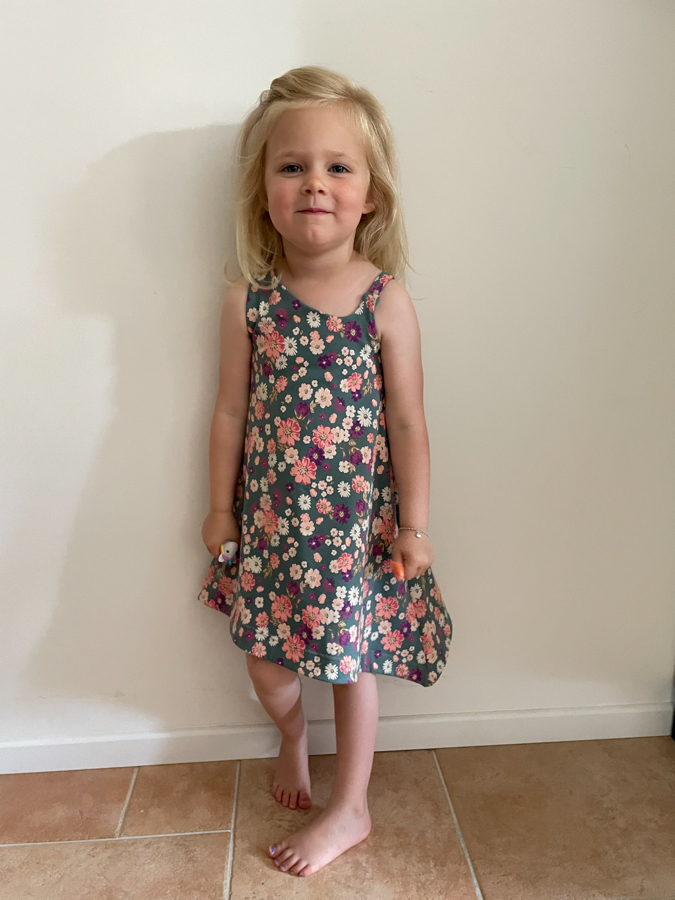
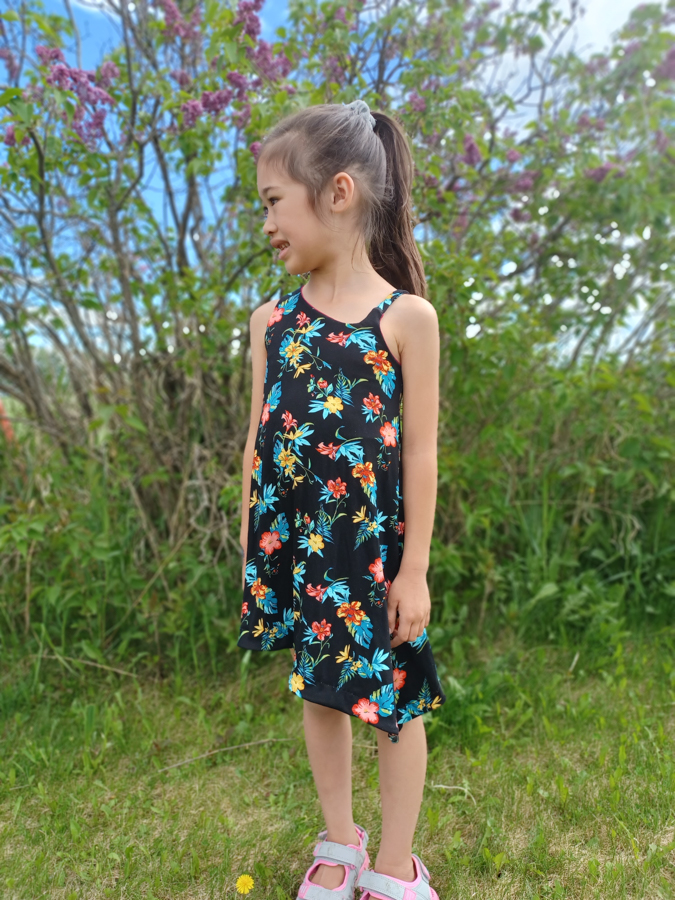
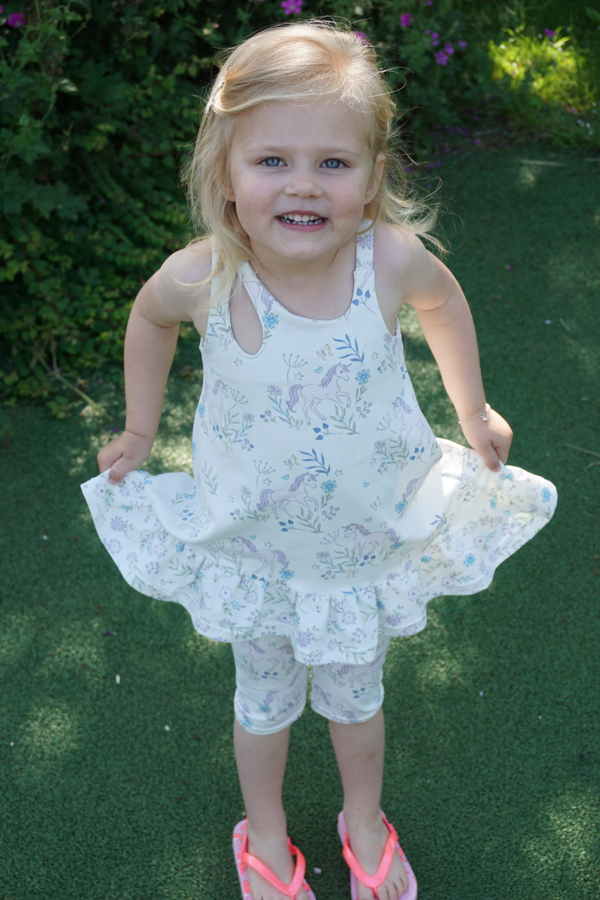
Dress:

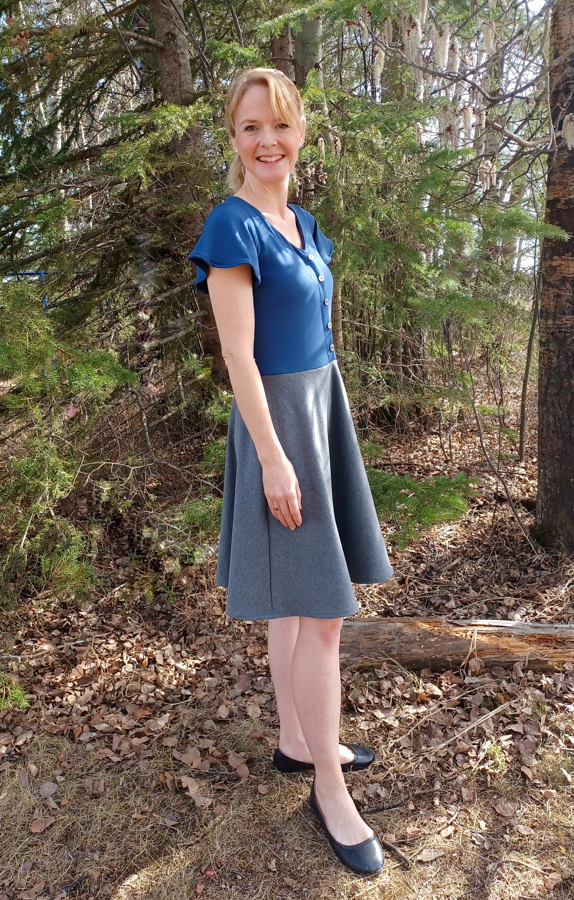
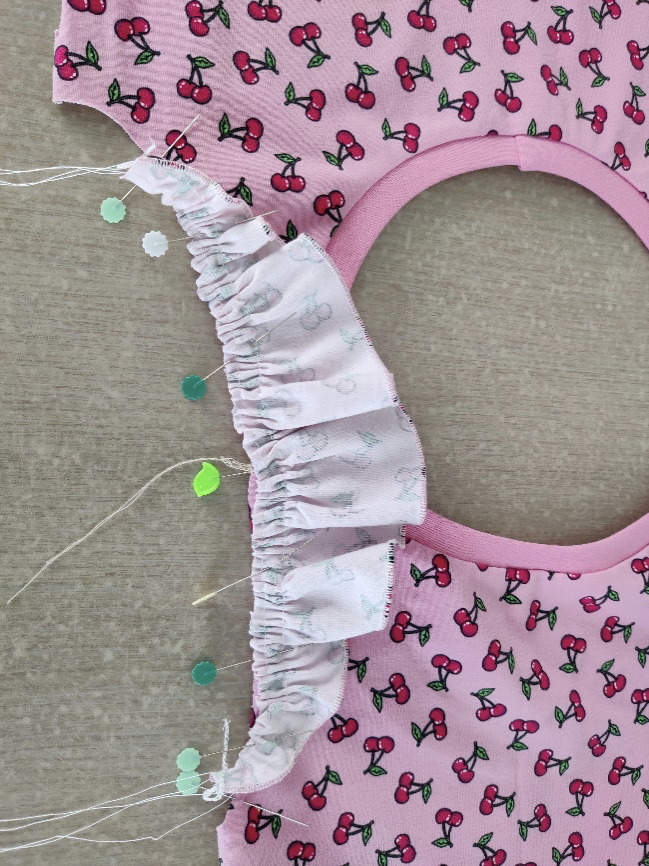
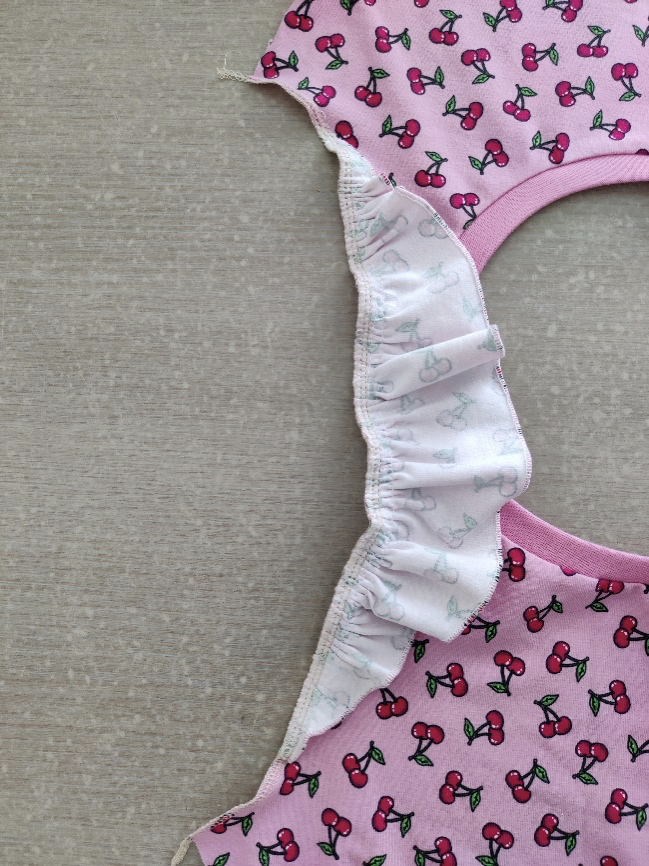
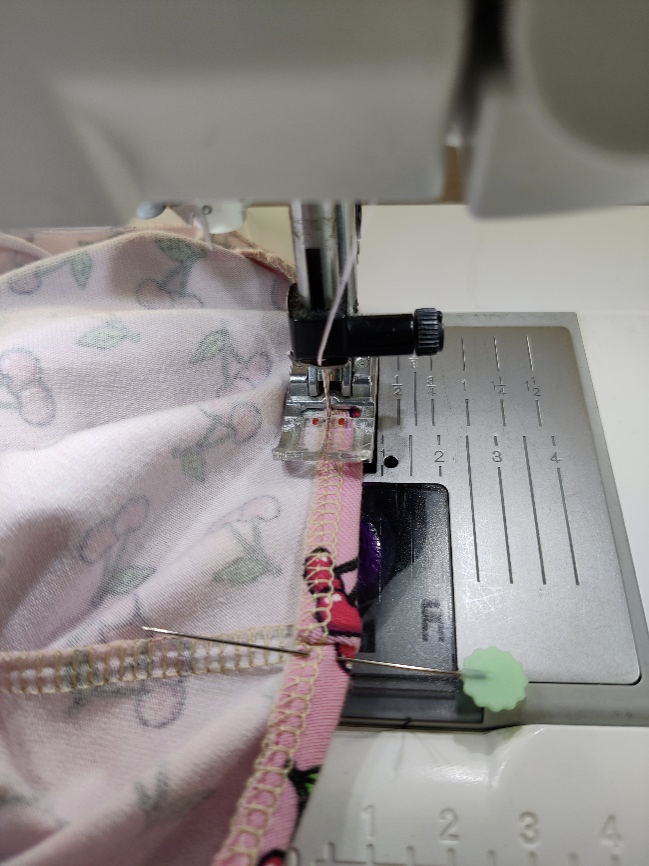
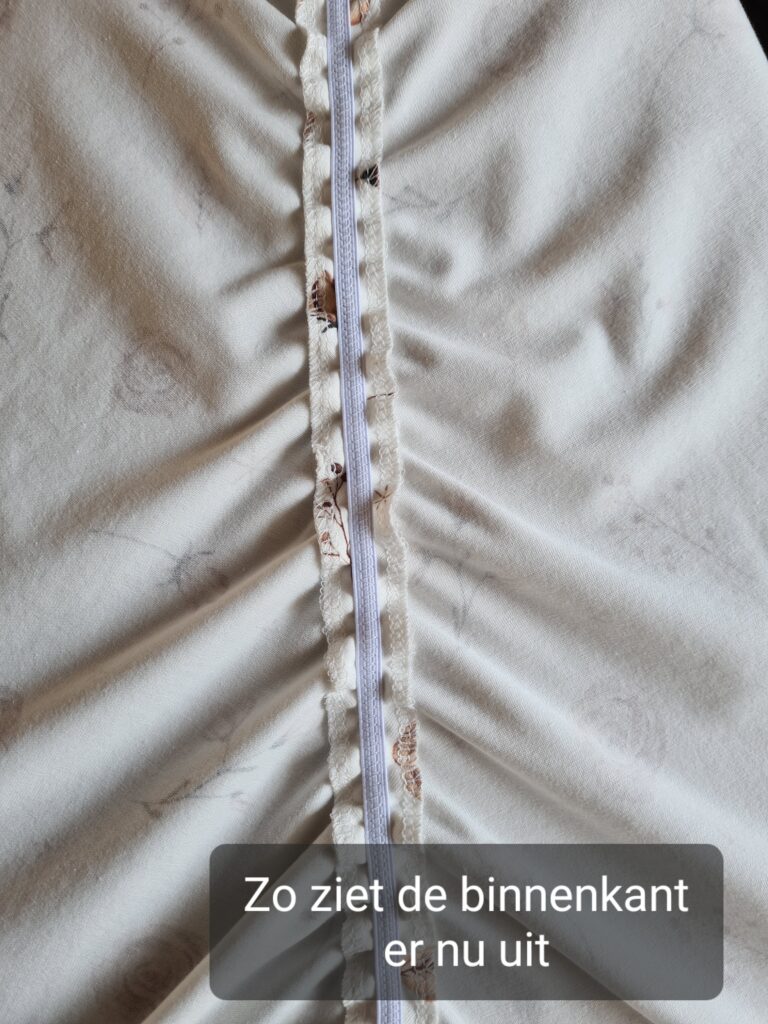
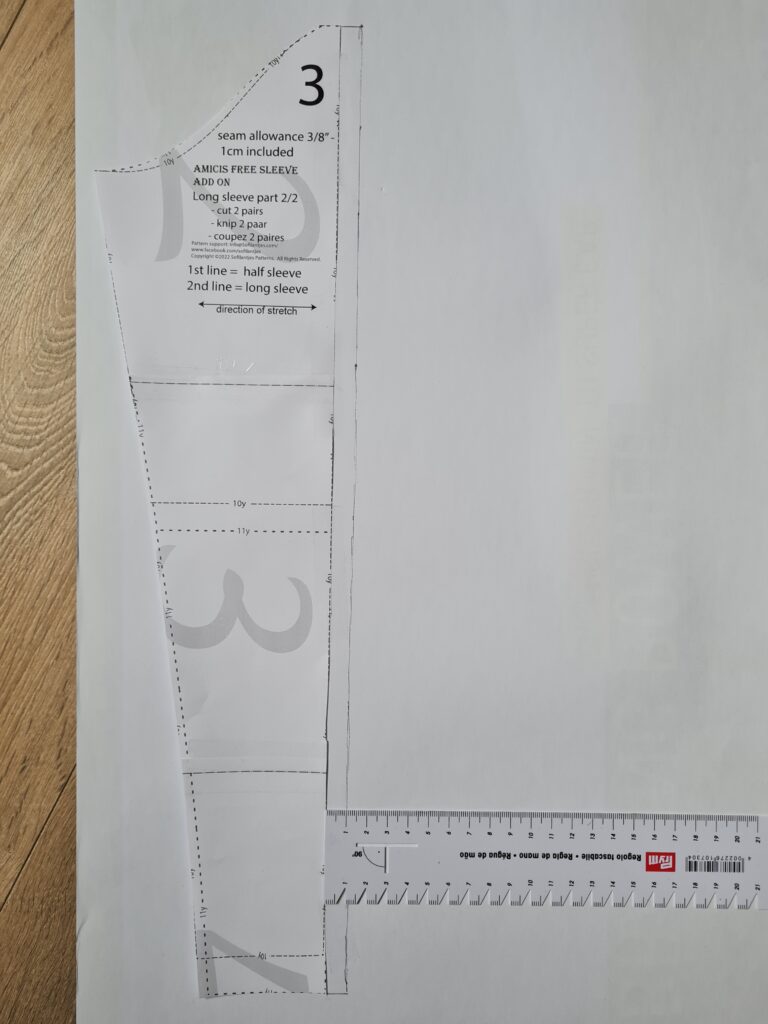
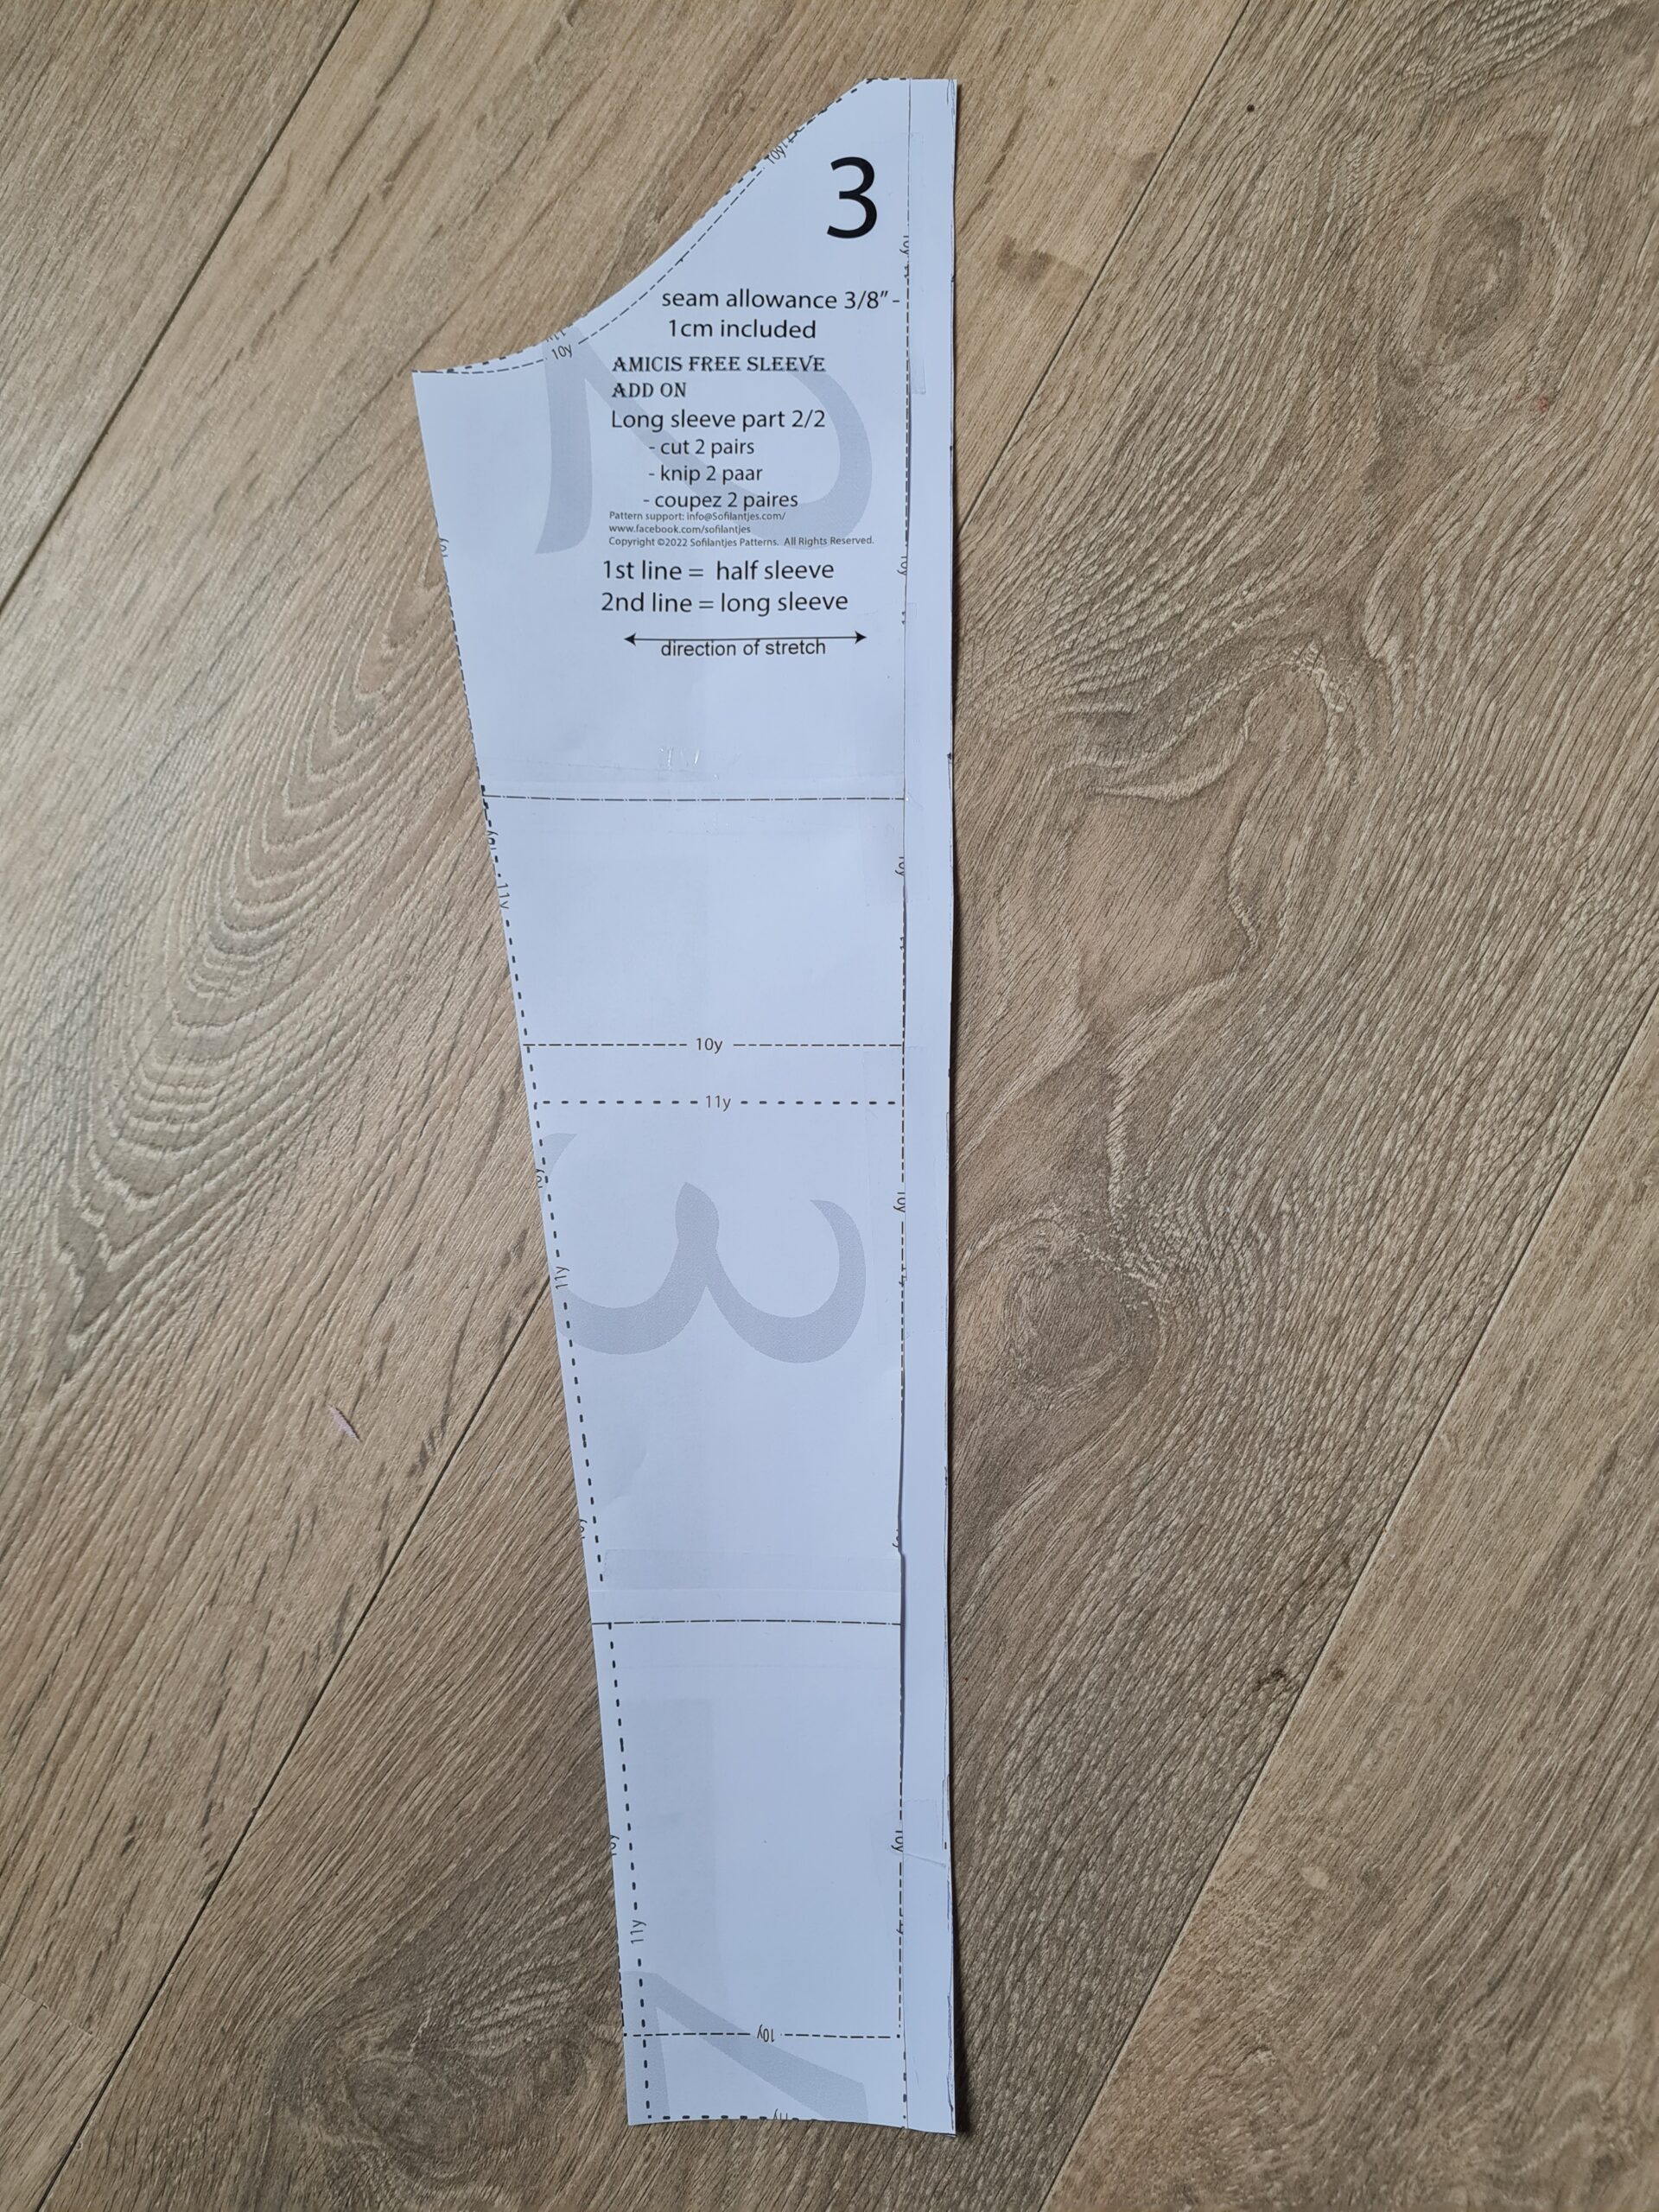
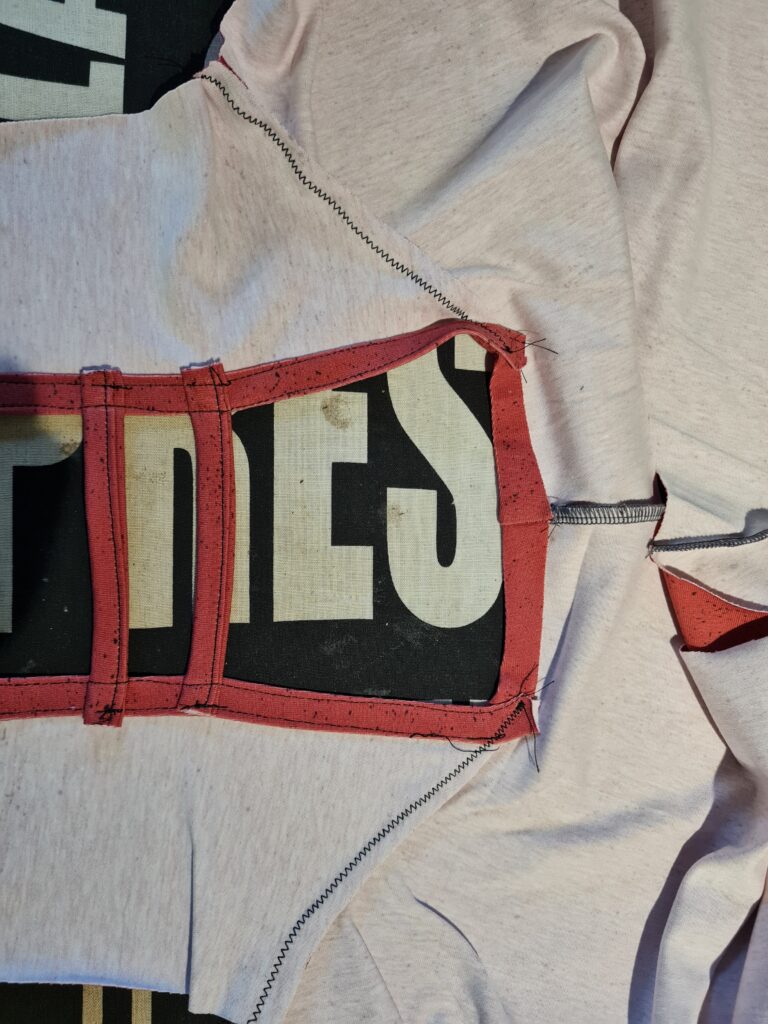
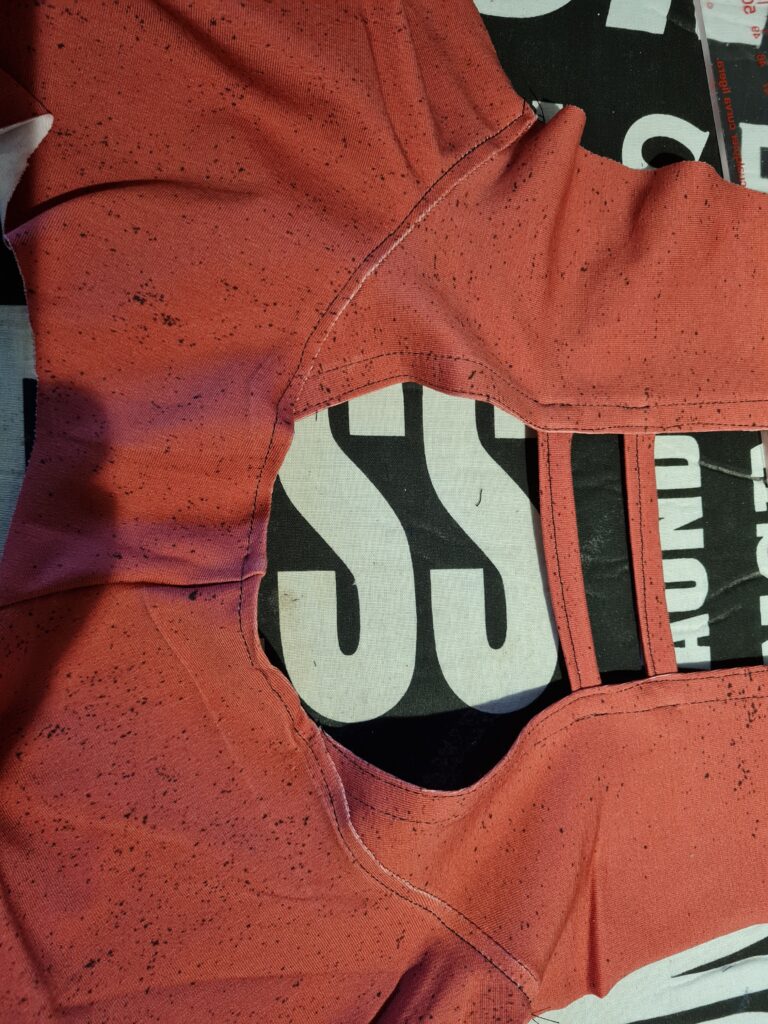
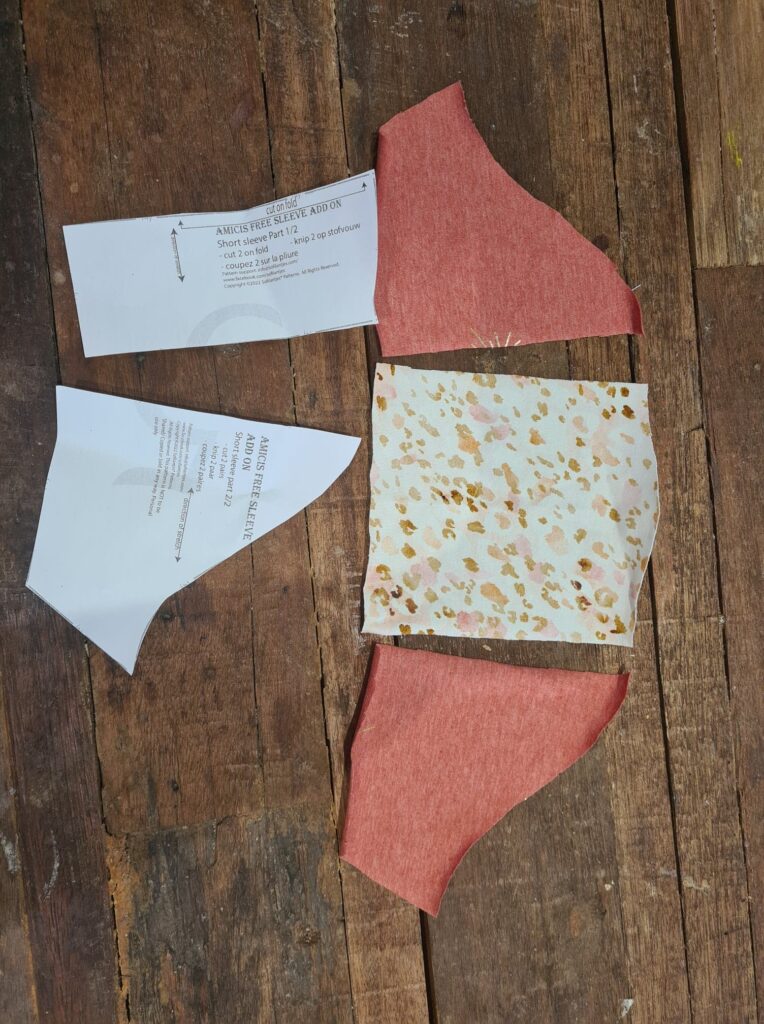
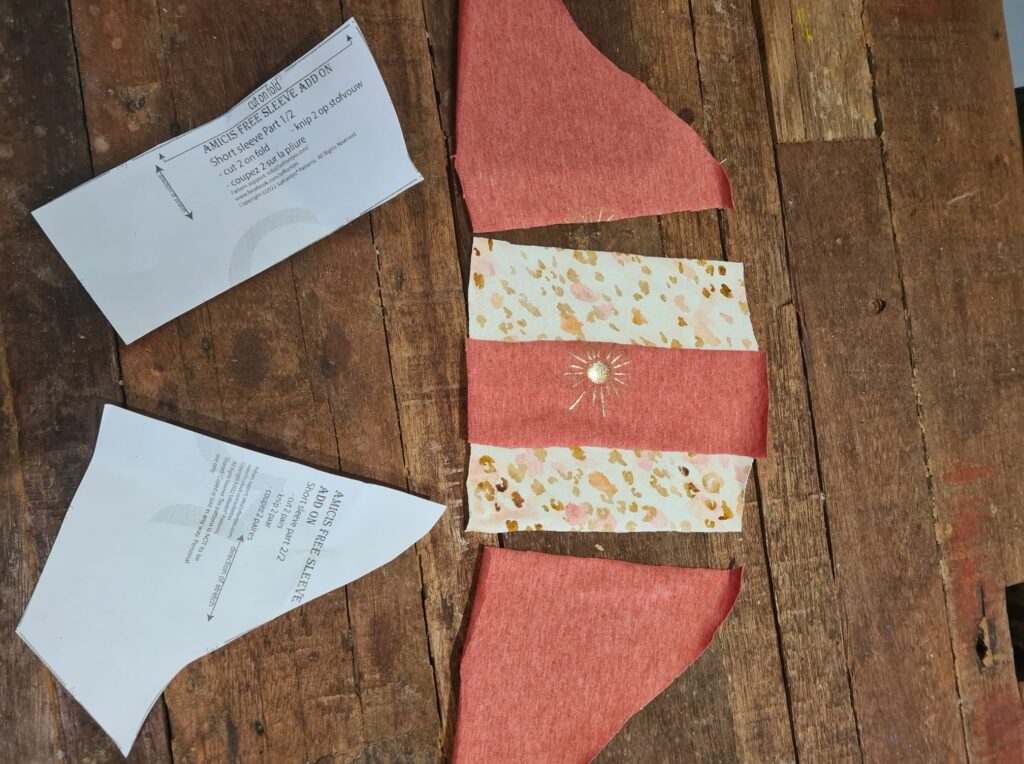
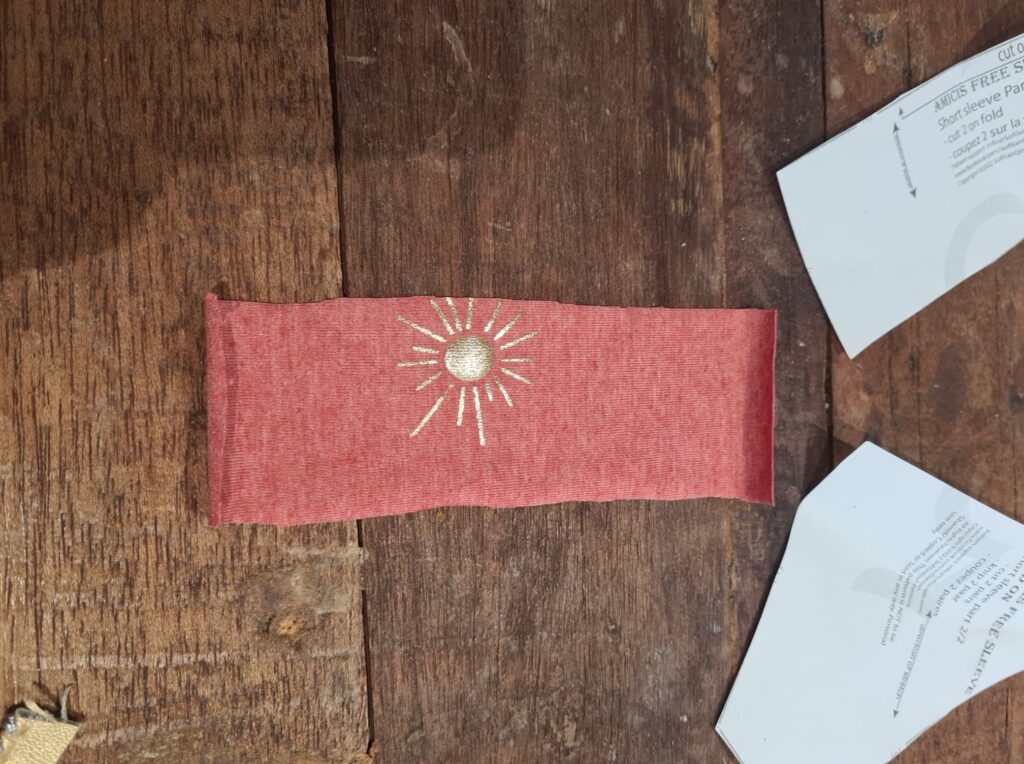
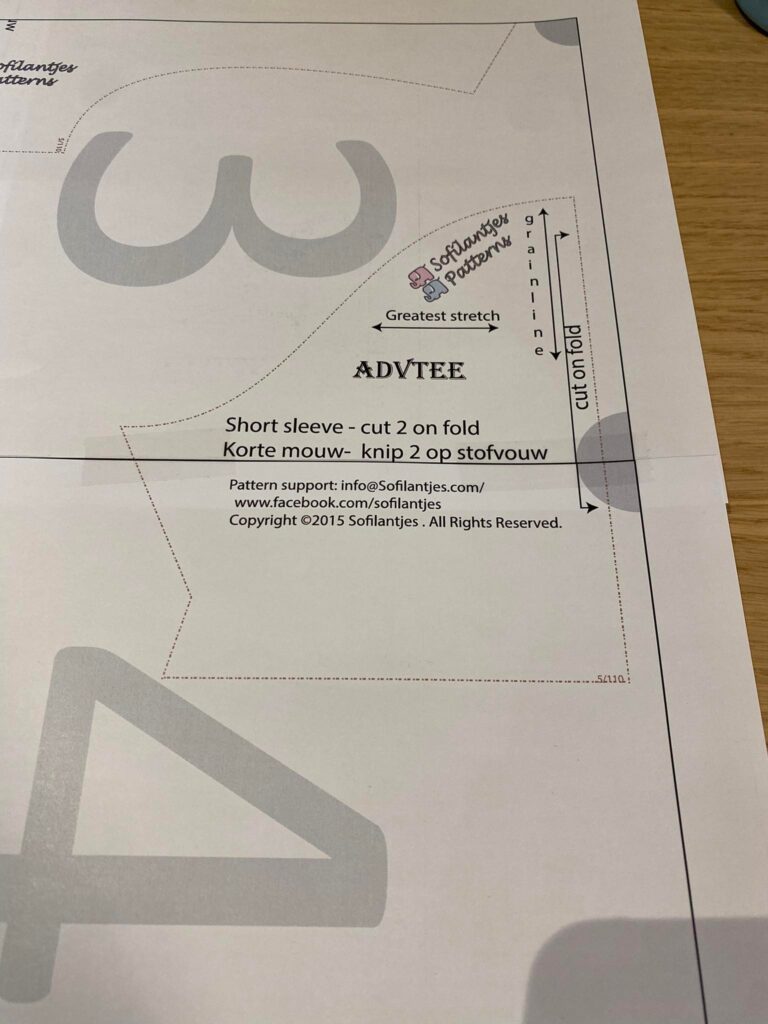
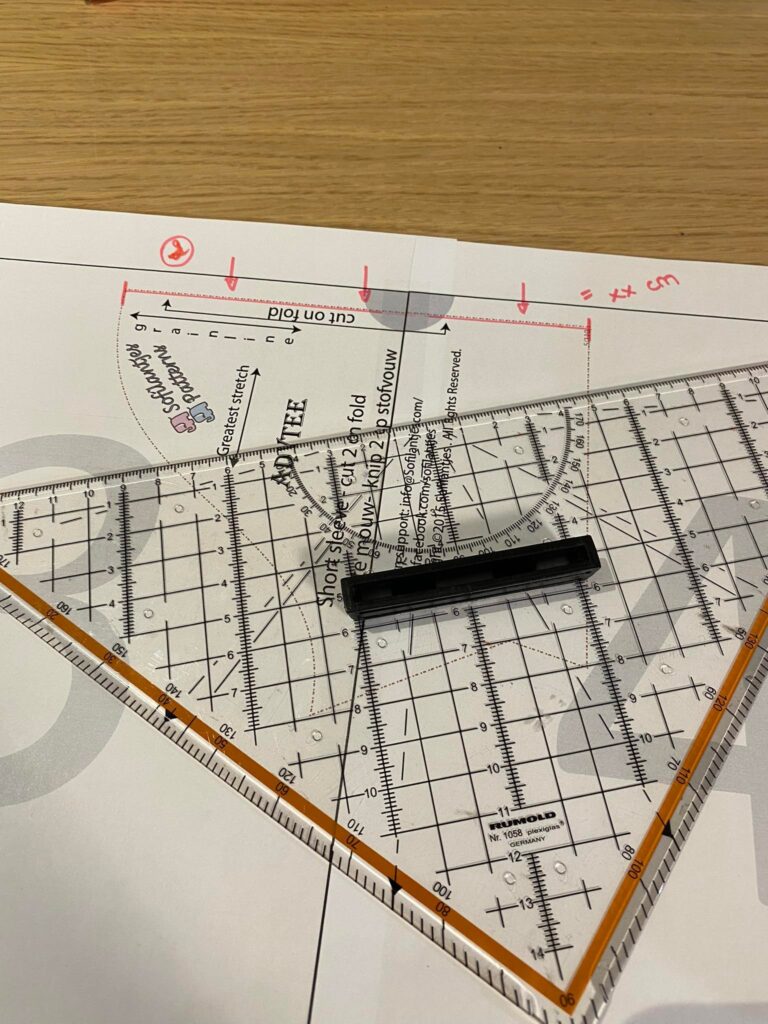
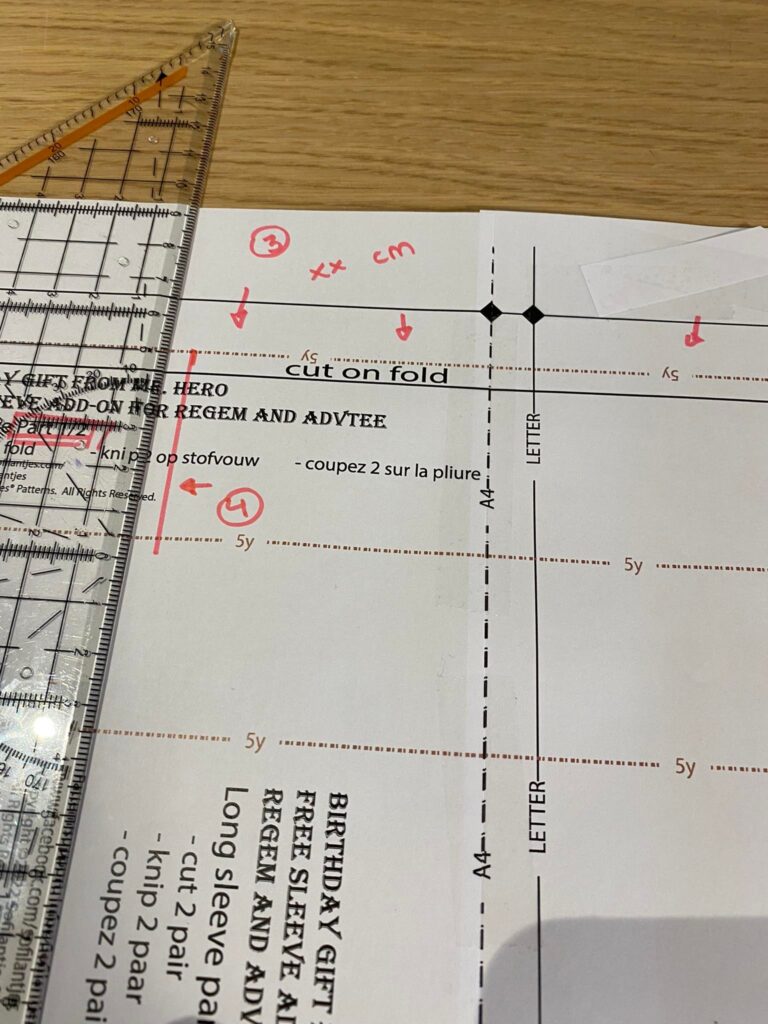
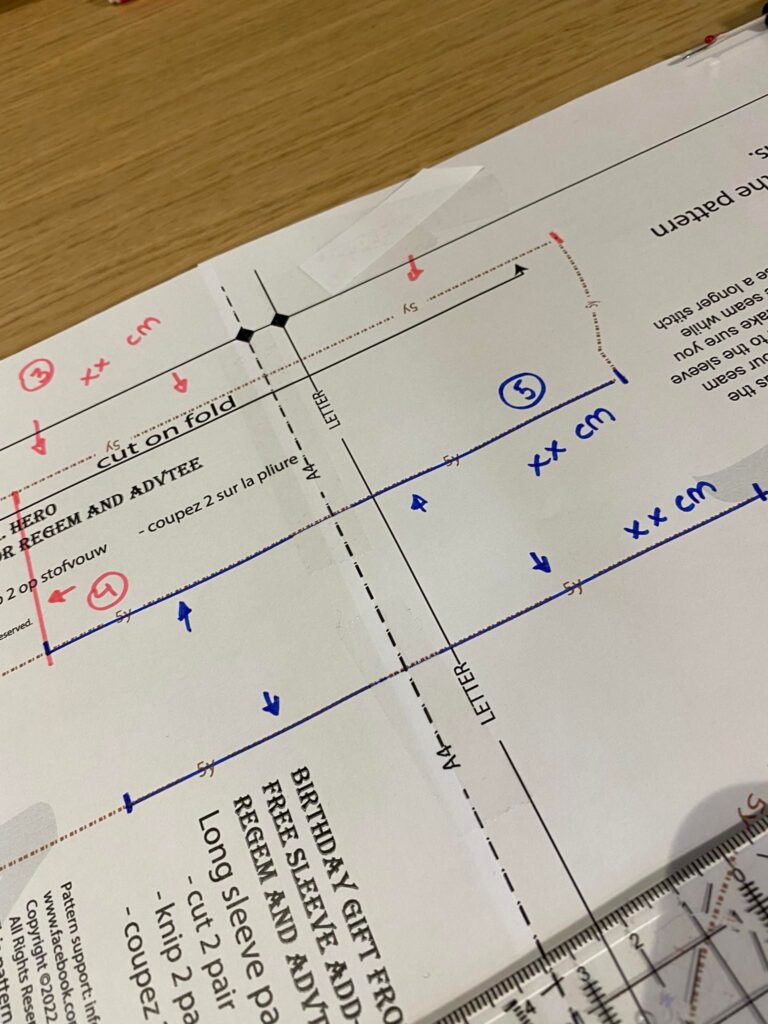
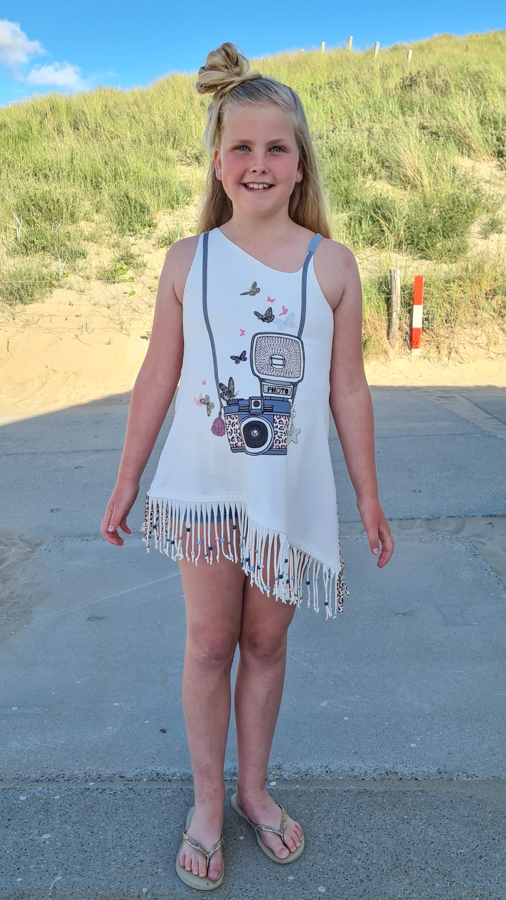
Modifications:


The Felix release sale runs from June 17, 13.00 CET (June 17, 7 am EST) through June 21 13.00 CET (June 21, 7 am EST). The adult pattern is €6,50, and the child is €5,51 – both excluding taxes, no code needed. You can get your copy using the links below. These are affiliate links so that the author will get a small percentage of the sale at no cost to you. If you are a Sofilantjes Sew and Show member, join us to show off your Felix Top, Tunic, and Dress.
Child:
Dutch – https://www.sofilantjes.com/product/felix-top-tuniek-en-jurk-kind-nederlands/?affiliates=4
English- https://www.sofilantjes.com/product/felix-top-tunic-and-dress-child-english/?affiliates=4
French – https://www.sofilantjes.com/product/haut-tunique-et-robe-felix-filles-francais/?affiliates=4
Adult:
Dutch – https://www.sofilantjes.com/product/felix-top-tuniek-en-jurk-volwassen-nederlands/?affiliates=4
English – https://www.sofilantjes.com/product/felix-top-tunic-and-dress-adult-english/?affiliates=4
French – https://www.sofilantjes.com/product/haut-tunique-et-robe-felix-femmes-francais/?affiliates=4