Jessica Pieneman made a tutorial for you. She added a ruffle to the Gemma bodysuit sleeve. This tutorial will also work on the Gemma top. Let’s show you how.
Don’t forget to visit her Social Media to thank her.
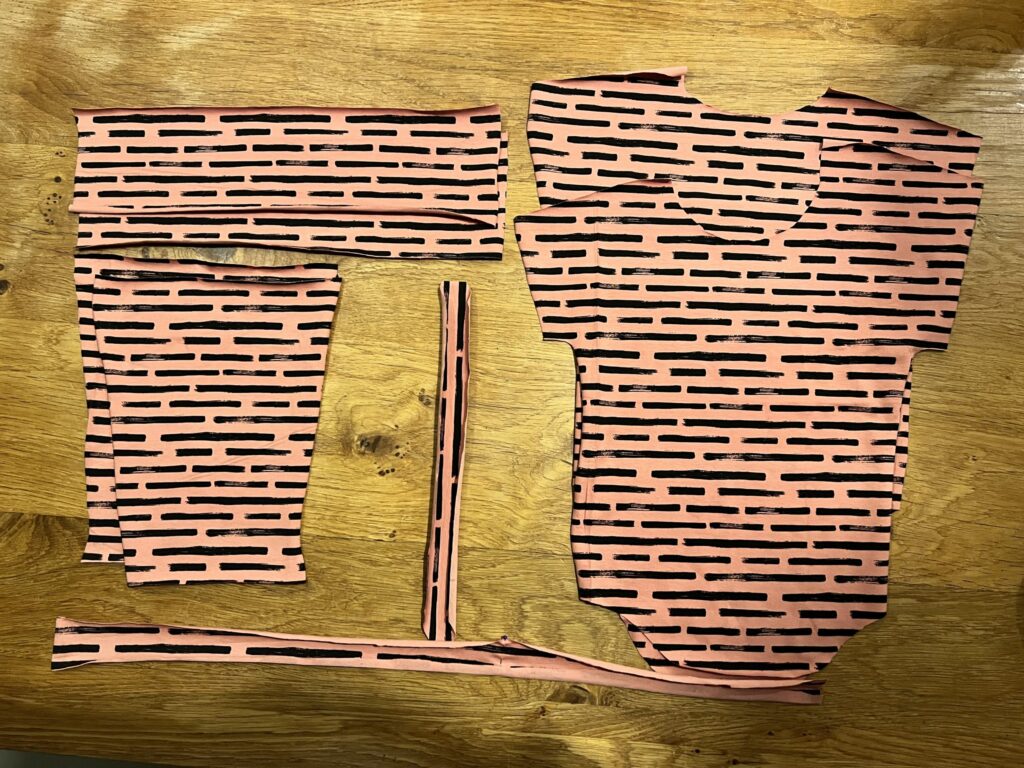
When cutting out the pattern pieces, include two straight strips for the ruffles.
To do this, measure the length of the top of your sleeve and multiply it by 1.5x (or more if you want more effect). I used a height of 4″- 10 cm to leave a ruffle of 1.5″- 4 cm.
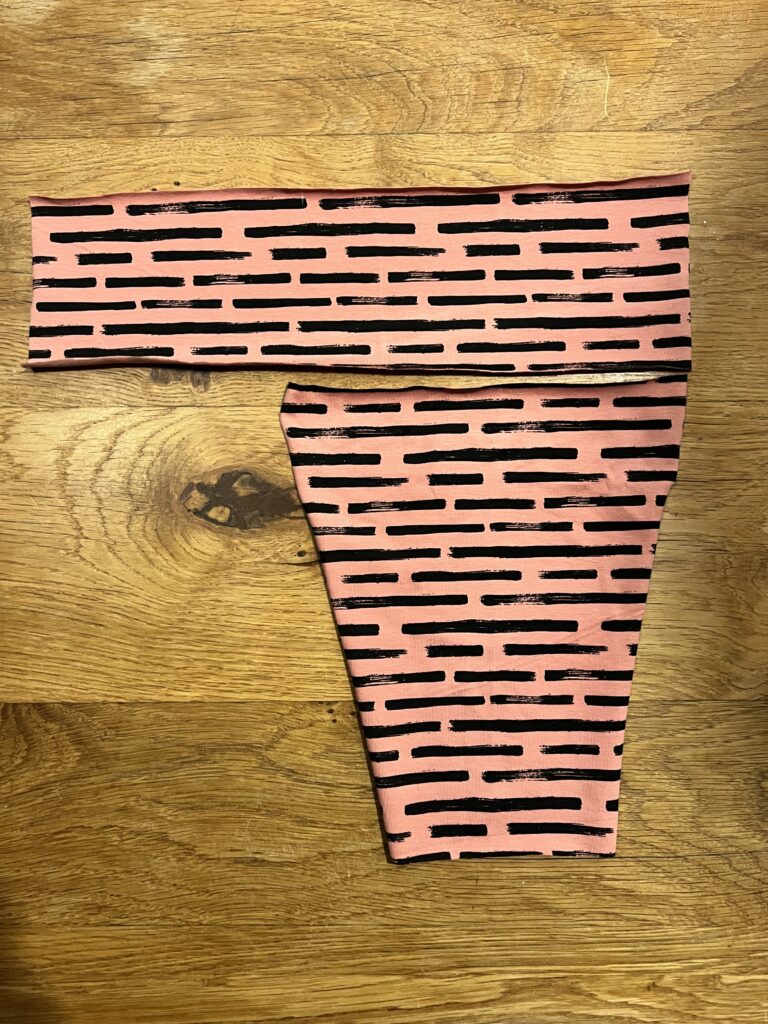
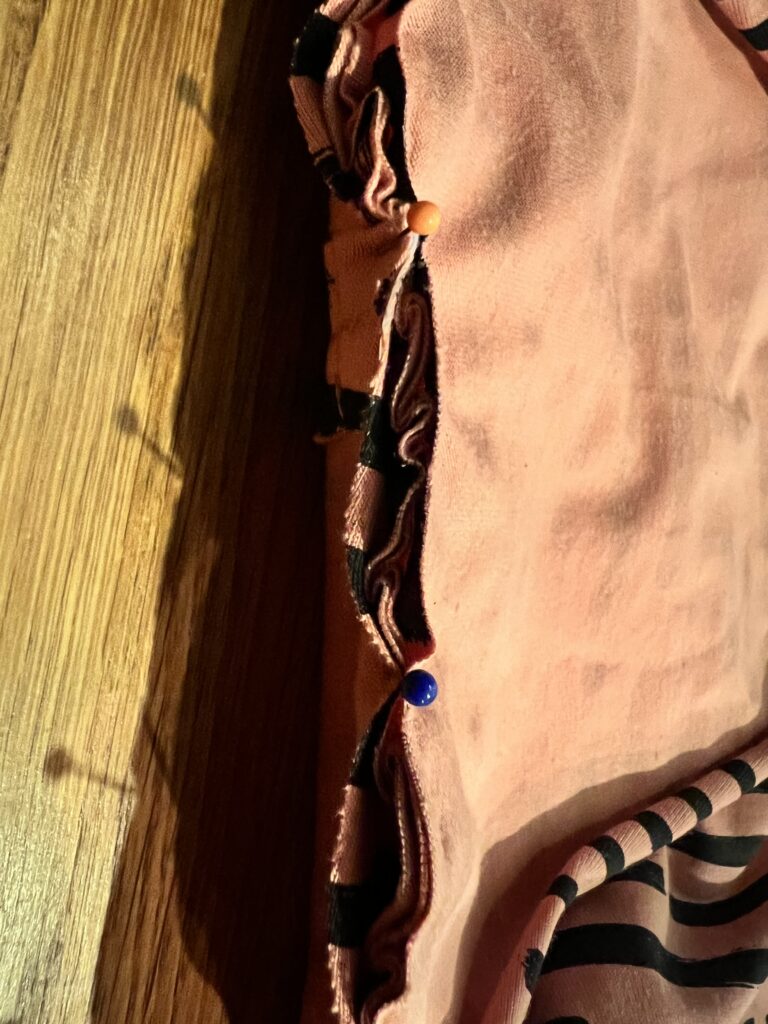
Fold the strips lengthwise with wrong sides together, and gather those strips so that you end up exactly with your sleeve.
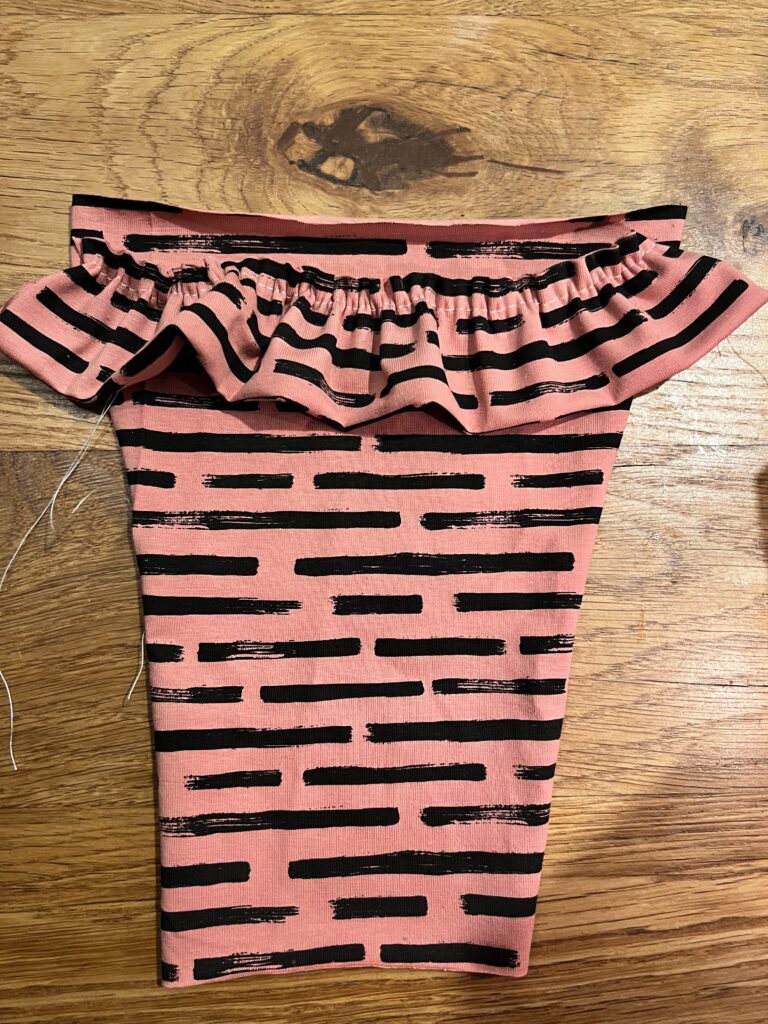
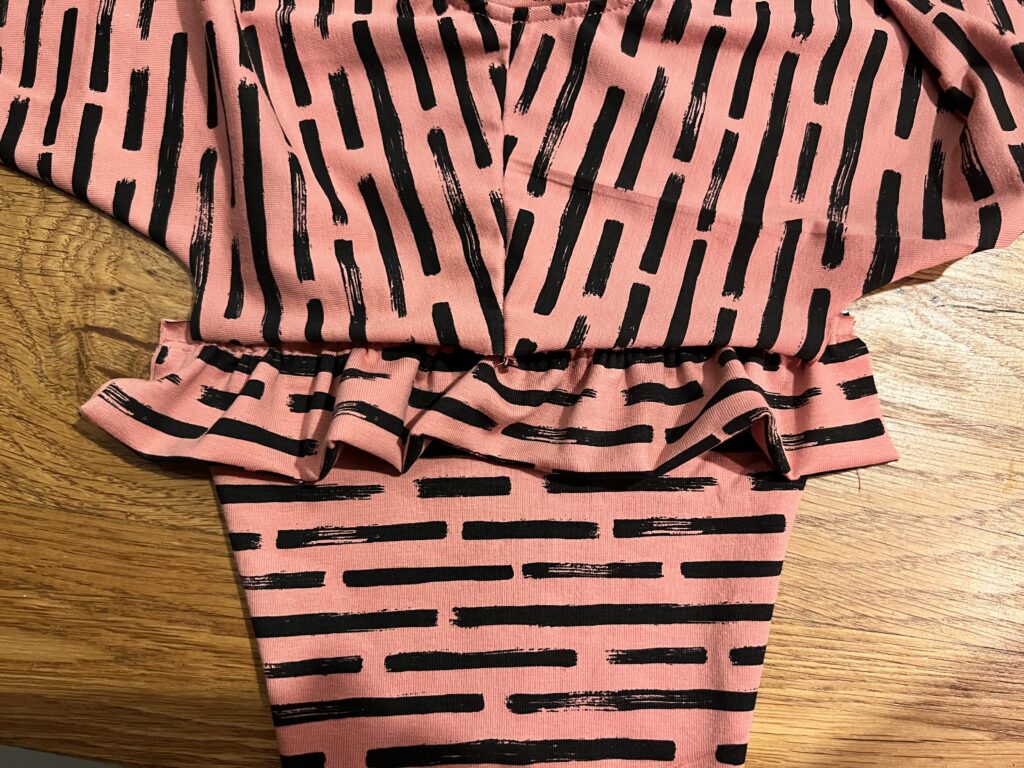
Now place the strips between the sleeve pieces and sleeve openings right sides together and sew in place.
The ruffle is now in between.
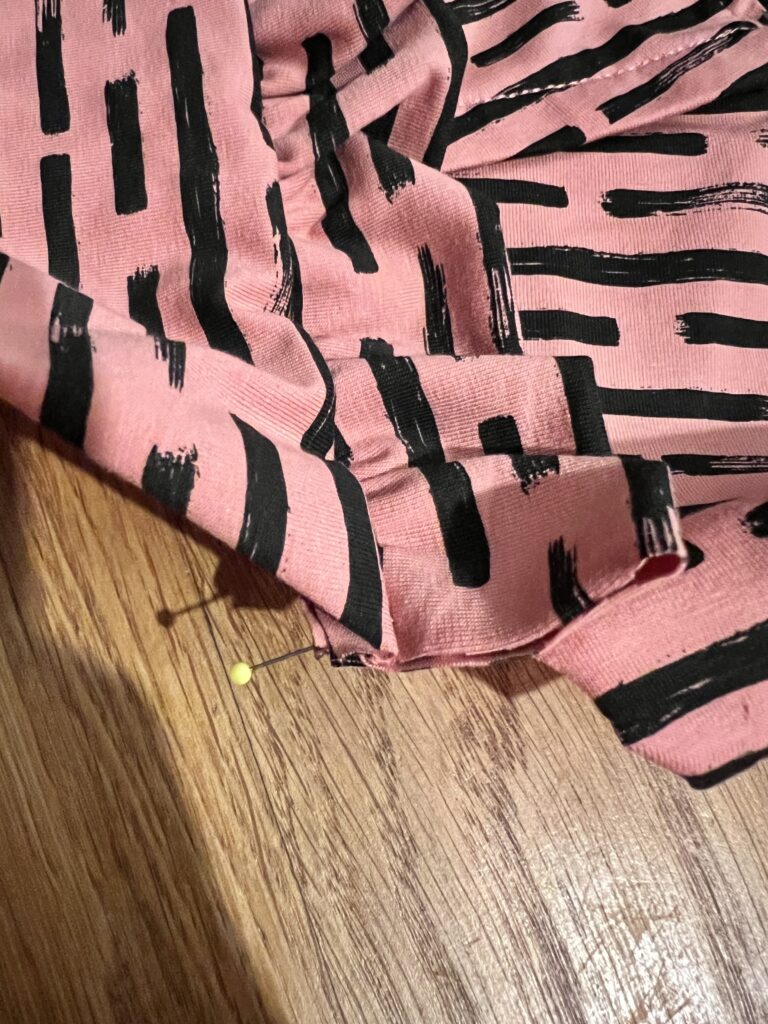
When sewing the side seams, place the ends of the ruffle neatly in between and sew together.
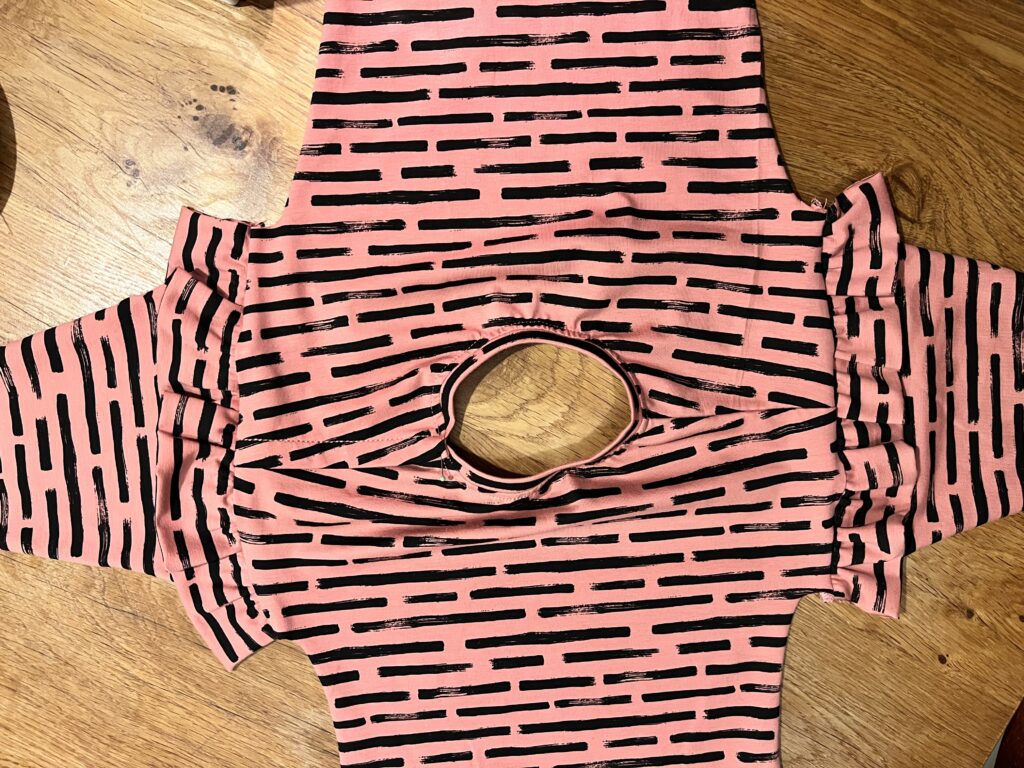
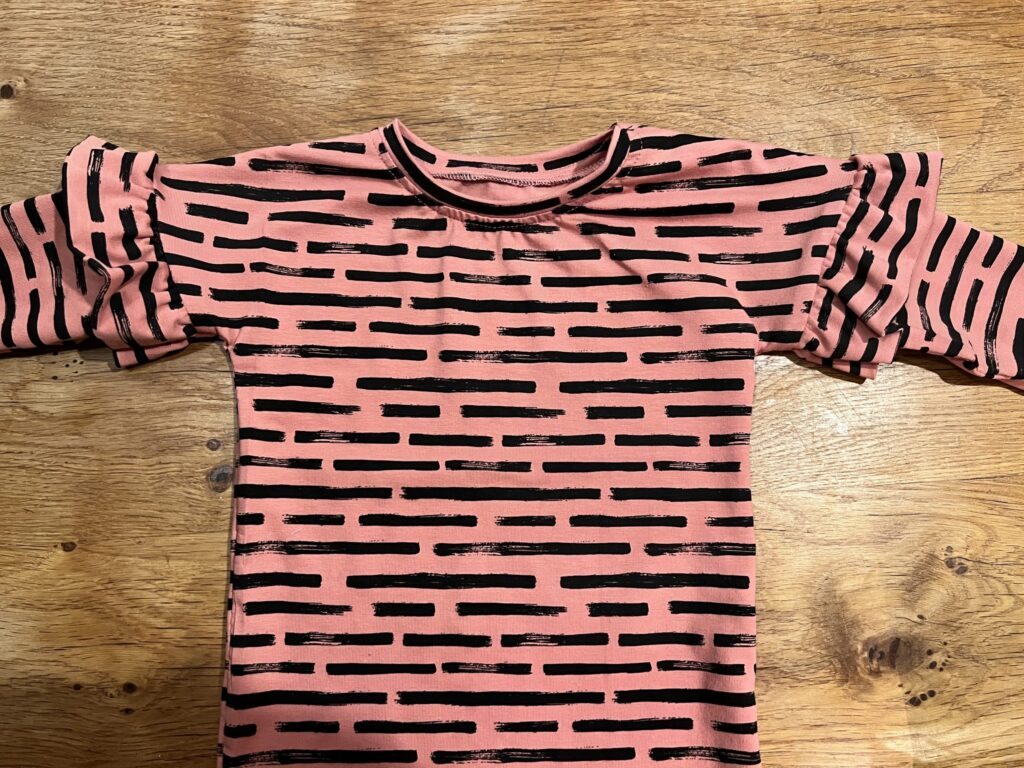
Finish the sleeves and sew the leg band as described in the instructions. And ready is your Gemma Romper with ruffle!
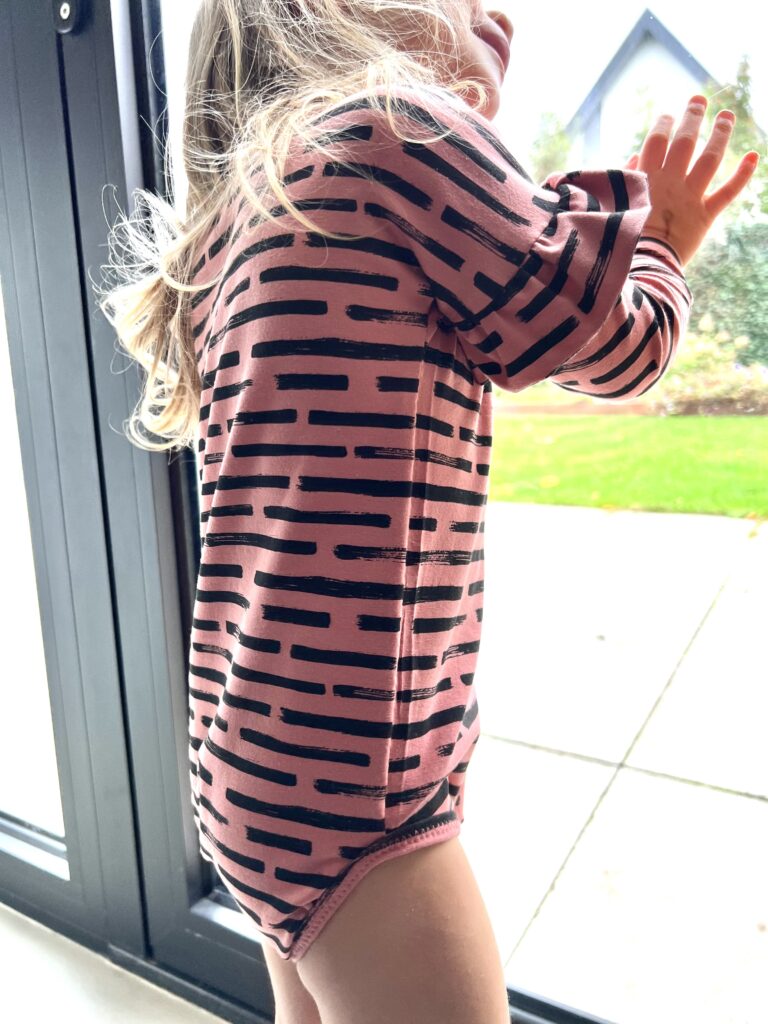
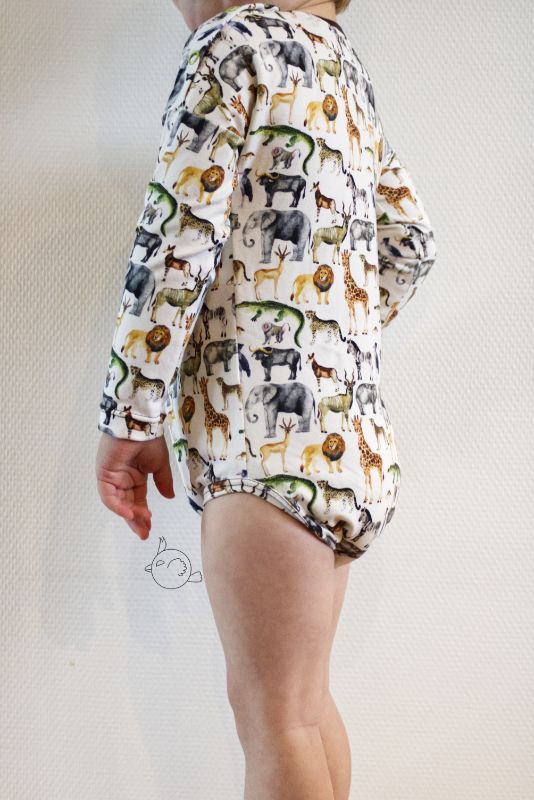
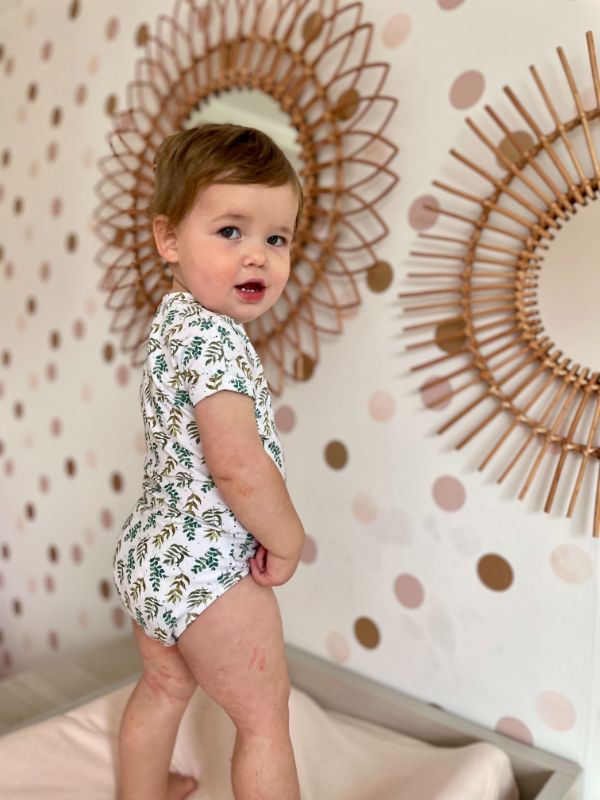
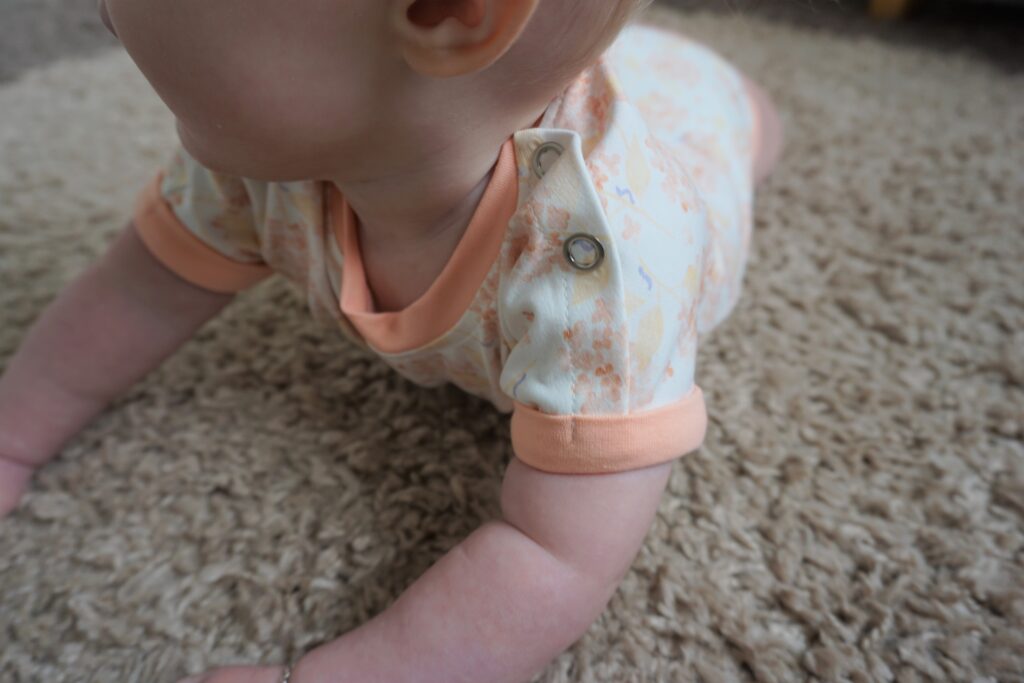
We are celebrating the birth of a new Sofilantjes baby. The Gemma Bodysuit. You asked us for a Gemma in baby sizes so here it is. A lovely bodysuit with three sleeve options. Long, short and short with fold over cuff. With great bum coverage and a well fitted body your baby can play and sleep perfectly.
Short sleeve:
Long sleeve:
Fold over cuff:
The Gemma bodysuit release sale runs from October 20, 00.00 CET (Oct. 19, 6 pm EST) through October 24 00.00 CET (Oct. 23, 6 pm EST) and is €4,99 – excluding taxes, no code needed. You can get your copy using the links below. If you are a Sofilantjes Sew and Show member, join us to show off your Gemma Bodysuit.
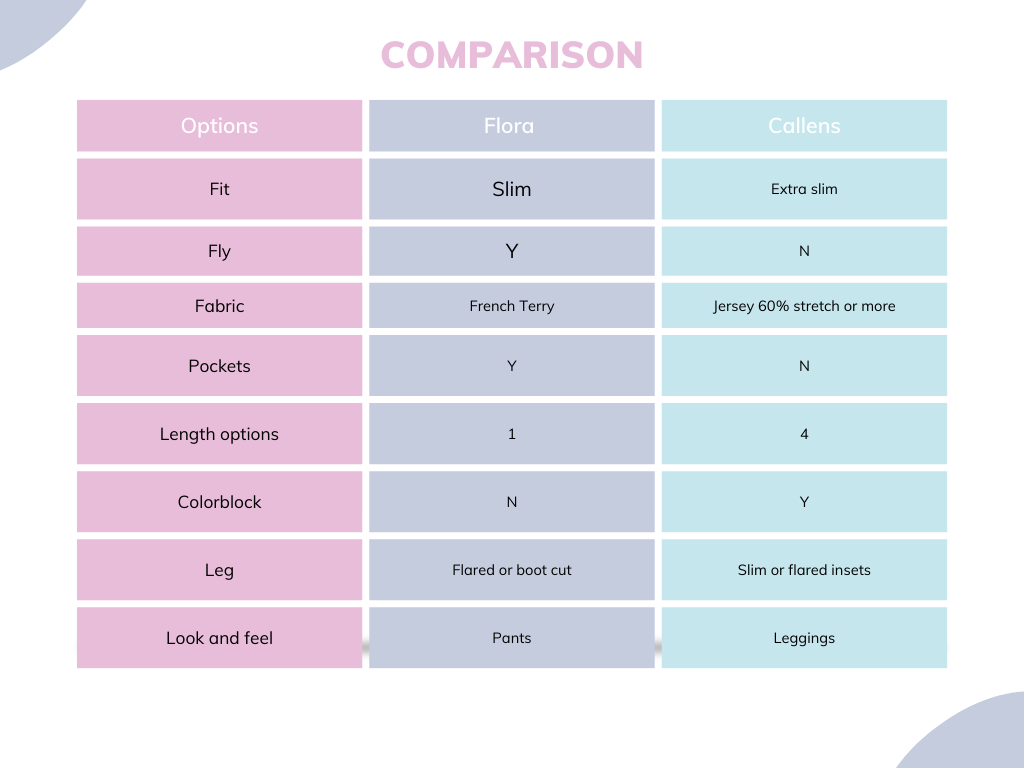
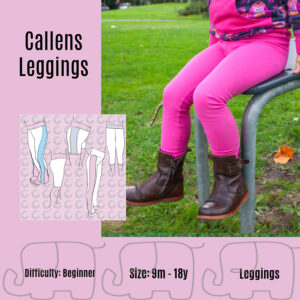
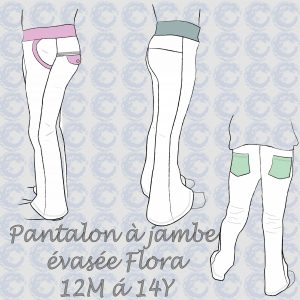
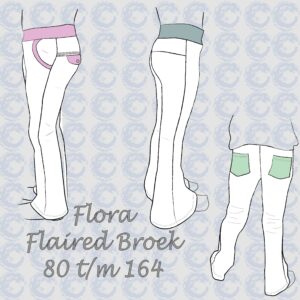
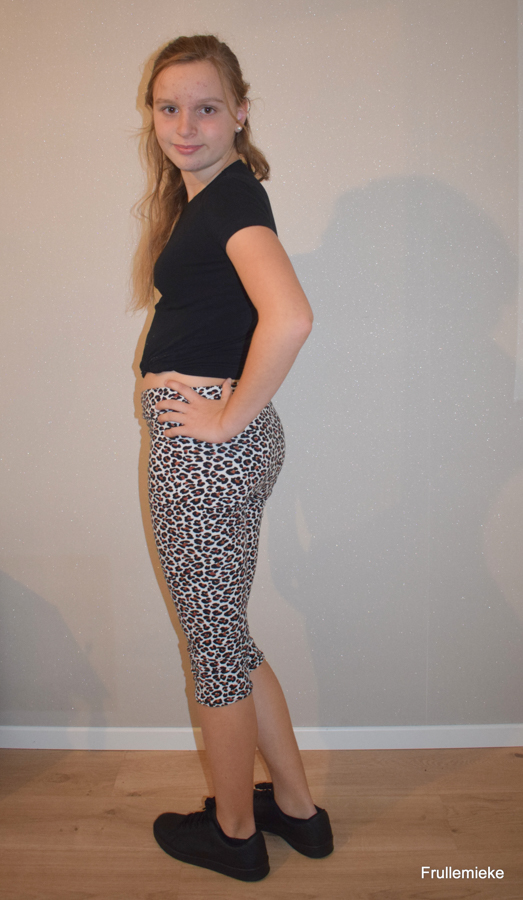
Some of you have been asking about the differences between the Flora Flared Pants and the Callens Leggins. To answer your questions, see below.
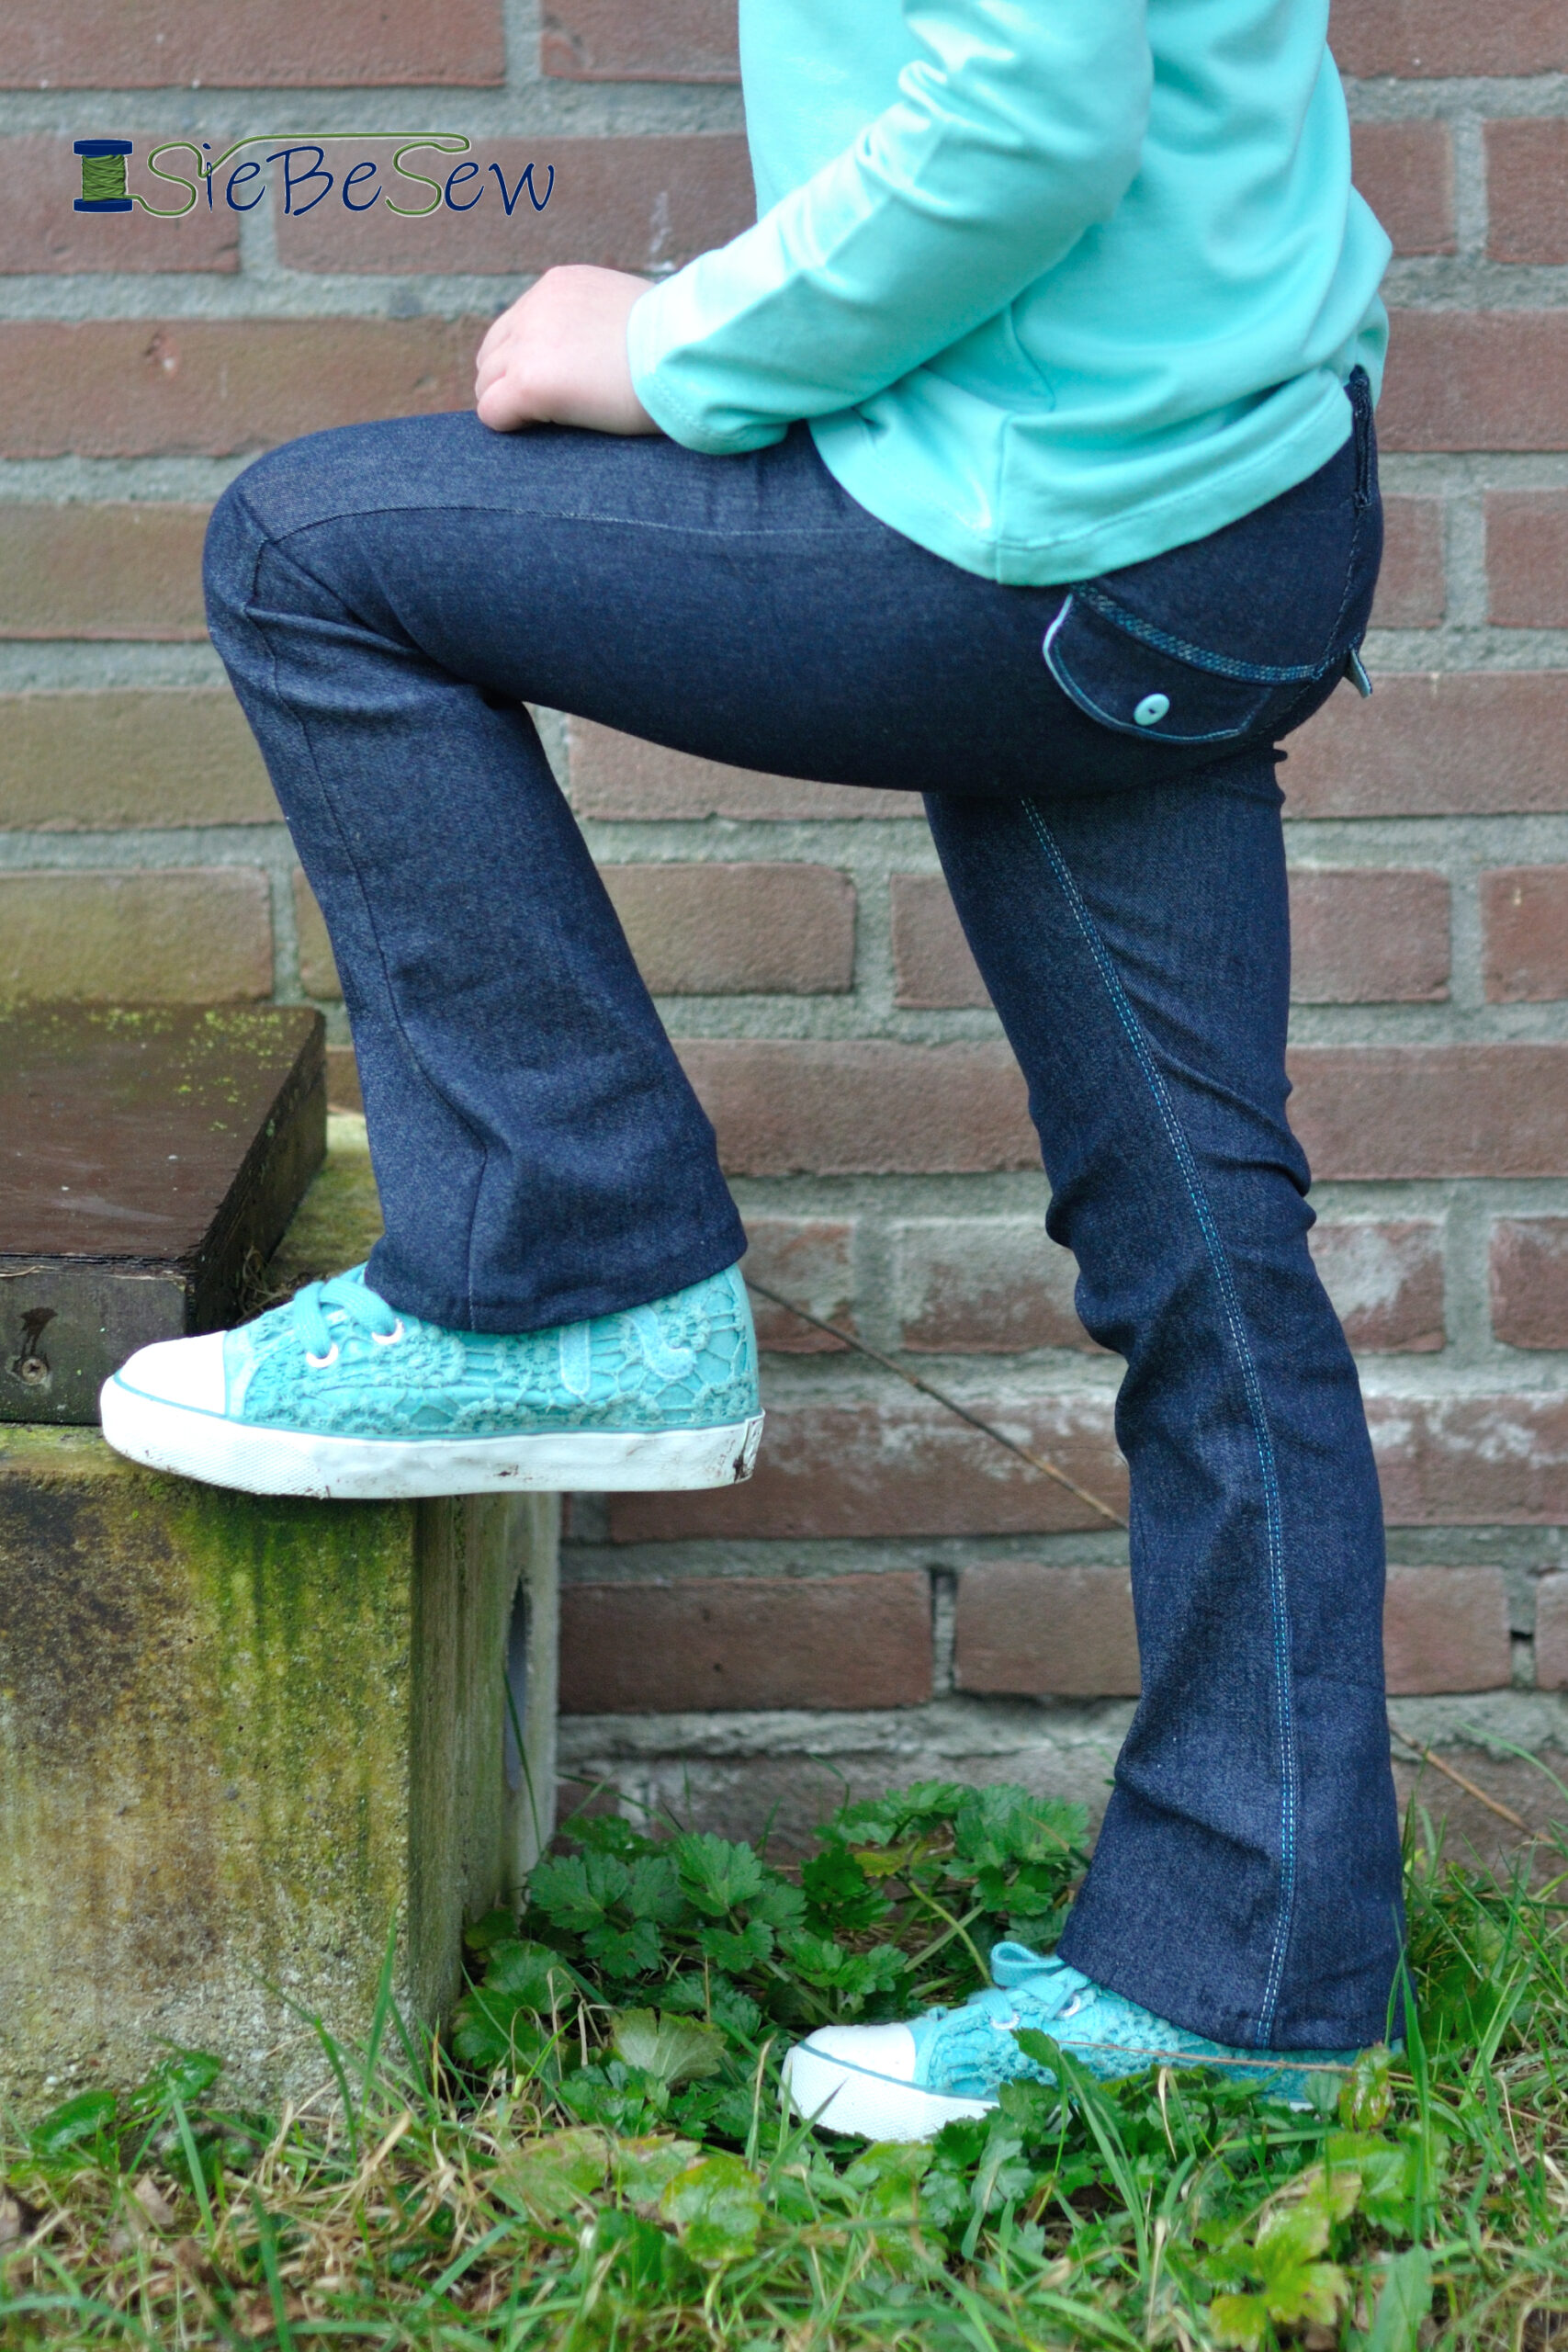
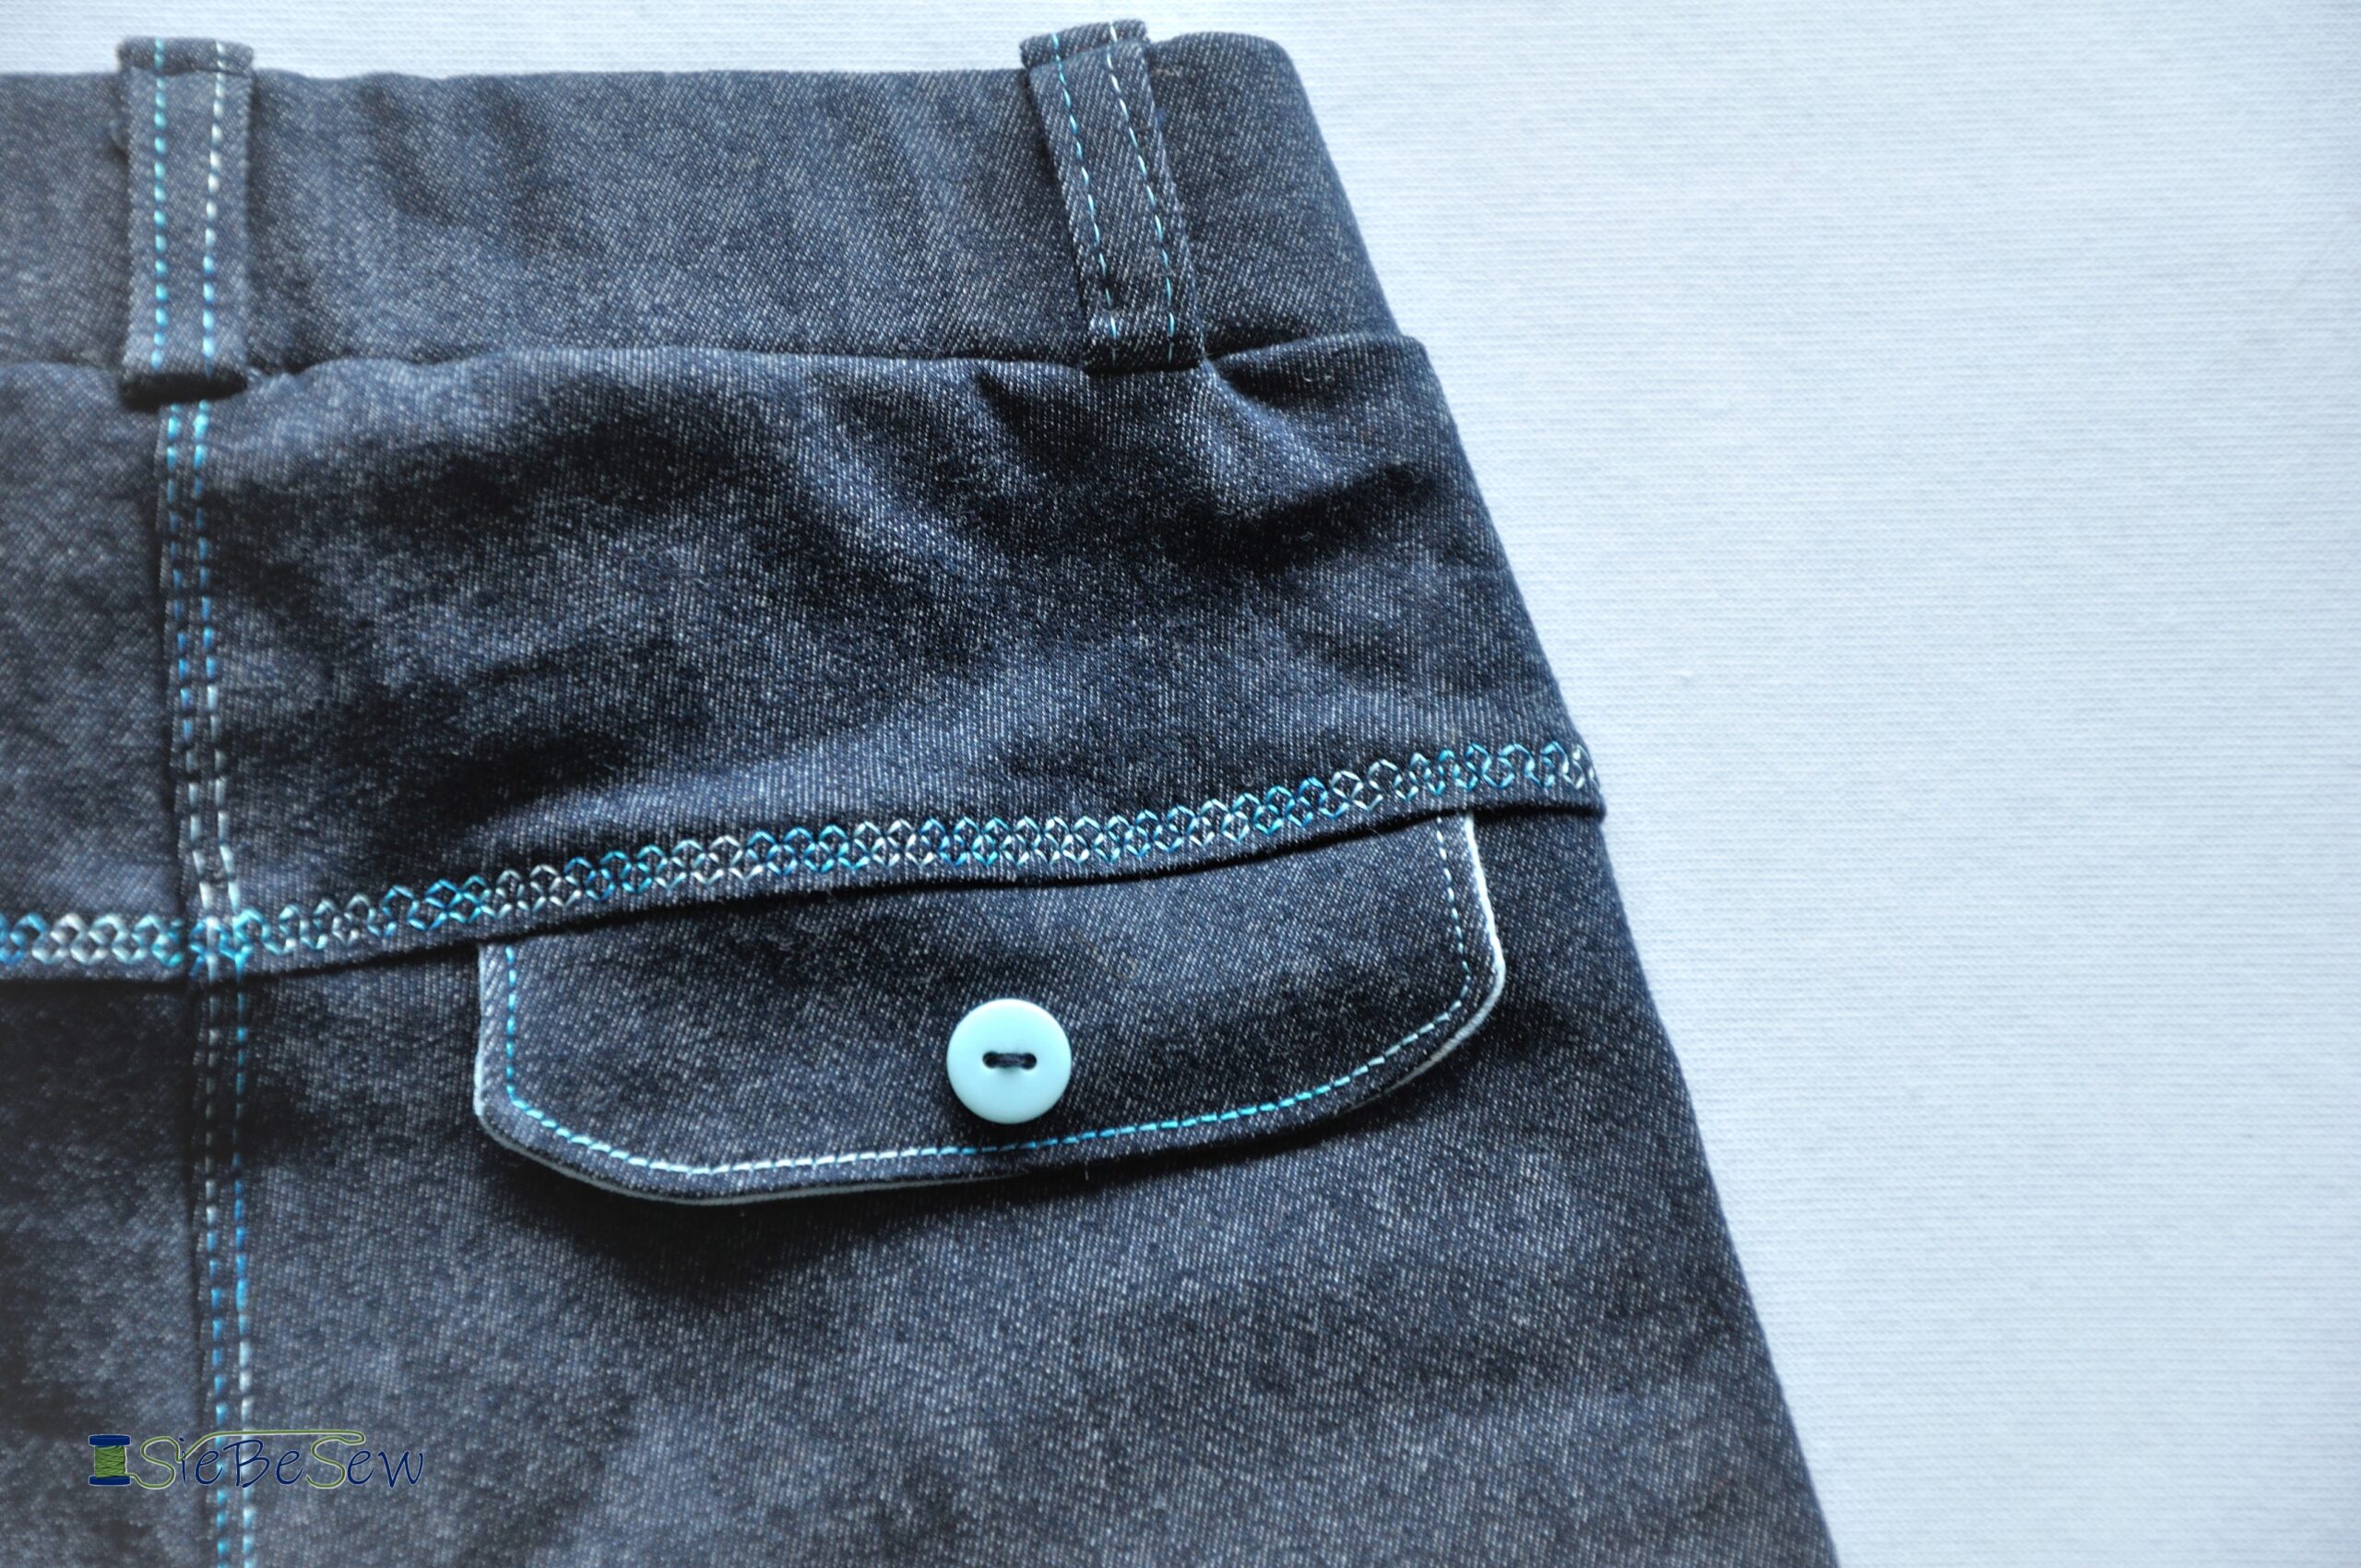
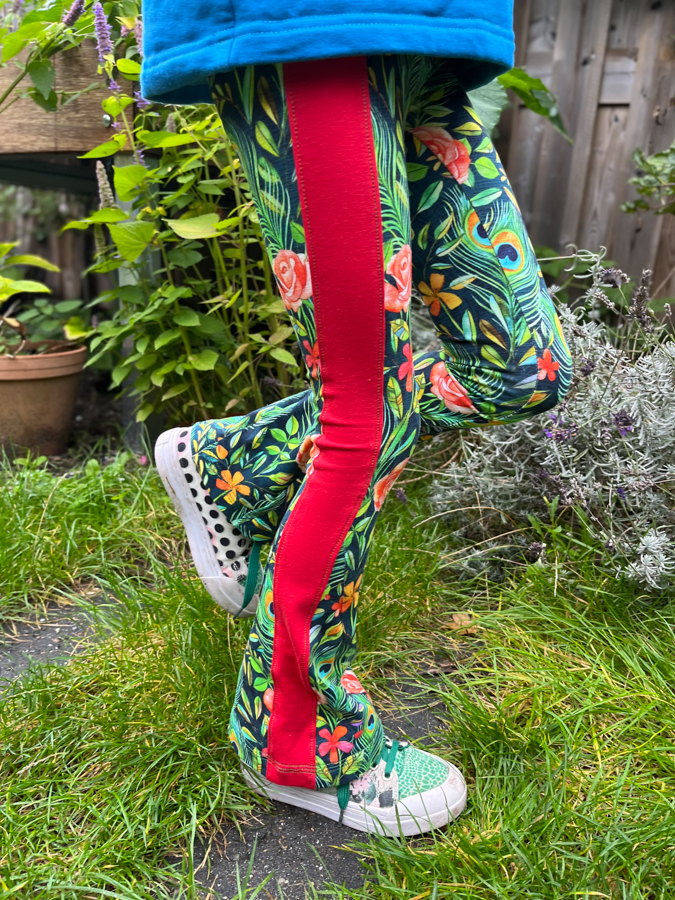
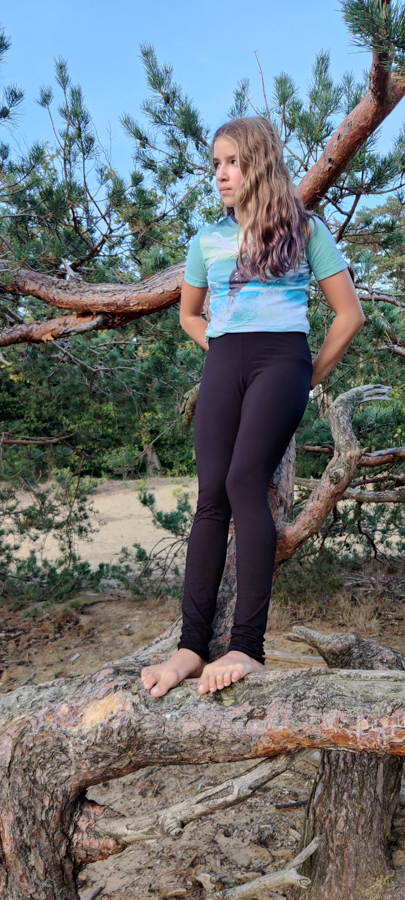
As you can see, Flora is a pant designed for French Terry fabrics. It has a fly, pockets, and only one length. The Callens is a legging explicitly intended for a jersey or likewise fabrics. Sports lycra works amazingly well, and combined with the added gusset; your little one is ready to move freely without ripping the crotch—pictures of both pdf patterns are below.
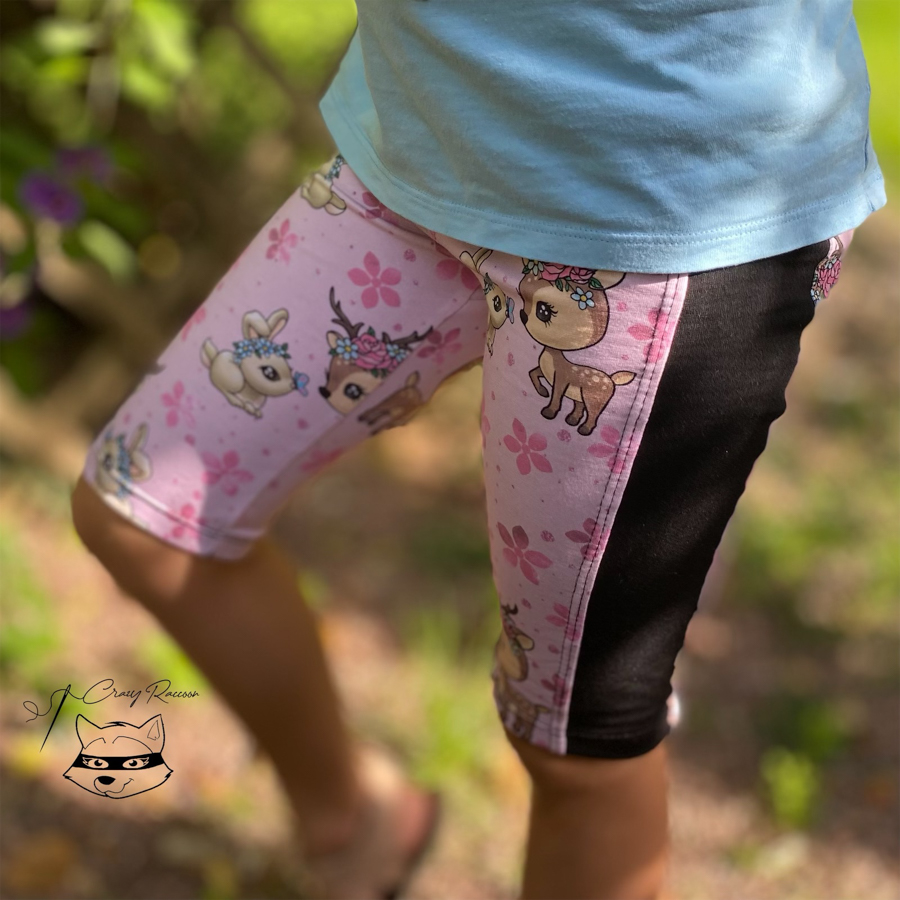
Flora bootcutFlora fake back pocketFlora flared cutCallens long shortsCallens stripe with flaredCallens long legging
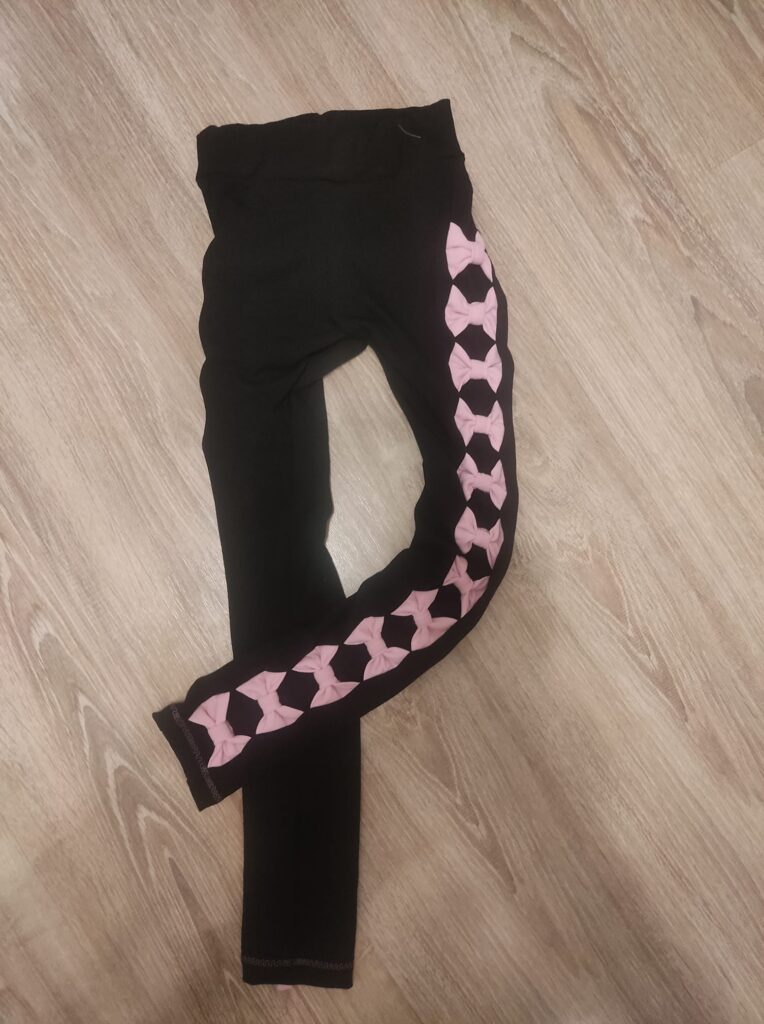
Who want to add a little exta to their Callens legging? Use this tutorial to make your leggings look extra special. Follow the directions below, and do not forget to show us your result in our Facebook group or tag us on IG (@Sofilantjes_anne).
This tutorial was created by Jovita Angèle Schoffelmeer
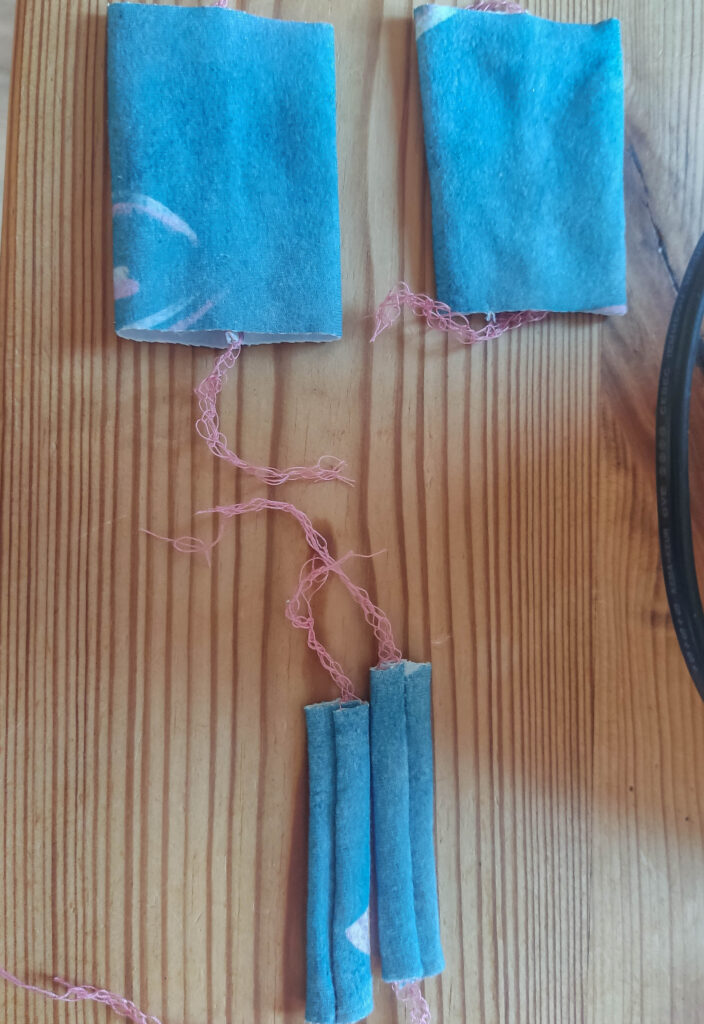
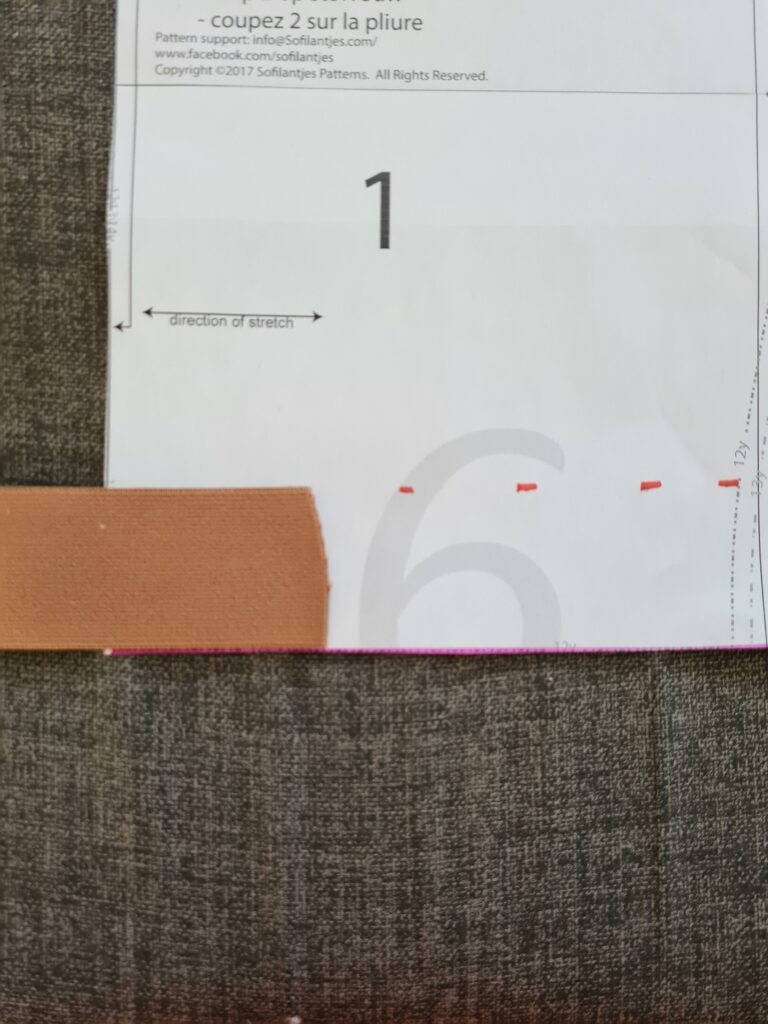
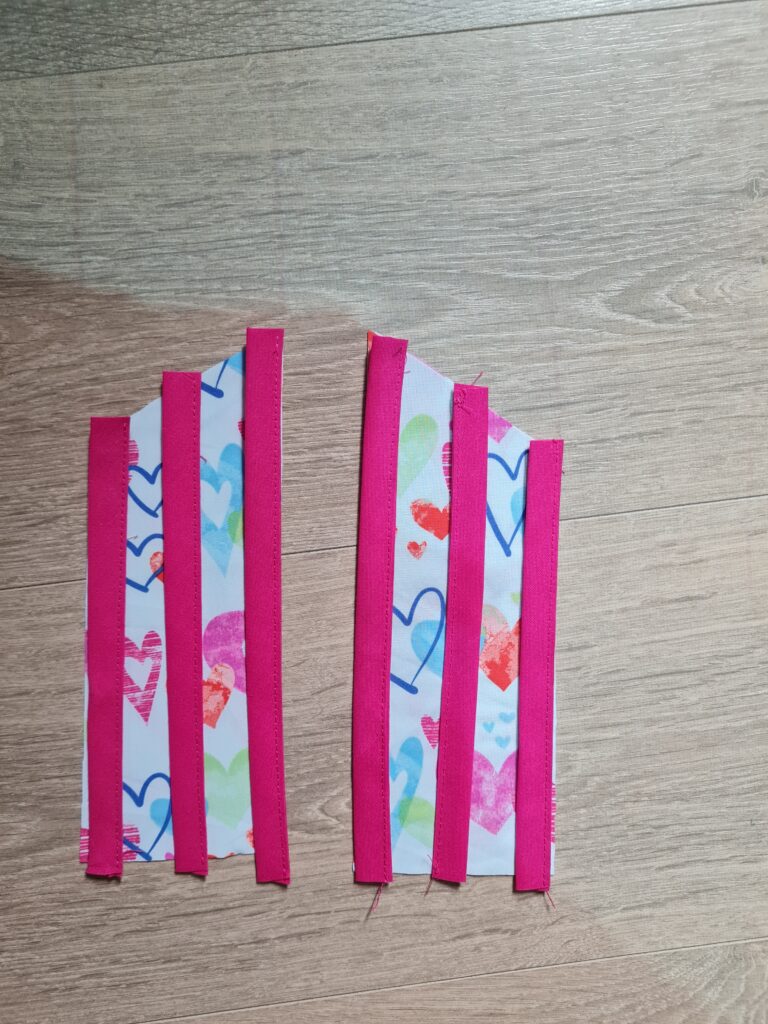
Cut 4 rectangles. 2 rectangels as wide as the side stripe and as high as desired times 2. Add seam allowance. (For my size 7/122 I used was 6.5 x 11 cm) The other 2 retangles cut 4 x 6 cm.
Fold the 2 largest rectangles right sides together widthwise, sew and turn. Fold the 2 smallest lengthwise. Sew and turn.
The 2 smaller rectangles.
Fold the two strips lengthwise. Sew the short edges together to create a loop. Turn the loop so the raw egdes are turned inwards.
Creating the bow.
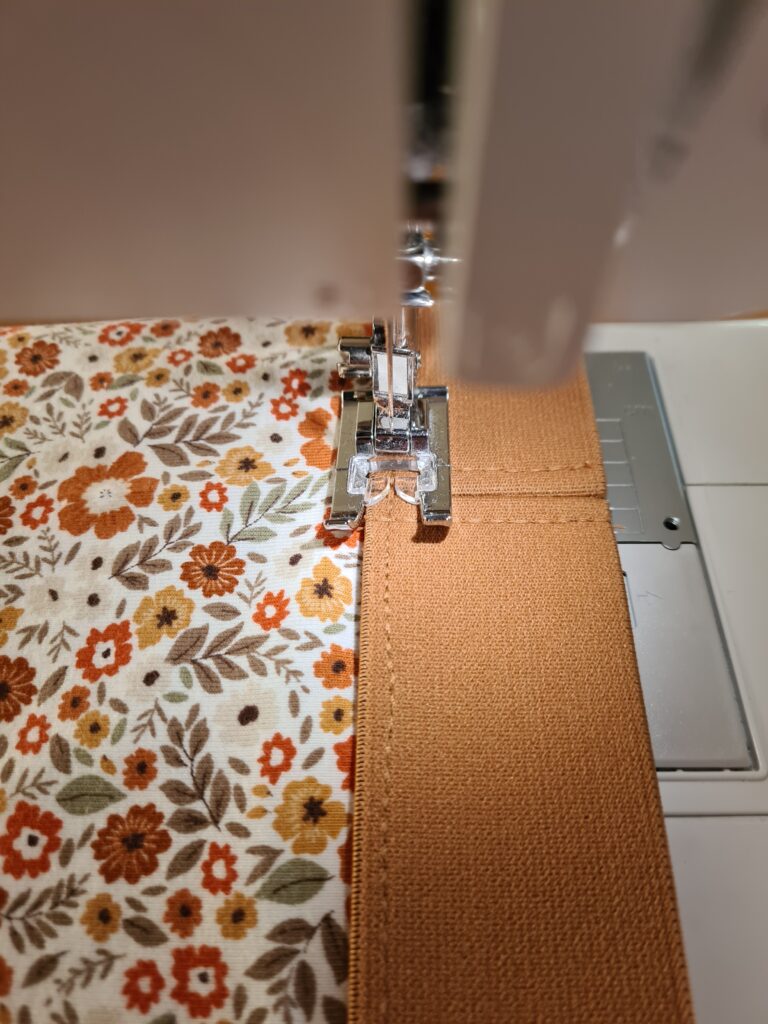
Fold the loop you created in the previous step around the large rectange creating the bow. Next sew the bow to the side stripe at the spot you prefer.
Continue sewing the side stripe according to the instructions of the pattern.
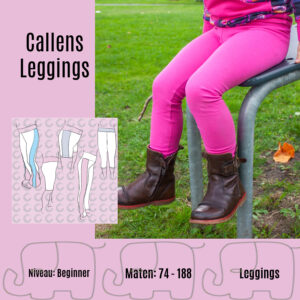
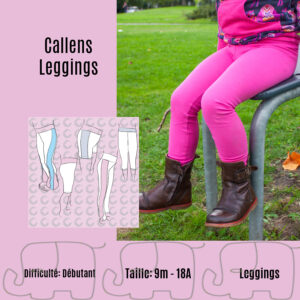
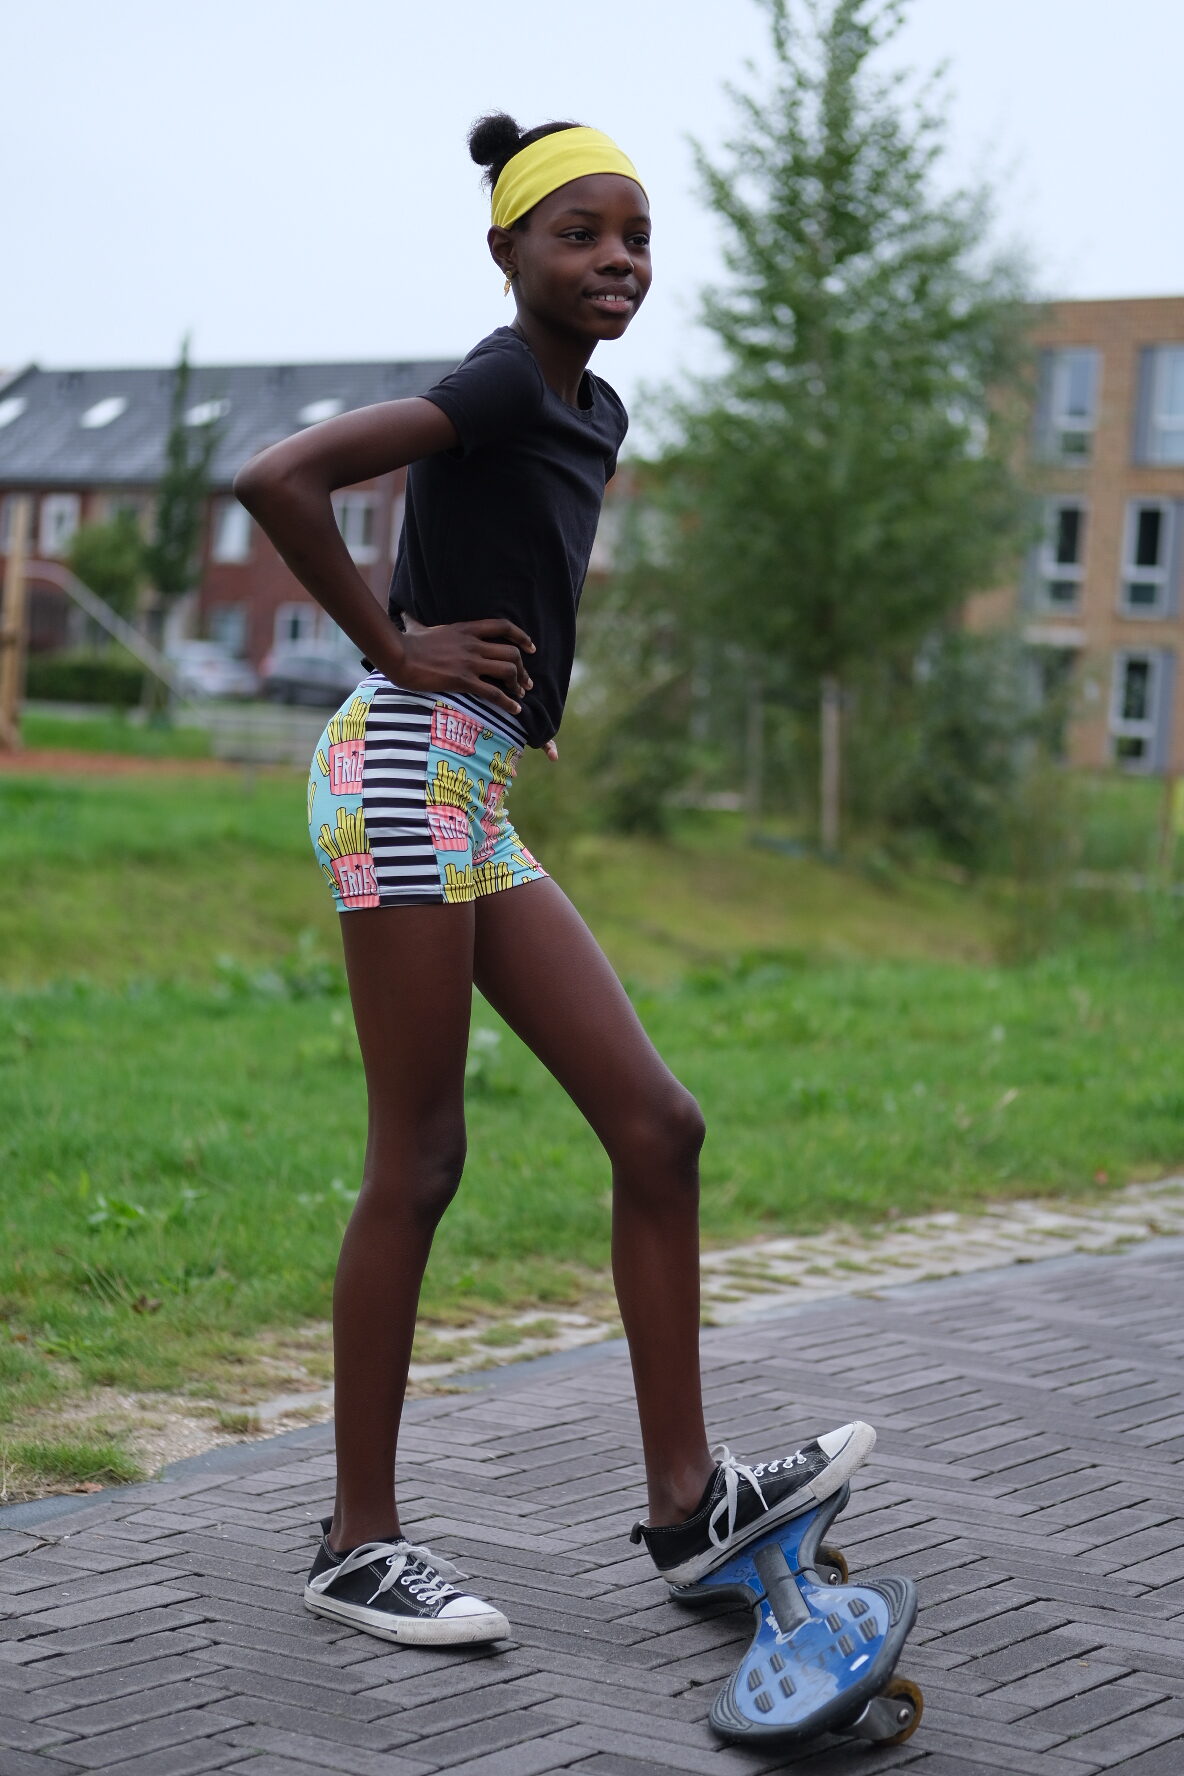
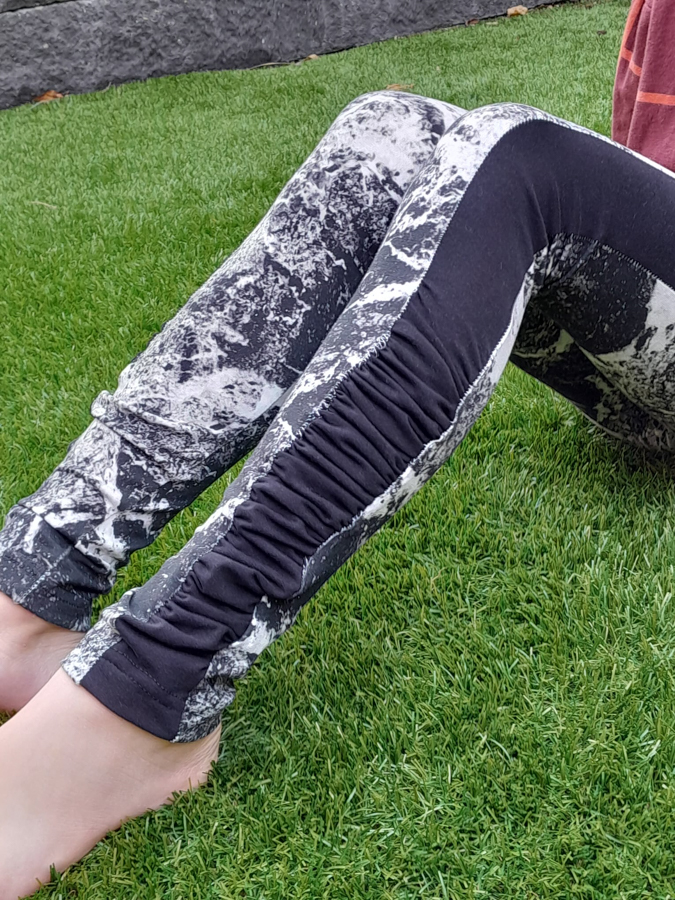
To say we have been impatiently waiting for some Sofilantjes leggings would be an understatement. The team and all of you have been asking for leggings for yearssssss. Anne has finally obliged. These leggings are packed with options; a gusset, four lengths, four color block options, and three waistband options. The pattern comes in sizes 9m – 18/ 74 – 188.
Length:
rbt
Colorblock:
The Callens Leggings release sale runs from September 29, 00.00 CET (Sept. 28, 6 pm EST) through October 4 00.00 CET (Oct. 3, 6 pm EST) and is €5,51 – excluding taxes, no code needed. You can get your copy using the links below. These are affiliate links so that the author will get a small percentage of the sale at no cost to you. If you are a Sofilantjes Sew and Show member, join us to show off your Callens Leggings.
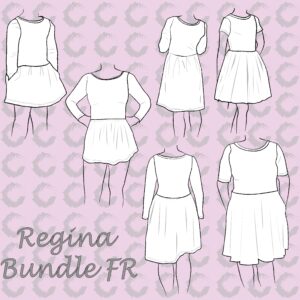
Arina is back to share another modification with us. Adding the tulle skirt to the Regina is right on trend. This style is something I see a lot in the store. Now you can make your own. Follow the directions below, and do not forget to show us your result in our Facebook group or tag us on IG (@Sofilantjes_anne).
Photo 1: Measure how wide your elastic is, and cut that amount from the pattern piece of the bodice. Continue making everything like the pattern. I used one layer of tricot and three layers of tulle and processed it just like one skirt. Assemble the skirt and the bodice as well. Do not fasten the bodice to the skirt yet. First, you will now cut the elastic to size. I used the same size as the bodice. Add 2 cm seam allowance and cut. Close the elastic by aligning the two short sides and sewing 1 cm from the edge. Topstitch the short sides at 0.5 cm.
Photo 2: Now, you will put the elastic on the upper body. You do this by placing the wrong side of the elastic on the wrong side of the body. Short stitch the elastic on the side.
Photo 3: Now, you fold the elastic to the right side, and you may see some protruding fabric. Cut this off very carefully.
Photo 4: Right side up, topstitch the same stitch again.
Do everything exactly the same with the skirt. Finished!
Now for the finished product. Ready to sew your own?
Ready to play with one of our oldest patterns? Create a whole new dress using this tutorial today. Your child will thank you. Follow the directions below, and do not forget to show us your result in our Facebook group or tag us on IG (@Sofilantjes_anne).
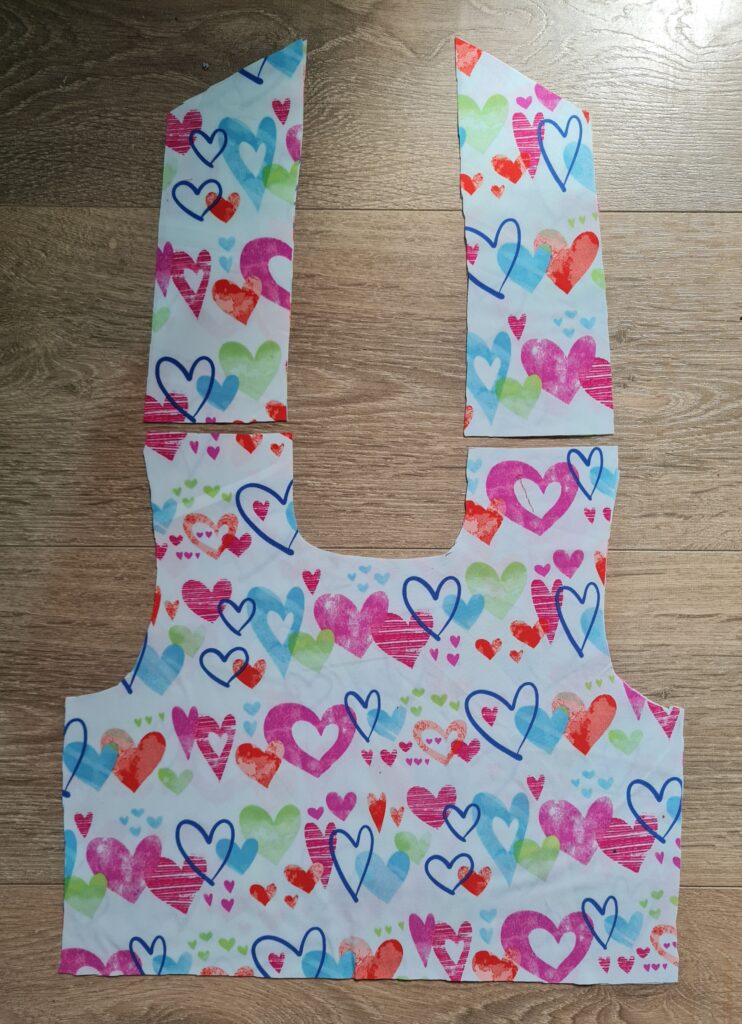
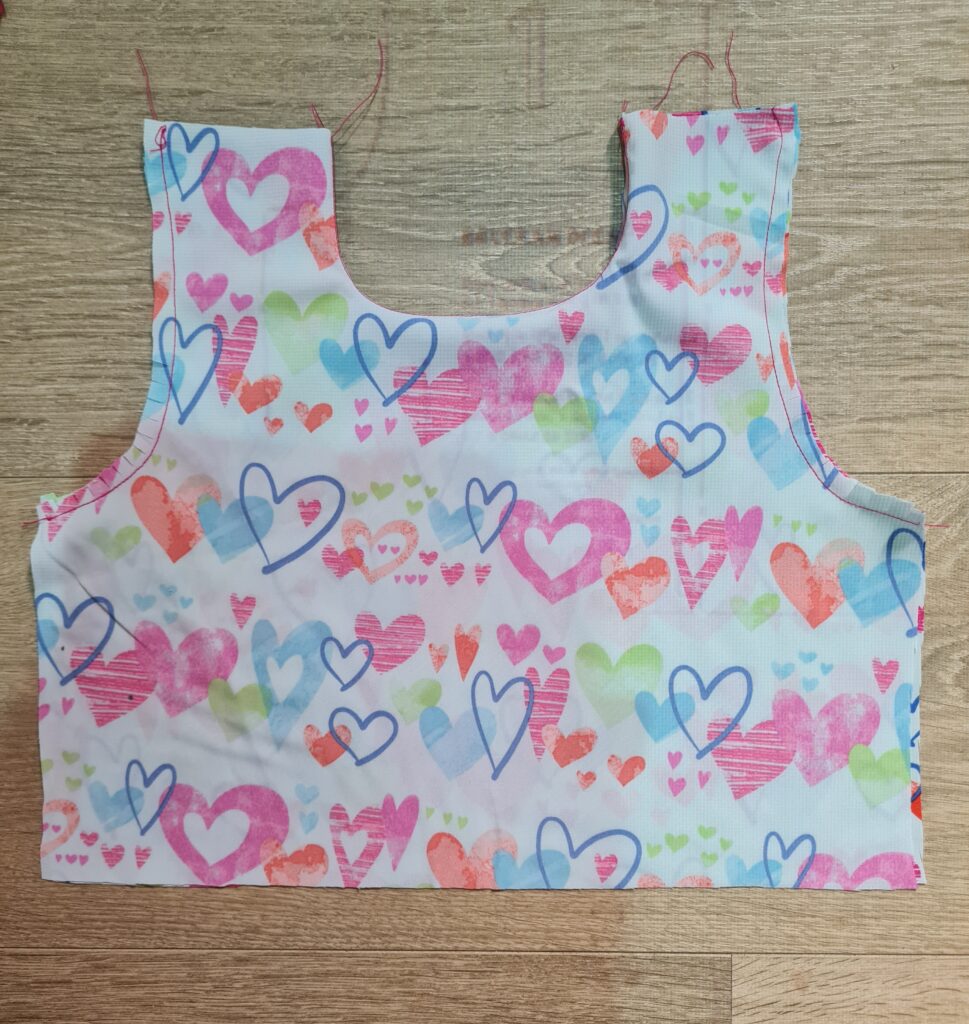
Cut your front pattern pieces – main and lining and where you see the little angle on the back straps- this is the shoulder line. Cut straight, 3/8″ – 1 cm above this point. (The 3/8″ – 1 cm extra is seam allowance). Repeat for the lining.
The front and lining originally have double back straps. For this version you’ll only need binding straps. 1 Set of back straps you can put aside, the back straps from the main front bodice you need for measuring how long your binding needs to be.
Tip: Measure the short side, the middle and the long side, add to each strap 3/8″ – 1cm extra (seam allowance) and subtract that number by 2. Sew a long binding strap in 1 time, you cut in the correct pieces afterwards. Use your back straps as a guideline.
I used a prefab binding with 1/2″- 1.2 cm finished width, or make it yourself.
Cut of the corners at the top by using the back straps as a guide to get the same angle as the original back straps.
Sew the neckline and the armholes as per instructions.
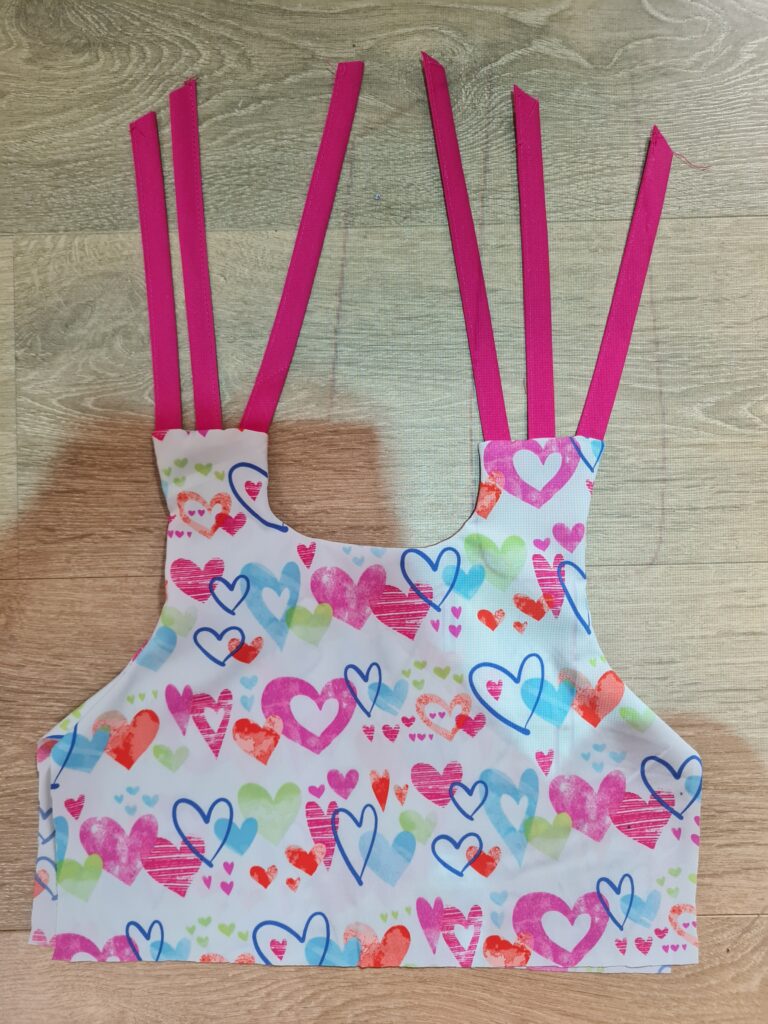
With main and lining front bodice wrong side out pull the straps through the shoulder openings. Line up the raw edges from the straps with the top raw edges from the shoulder openings and spread evenly. The straps are now sandwiched in between the main front bodice and the front lining. Sew with 1 cm seam allowance.
Tip: Baste the straps first with a long stitch, turn right side out and check to make sure you sewed them on correctly. If yes, turn them to wrong side again, stitch and finish the seams. A basting stitch is so much easier to remove when you accidentally make a mistake.
Turn right sides out and give it a good press. Continue with the original instructions.
We have something grand to celebrate! Our Facebook Group now has (almost) 25k members! It’s a huge milestone!
When I started Sofilantjes 8 years ago I never thought it would come to this. I never thought Sofilantjes would release 64 patterns and counting.
When Sofilantjes started, I was looking for a place where I could dream. A place to quiet my head. A place to be endlessly creative. What started with those things grew into a business full of friendships and fun. I am working hard and enjoying every minute. Every day I enjoy seeing your creations made using my patterns; that is why I do it.
For me, the ideal Sofilantjes pattern is accessible, quick, and perfect to make for us creative people with limited time. Beautiful results with just enough challenge. Dresses, shirts, trousers, and now even underwear.
Now, about the reason you are visiting this page: The Giveaway!
For this giveaway we had some great donations. But first let me tell you that we have more give aways specially for our Facebook group members. Go to the group and enter them to.
1st prize will be… (imagine the drumroll please)….. A brand new Bernette 33 sewing machine* from Bernina Benelux or an Amazon gift card (value $100 us). How to win this you ask? Follow the instructions below.
*The winner of the Bernette sewing machine must live in the Benelux countries (Netherlands, Belgium and Luxembourg). If the 1st prize winner lives outside the Benelux, he or she will receive an Amazon gift voucher instead. A new winner will be drawn for the sewing machine who does meet the requirements.
2nd prize. Team Sofilantjes made a selection of pattern designers we like. Why just the few? Because we wanted to support these other wonderful designers. So who did we select? First we selected Bella Sunshine Designs, because we just love Melissa as a friend. Next we selected Bel’Etoile. We actually do not know her personally, but we feel a connection because of her personal story. Boo! Designs, she has the best swimsuit patterns and swim fabric! Tadah Patterns because she has great patterns for woven fabrics, and Misusu because of her unique style. Last but not least is Itch to Stitch. Kennis creates the most beautiful patterns for women. We’ll top it all off with a gift card from us. Are you already dreaming of all the items you can sew? I know I am. Enter below, quick!
3rd prize. Last but not least. Win 3 patterns of choice from us. Browse our shop and create your list now. Ok ok, do it after you entered the raffle copter below.
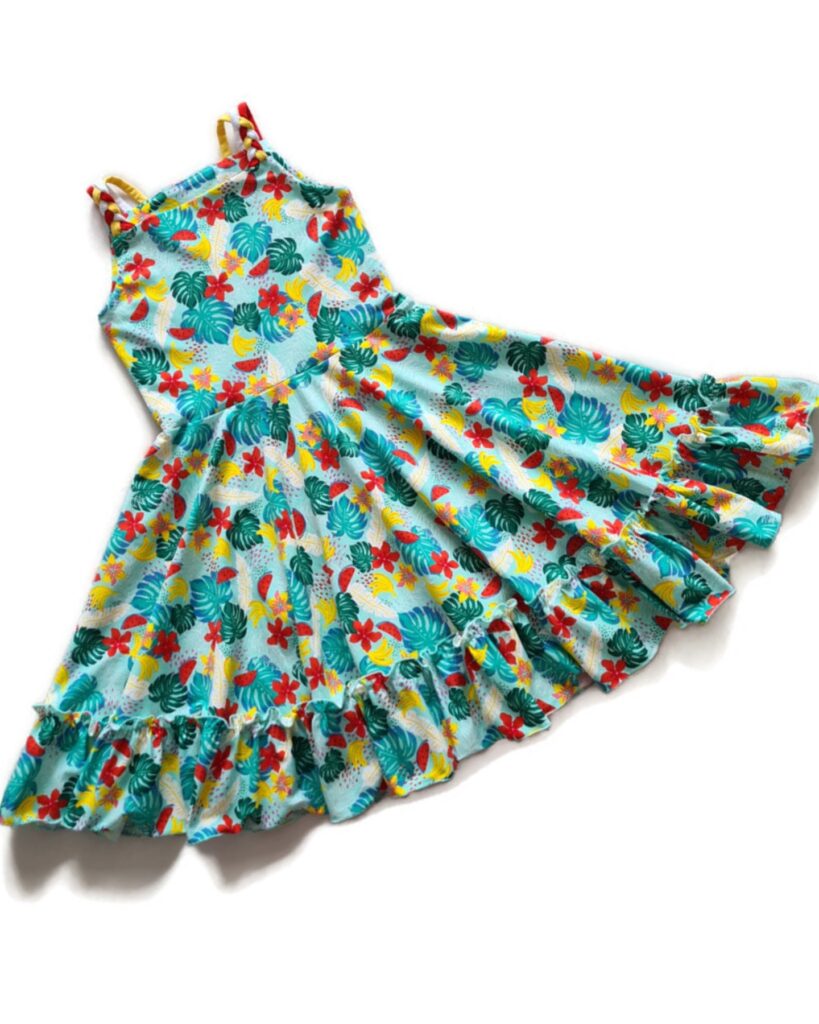
Ready for something sweet? Add a ruffle hem to the Festum dress. Follow the directions below and do not forget to show us your result in our Facebook group or tag us on IG (@Sofilantjes_anne).
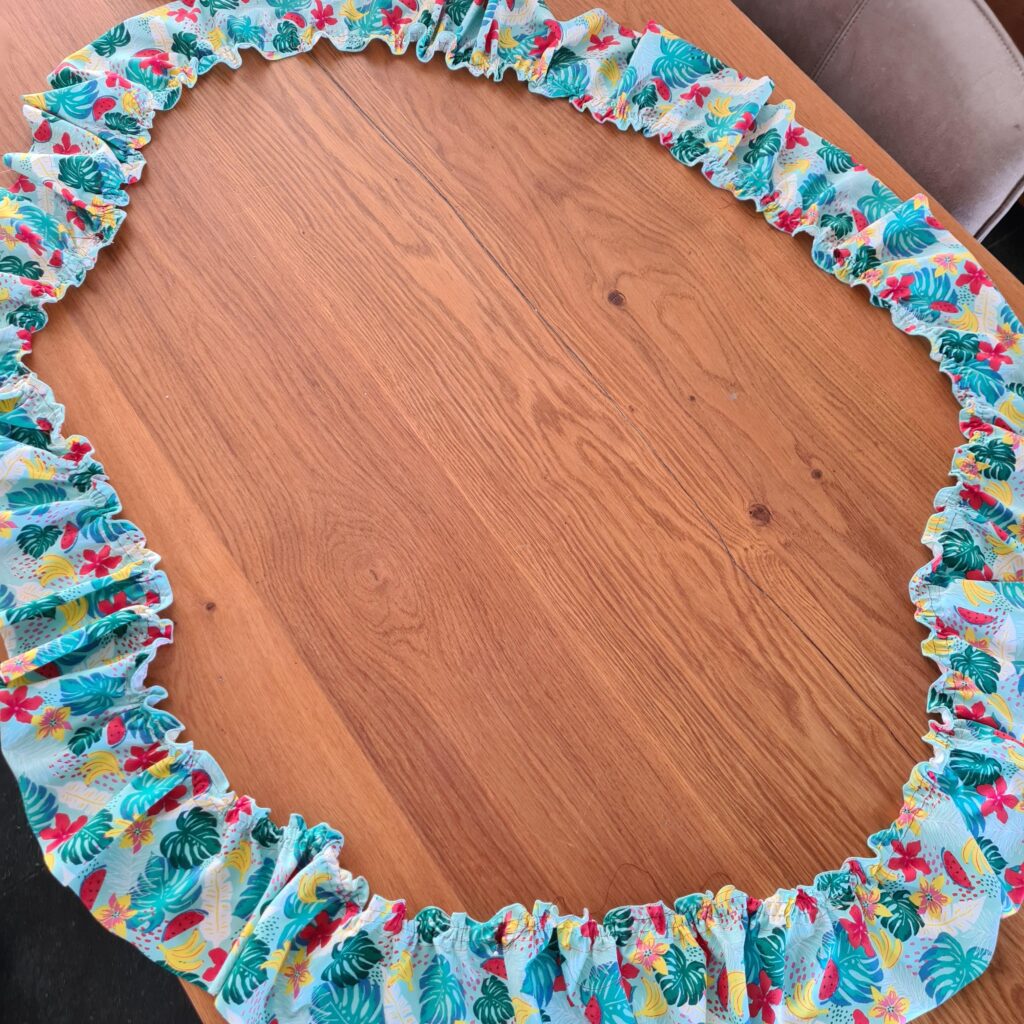
Measure on the pattern piece, the difference between skirt layer 2 and 3 and remember to write this down. Make skirt layer 2 as described and measure how much the circumference of the bottom is of the full skirt. Multiply this circumference by 1.6x and then divide by 3.
Example: The difference between length of skirt layer 2 and 3 is 13 cm, note this. Your skirt circumference totals 3 meters. Multiply this by 1.6. Then you end up with 4.80 meters. Divide by 3. Then you end up with 1.60 meters, note this.
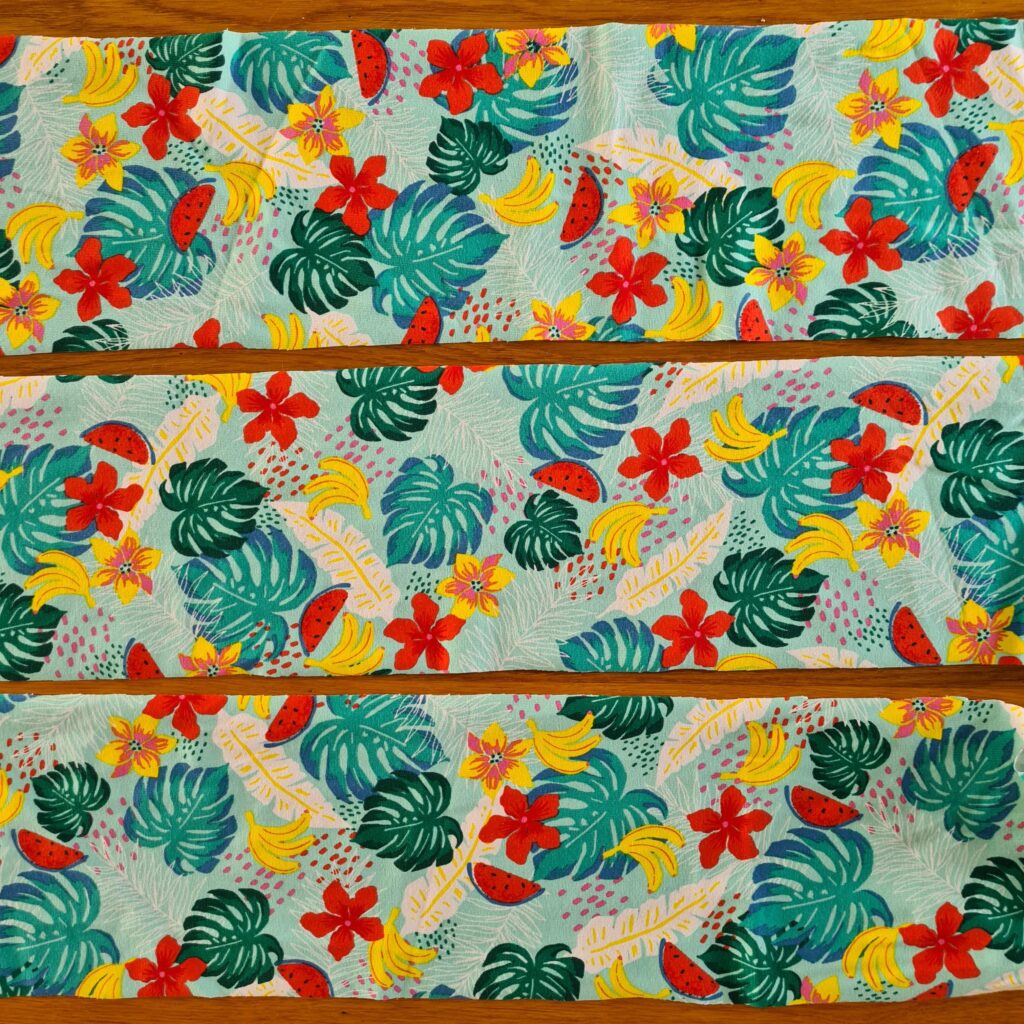
Next cut 3 strips of the 2 noted number.
So in my case 13 cm x 1.60 cm. Optional: Finish the top with a rolled hem.
Join the 3 strips with the short sides to a circle and press the seams open.
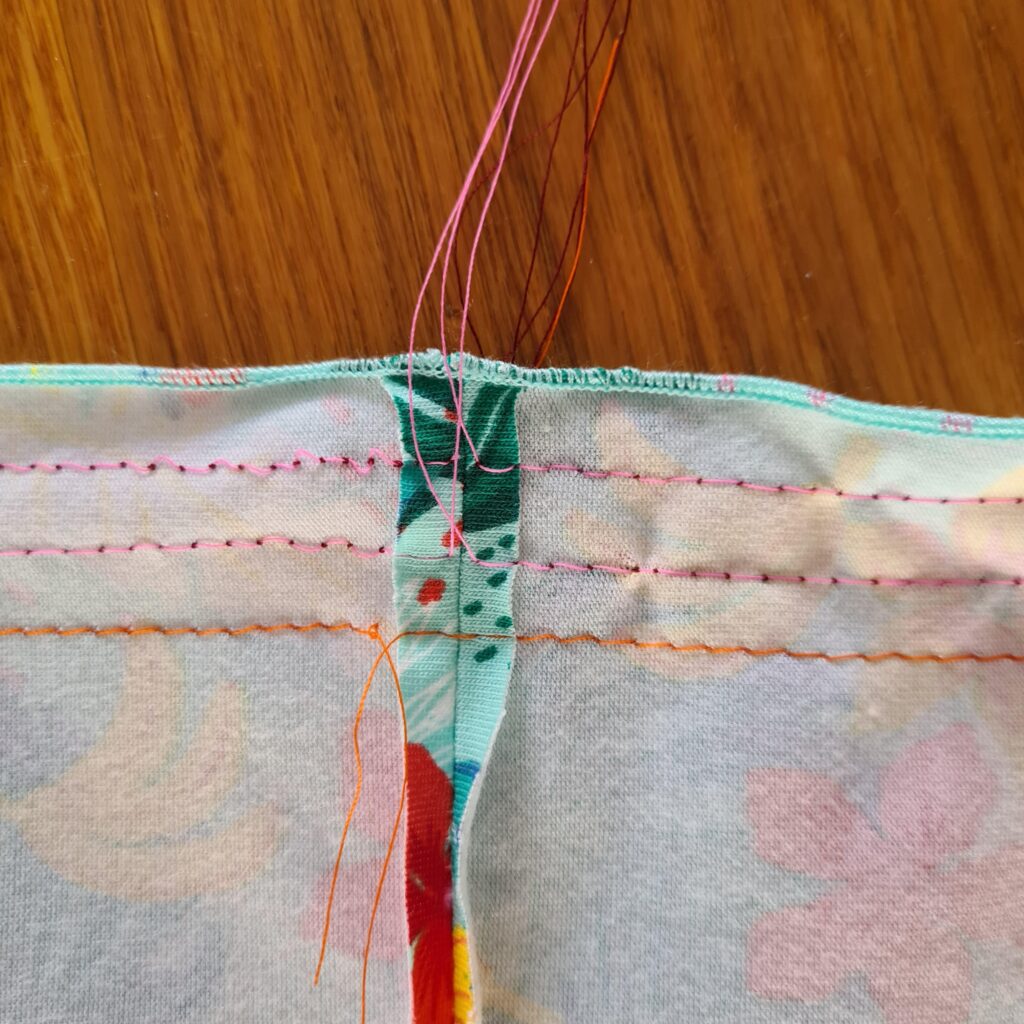
Place 1 long stitch 1 cm from the top and 1 long stitch 2 cm from the top. Do this in 3 parts, so at each seam stop and start again. These will be your gathering threads.
Pull on both, top threads to form wrinkles. Make sure you end up with an equal number of wrinkles in your strip.
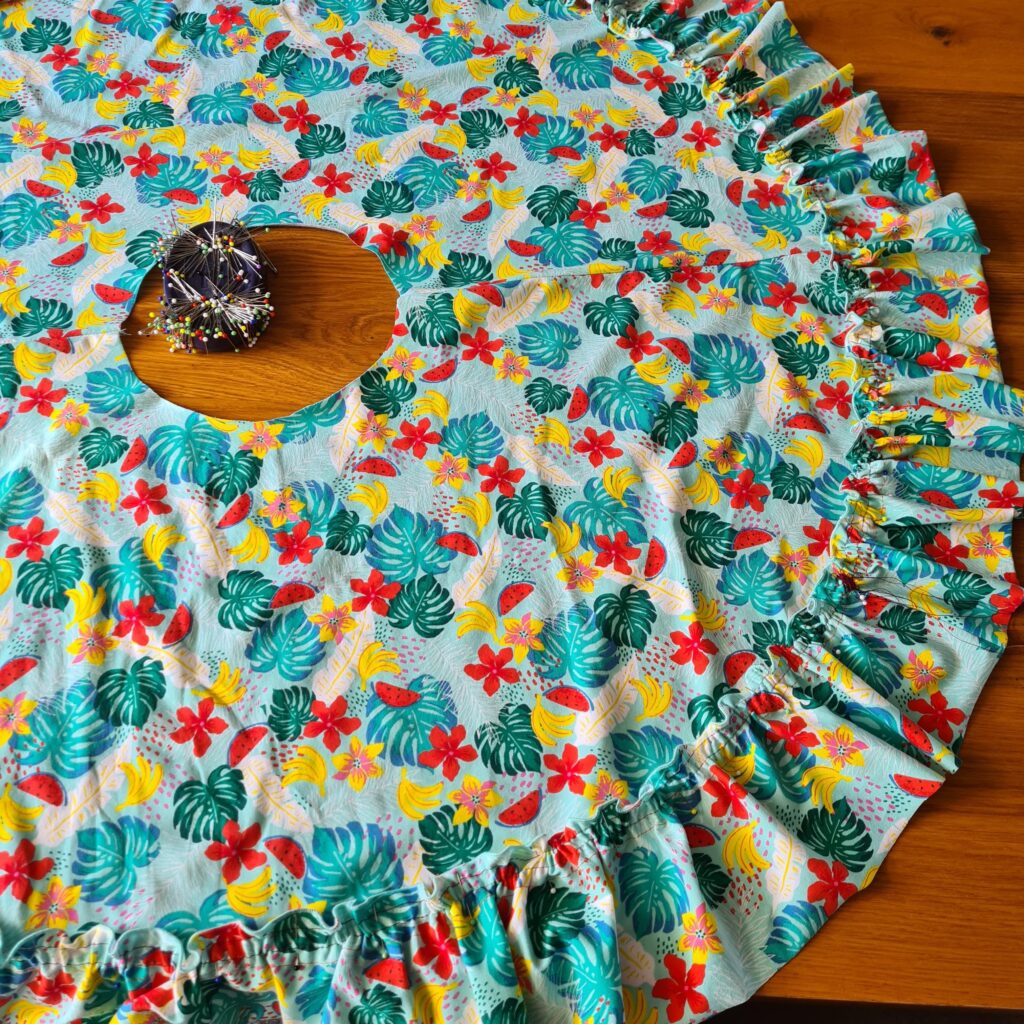
Now you are going to pin the strip to the skirt. Use the bottom thread to determine where the strip should go. That thread will be right on the bottom of the skirt.
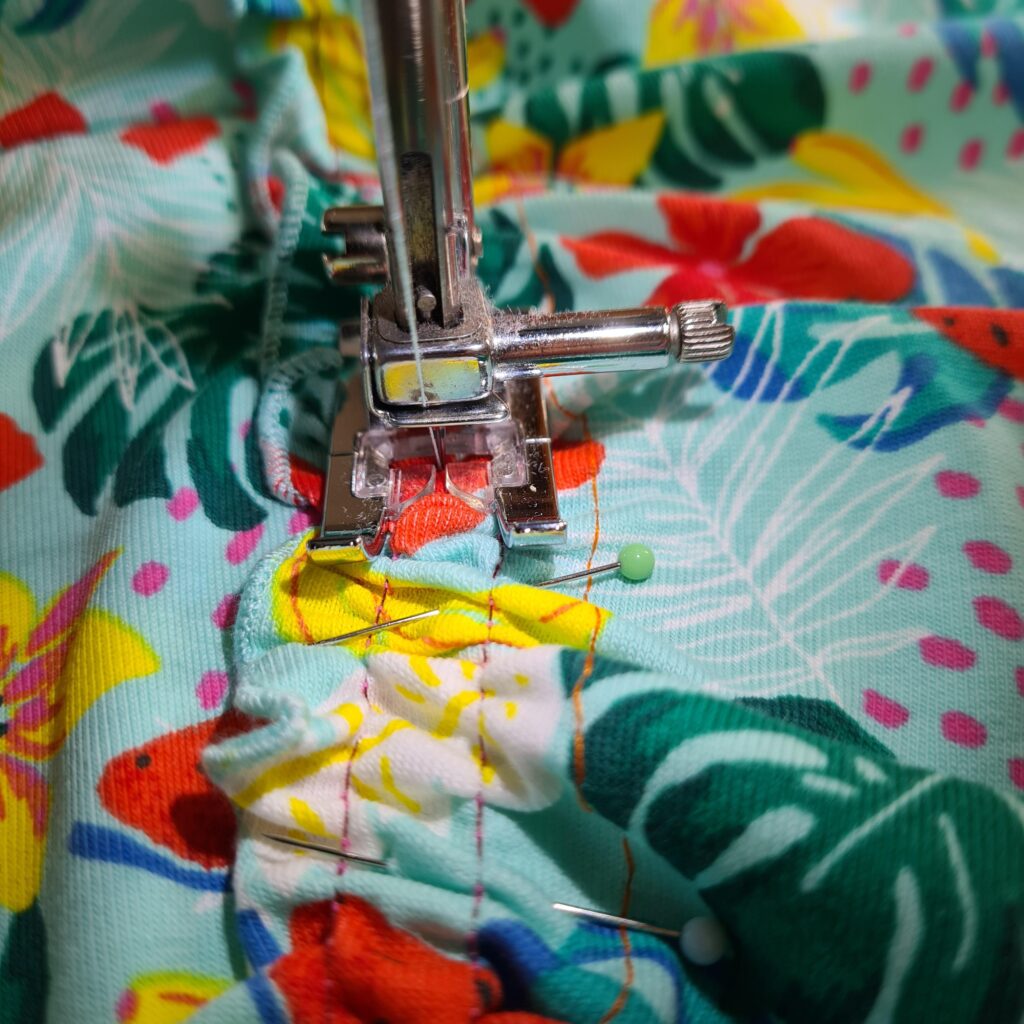
Sew exactly between the 2 upper gathering threads.
Optional: Finish the gathering strip at the bottom. Done!
Ready for something cute? Add a string hem to the Felix top, tunic or dress.. Follow the directions below and do not forget to show us your result in our Facebook group or tag us on IG (@Sofilantjes_anne).
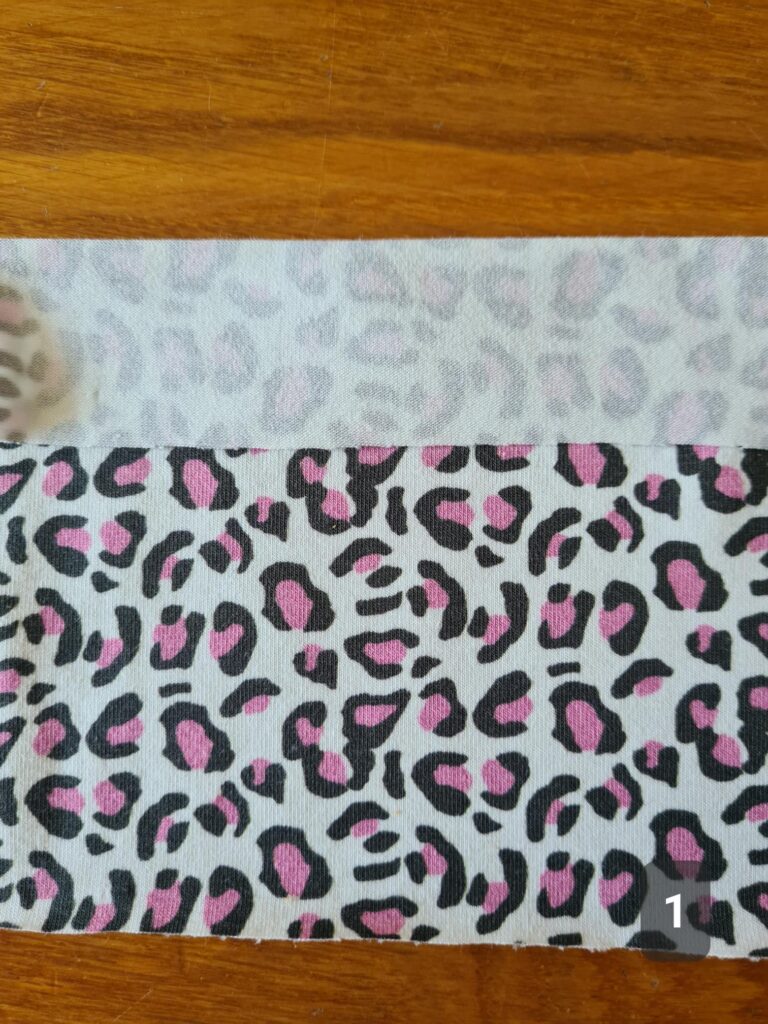
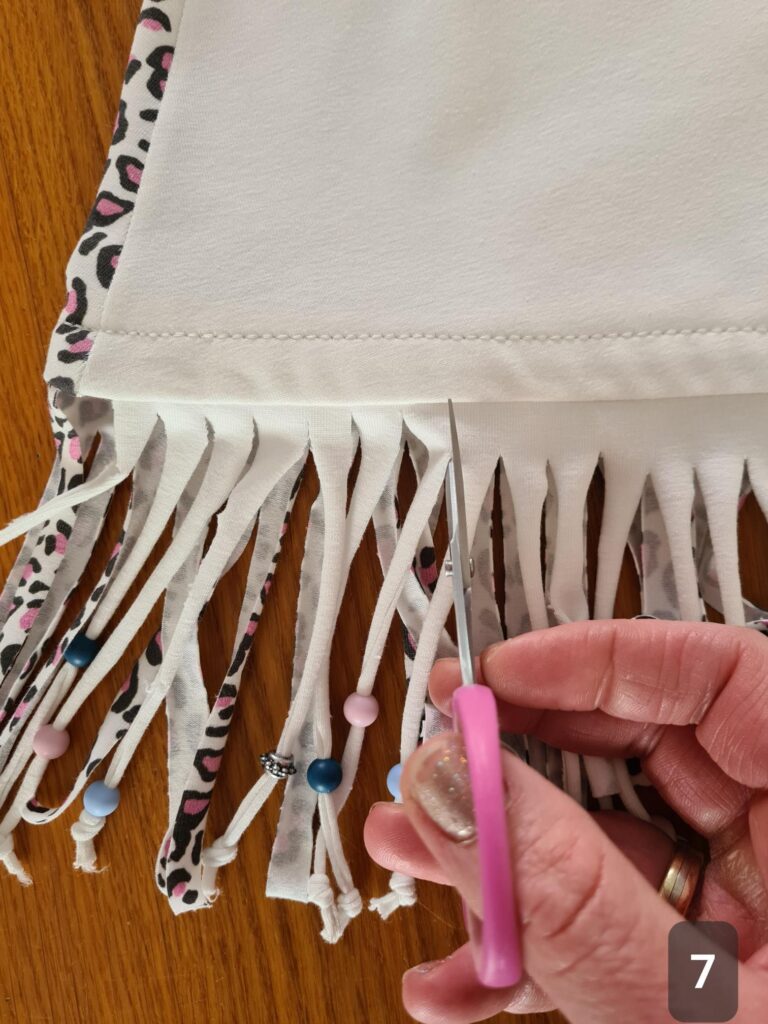
Cut a strip, slightly wider than the hem and with a height of 5.5″ – 14 cm. Fold the long top side 1.2″- 3 cm and iron a fold in the strip, this will be the line to where you will cut.
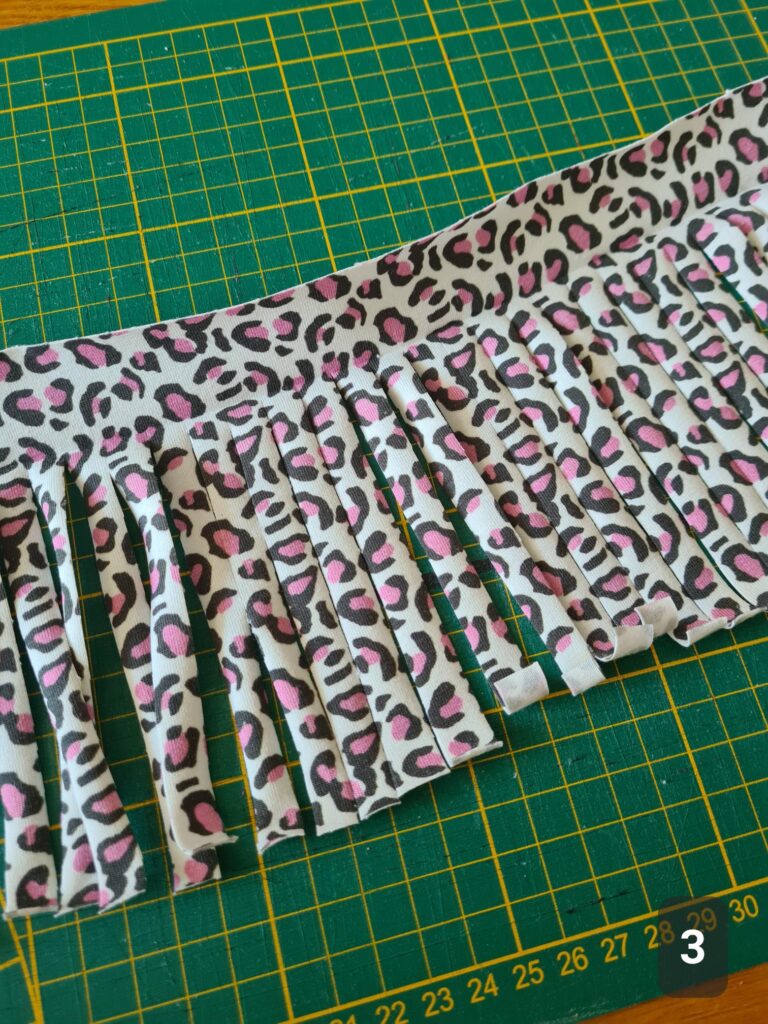
Fold the strip open again. I use a rotary cutter, a long ruler and a cutting mat, to cut the fringes. The mat is great for marking your cutting lines. You cut every 1/8″- 1 cm of the fabric until you reach the fold.
Continue until you have cut the entire strip.
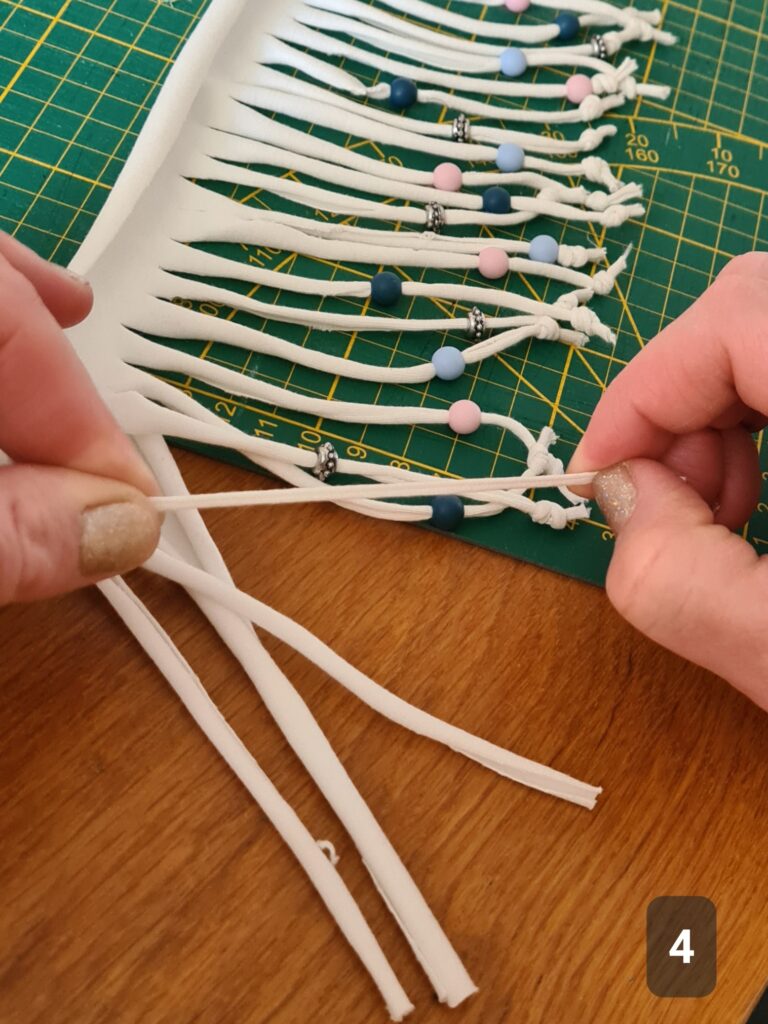
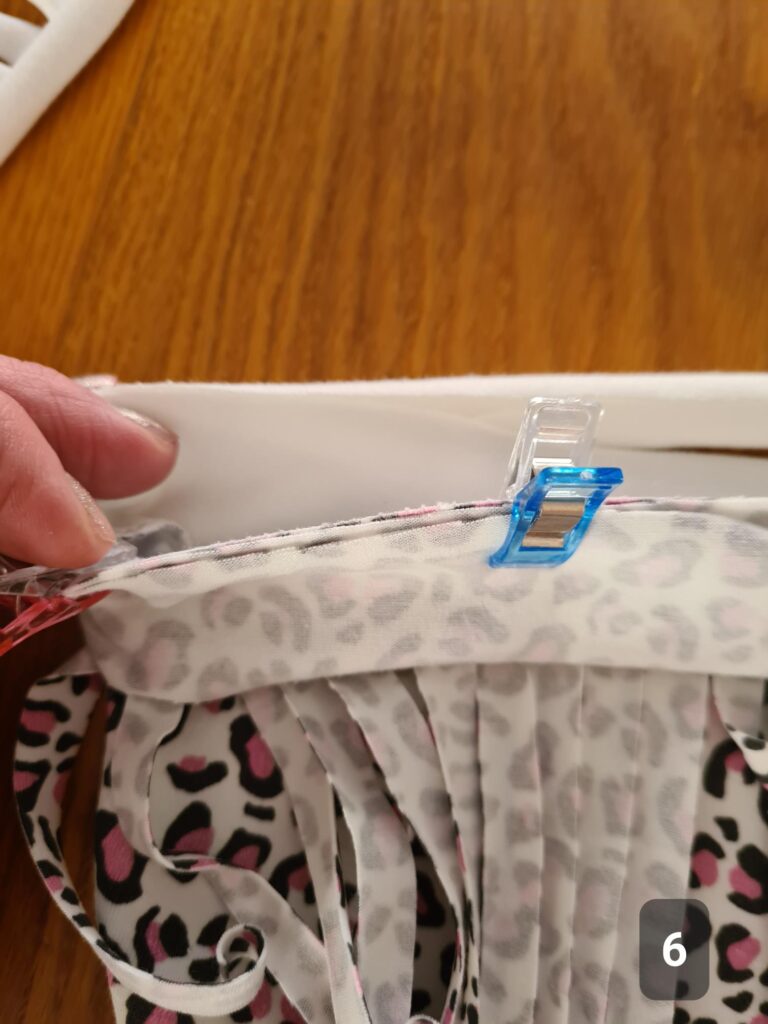
If you want to thread beads on it then proceed in this way: pull at the bottom of the fringe. Do this between 2 fingers, otherwise the fringe will break. Then roll the tip of the fringe between your fingers, so that it is small enough to thread a bead on it. Put a knot at the bottom of the fringe.
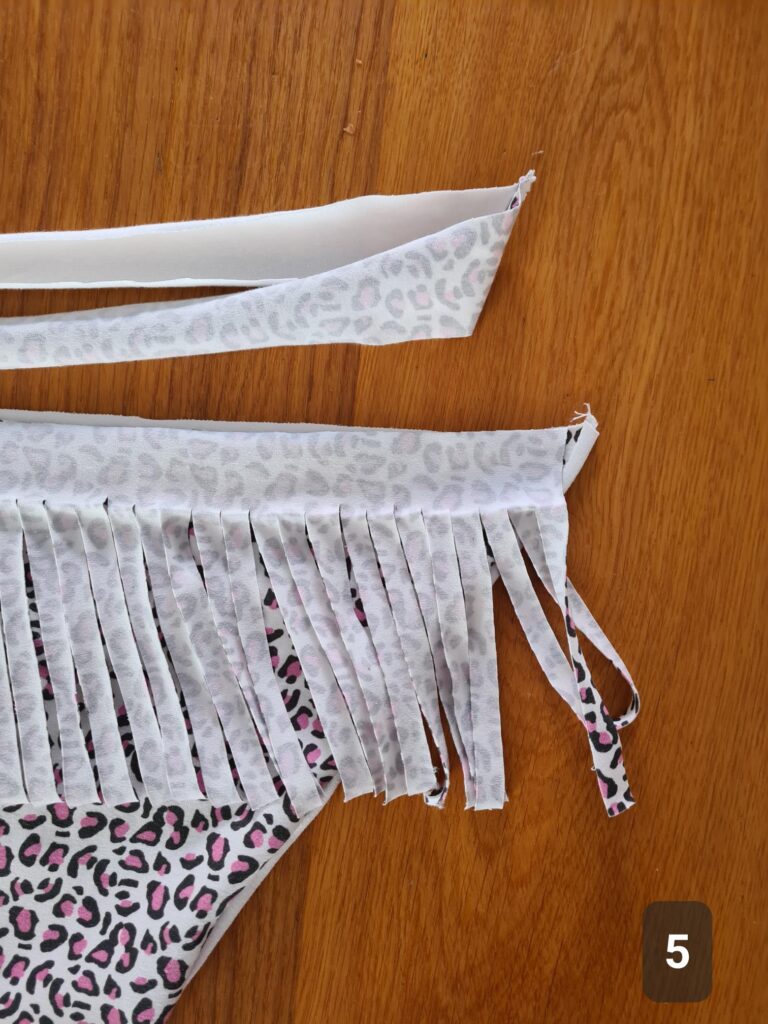
Place the fringe on your hem edge and secure with a pin on clip about 0.7 cm from the side seam.
Pin or clip the facing to the hem, you now have 3 layers, with the fringe in between. Now sew the facing in place as described in the original instructions.